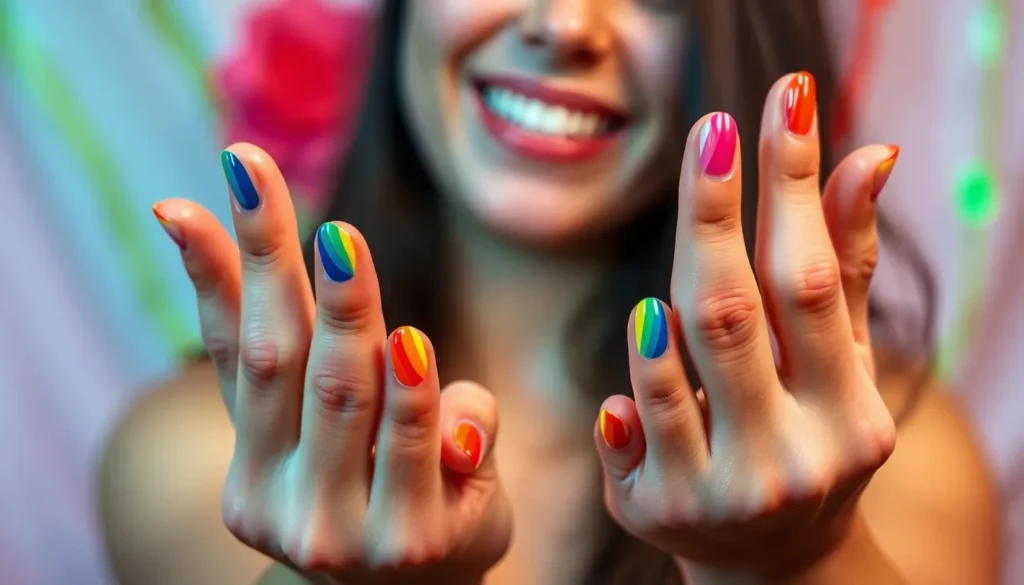
We’ve all seen those stunning rainbow manicures scrolling through social media and wondered how to recreate that vibrant magic at home. Rainbow nail art isn’t just a trend – it’s a powerful way to express your creativity and brighten up any outfit with a burst of color that commands attention.
Whether you’re preparing for Pride month, summer festivals, or simply want to add some joy to your everyday look, rainbow nails offer endless possibilities. From subtle gradient effects to bold striped designs, there’s a rainbow technique that’ll match your style and skill level perfectly.
The best part? You don’t need to be a professional nail artist to achieve these eye-catching results. With the right techniques and a few essential tools, we’ll show you how to transform your nails into miniature works of art that’ll have everyone asking where you got them done.
Classic Rainbow Stripe Nail Designs
Classic rainbow stripes offer the perfect starting point for anyone wanting to master vibrant nail art techniques. These timeless designs showcase all the colors of the spectrum in organized, eye-catching patterns that work beautifully for any skill level.
Horizontal Rainbow Stripes
Horizontal rainbow stripes create stunning bands of color that stretch across each nail from side to side. We recommend starting with a white base coat to make the rainbow colors pop more vibrantly against your nails. Apply thin strips of nail tape or use striping brushes to create clean, even lines across each nail.
Paint each stripe in traditional rainbow order: red at the cuticle, followed by orange, yellow, green, blue, indigo, and violet toward the nail tip. Keep each color band approximately the same width for the most polished appearance. Remove any tape while the polish is still slightly wet to prevent peeling and achieve crisp edges.
Professional nail artists suggest using gel polish for horizontal stripes since it stays workable longer than regular lacquer. This extra working time allows you to perfect each color band without rushing through the application process.
Vertical Rainbow Lines
Vertical rainbow lines run from the cuticle to the tip of each nail, creating an elongating effect that makes fingers appear longer and more elegant. Start by applying your base coat and allowing it to dry completely before beginning the rainbow pattern.
Use thin striping brushes or nail art pens to paint narrow vertical lines in rainbow sequence across each nail. We find that spacing the lines evenly creates the most balanced and professional looking result. Begin with red on one side of the nail and work through the spectrum toward the opposite edge.
This vertical technique works exceptionally well on longer nails where you have more surface area to showcase each color. Shorter nails can still achieve this look by using slightly wider stripes or focusing on just 4-5 rainbow colors instead of the full spectrum.
Diagonal Rainbow Patterns
Diagonal rainbow patterns add ever-changing movement and visual interest to your manicure by angling the color bands from corner to corner. These slanted stripes create an optical illusion that makes nails appear wider or narrower depending on the angle you choose.
Apply the rainbow colors at a 45-degree angle for the most flattering diagonal effect on most nail shapes. Start at the bottom corner near your cuticle and work upward toward the opposite corner of the nail tip. Each color band should maintain the same angle and width for consistency across all ten nails.
We suggest practicing the diagonal technique on a nail wheel or fake nails first to perfect your angle and brush control. Once you master the motion, you can create these striking diagonal rainbow stripes quickly and confidently on your natural nails.
Gradient Rainbow Nail Art Techniques
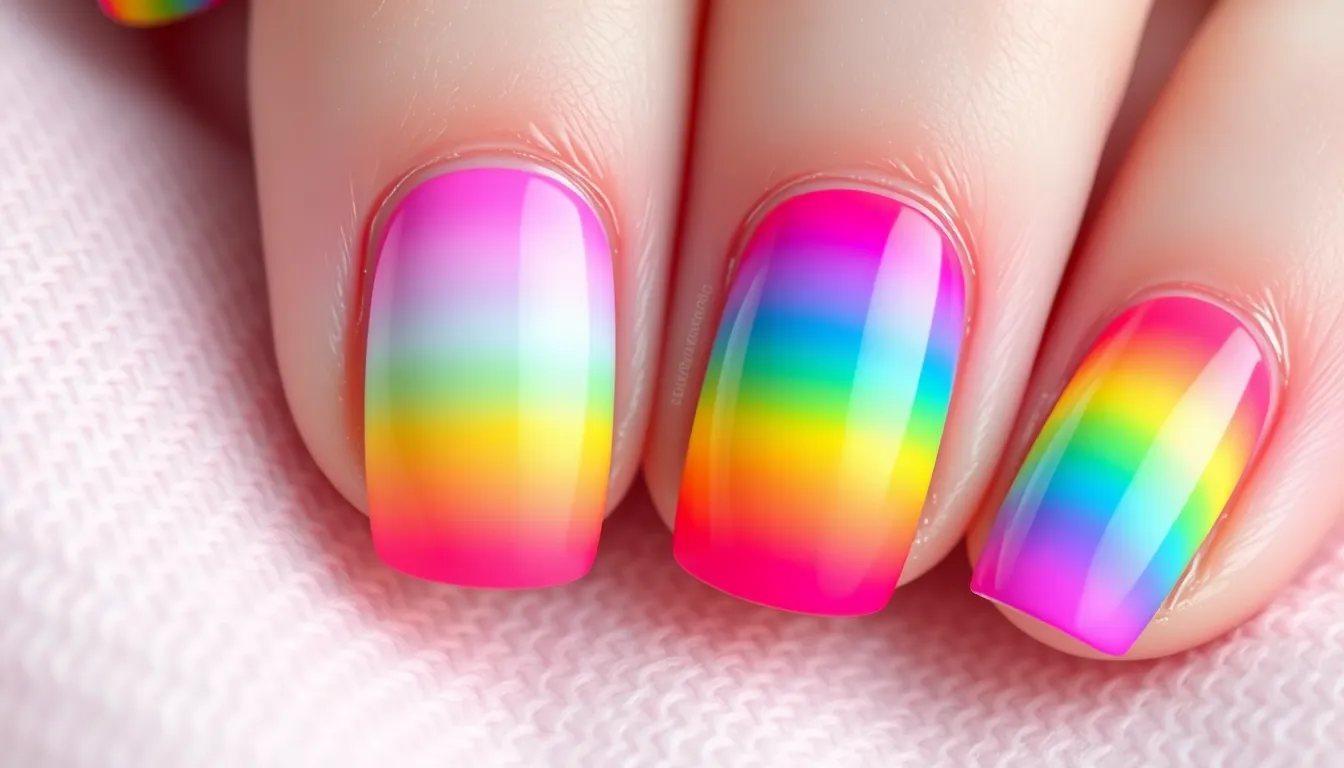
Gradient techniques take rainbow nail art to the next level by seamlessly blending colors together. These methods create stunning transitions that flow naturally from one hue to another across your nails.
Ombre Rainbow Fade
Ombre rainbow fade creates a smooth transition from light to dark colors across your nail surface. We recommend starting with a lighter shade at the cuticle and gradually transitioning to a darker shade towards the tip of the nail. This technique works beautifully with pastels for a soft look or neons for extra brightness.
Apply your base coat first to protect your nails and ensure better polish adhesion. Choose colors that complement each other within the rainbow spectrum. Work quickly while the polish is still wet to achieve the smoothest blend possible.
Sponge Gradient Method
Sponge gradient method uses a makeup sponge to apply multiple colors and create a blended, multi-colored effect. The sponge absorbs and blends colors well, making it ideal for creating a full rainbow spectrum on your nails. This technique works particularly well for achieving that perfect gradient look without brush marks.
Dab the sponge across the nail surface to distribute the colors evenly. Apply your chosen rainbow colors to the sponge in strips before pressing it onto your nail. Work in sections to ensure even coverage and smooth color transitions.
Brush Blending Technique
Brush blending technique involves using a brush to manually blend colors together on the nail surface. This method requires precision and can be more time-consuming than other gradient methods. But, it allows for more control over the gradient and can produce a smooth, seamless transition between colors.
Use a clean brush for each color transition to avoid muddying your rainbow effect. Work in small sections and blend while the polish is still wet. Finish with a top coat to seal the design and prevent chipping for a professional looking result.
Rainbow French Tip Variations

We’ll transform the classic French manicure into a vibrant rainbow masterpiece that brings fresh energy to your nail art collection. These variations maintain the elegant structure of traditional French tips while incorporating multiple colors for stunning visual impact.
Colorful French Manicure
Ombré French tips create the most sophisticated rainbow effect by using thin lines along the smile line of each nail. We recommend starting with lighter shades and gradually transitioning to deeper hues for a seamless color flow. This technique achieves a sharp, professional look without requiring a full tip application.
Outlined French tips feature colorful borders around traditional white tips, allowing you to incorporate rainbow elements while maintaining classic elegance. You can use a single bold color for subtle impact or multiple colors across different nails for full rainbow representation. The outline technique works particularly well with bright summer shades or metallic finishes.
Neon French tips deliver maximum visual impact by replacing traditional white with electric rainbow colors. These bright hues stand out dramatically against minimalist nude or clear base coats, creating a modern twist on the classic design. We suggest using quality neon polishes to ensure vibrant color payoff and longevity.
Rainbow Tips on Nude Base
Nude base rainbow tips combine sophistication with playful color by painting rainbow stripes exclusively on the nail tips. This approach maintains workplace appropriate elegance while adding personality to your manicure. The neutral base allows rainbow colors to pop without overwhelming the overall design.
Gradient tip application involves blending multiple rainbow colors within the tip area itself, creating a miniature sunset effect on each nail. We recommend using a small makeup sponge to achieve smooth color transitions within the limited tip space. This technique requires patience but produces stunning results that photograph beautifully.
Metallic accents enhance nude base rainbow tips by incorporating gold or silver details between color sections. These metallic elements add luxury and help define color boundaries for cleaner application. The combination creates dimension and catches light beautifully throughout the day.
Multi-Colored French Design
Abstract French tips incorporate rainbow colors into artistic patterns like swirls, splatters, or geometric shapes along the nail tip. This modern approach allows for creative expression while maintaining the French manicure structure. We suggest practicing these patterns on nail wheels before applying to natural nails.
Reverse rainbow French places vibrant colors at the nail base instead of the tip, creating an unexpected twist on traditional design. This technique works exceptionally well when combined with negative space elements or metallic accents for added sophistication. The reverse application draws attention to the cuticle area and creates unique visual interest.
Micro rainbow French uses extremely thin lines in multiple colors to create delicate rainbow effects along the smile line. This subtle approach works perfectly for professional settings while still incorporating playful color elements. We recommend using striping brushes or nail art pens for precise application and clean lines.
Glitter Rainbow Nail Ideas
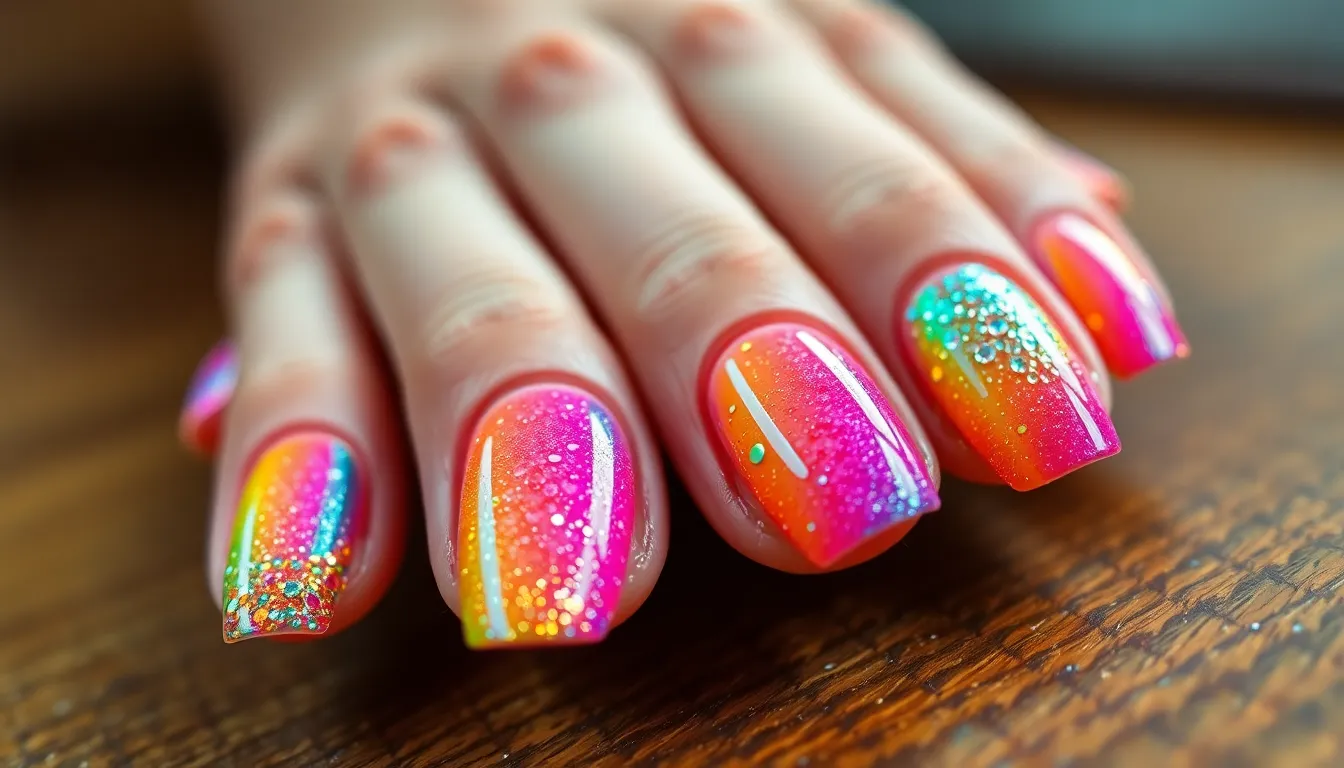
We’re adding sparkle to our rainbow repertoire with glitter techniques that catch light beautifully. These designs transform basic rainbow concepts into dazzling works of art.
Rainbow Glitter Gradients
Rainbow glitter gradients blend different colors of glitter nail polish to achieve stunning gradient effects across your nails. We can create these transitions horizontally from thumb to pinky or vertically across each individual nail for maximum impact. Start with your lightest glitter shade at the cuticle and gradually blend darker tones toward the tip using a small makeup sponge.
Layering different glitter polishes creates depth and dimension that regular polish can’t match. We recommend applying a base coat first, then dabbing each glitter color while the previous layer is still slightly tacky. This technique allows the colors to merge naturally without harsh lines between shades.
Holographic Rainbow Effects
Holographic nail polishes contain special pigments that scatter light to create natural rainbow effects on your nails. We’ve found that applying a dark base coat intensifies the holographic appearance significantly, making the rainbow shine more vibrant. Black or deep navy bases work particularly well for maximizing the holographic impact.
Holographic powders offer another approach for achieving these magical effects on top of any base color. We apply the powder over tacky base polish using a small eyeshadow brush, then seal with a quality top coat. The result is a mirror like finish that shifts through rainbow colors as light hits different angles.
Chunky Glitter Rainbow Accents
Chunky glitter creates bold rainbow accents that serve as stunning focal points in your nail design. We use this technique on one or two accent nails while keeping the others more subdued with solid colors or subtle gradients. Apply chunky glitter over a complementary base color or use it as a standalone statement on clear polish.
These accent nails work perfectly when you want rainbow elements without overwhelming your entire manicure. We recommend placing chunky glitter accents on your ring fingers or thumbs for the most balanced look. Press the glitter gently into wet polish and finish with a thick top coat to smooth the texture and prevent snagging.
Minimalist Rainbow Nail Designs

Sometimes we want to embrace rainbow colors without overwhelming our look. These subtle approaches let us enjoy vibrant hues while maintaining an elegant, understated aesthetic.
Single Rainbow Accent Nail
Creating a single rainbow accent nail gives us the perfect balance between bold color and sophisticated restraint. We can paint one nail with a full rainbow ombre effect while keeping the remaining nails in nude or clear polish. This technique works particularly well on the ring finger, where it naturally draws attention without overpowering our entire manicure.
For those who prefer even more subtlety, we recommend trying a minimalist rainbow dot pattern on just one accent nail. The contrast between the colorful focal point and neutral base creates visual interest that’s appropriate for both professional and casual settings.
Thin Rainbow Lines
Delicate rainbow lines offer us a modern way to incorporate all seven colors into our nail design. We can paint these lines horizontally across each nail, creating a gradient effect that blends colors seamlessly from red to purple. The key is keeping the lines extremely thin, almost like delicate brush strokes.
Vertical rainbow lines work exceptionally well for elongating shorter nails while maintaining the minimalist aesthetic. These lines run from cuticle to tip and can be spaced evenly or arranged in clusters for different visual effects. A nude or clear base coat helps emphasize the rainbow lines without competing for attention.
Rainbow Dot Patterns
Rainbow dot patterns let us create stunning gradient effects using simple dotting techniques. We start with red dots at the top of our nail and progress through orange, yellow, green, blue, indigo, and purple toward the bottom. Using a dotting tool ensures consistent size and placement for professional looking results.
Spacing plays a crucial role in achieving the perfect rainbow dot effect. We can arrange dots in neat rows for a structured appearance or scatter them irregularly for a more organic, artistic feel. The gradient ombre style works best when we blend adjacent colors slightly, creating smooth transitions between each hue in our rainbow pattern.
Abstract Rainbow Nail Art
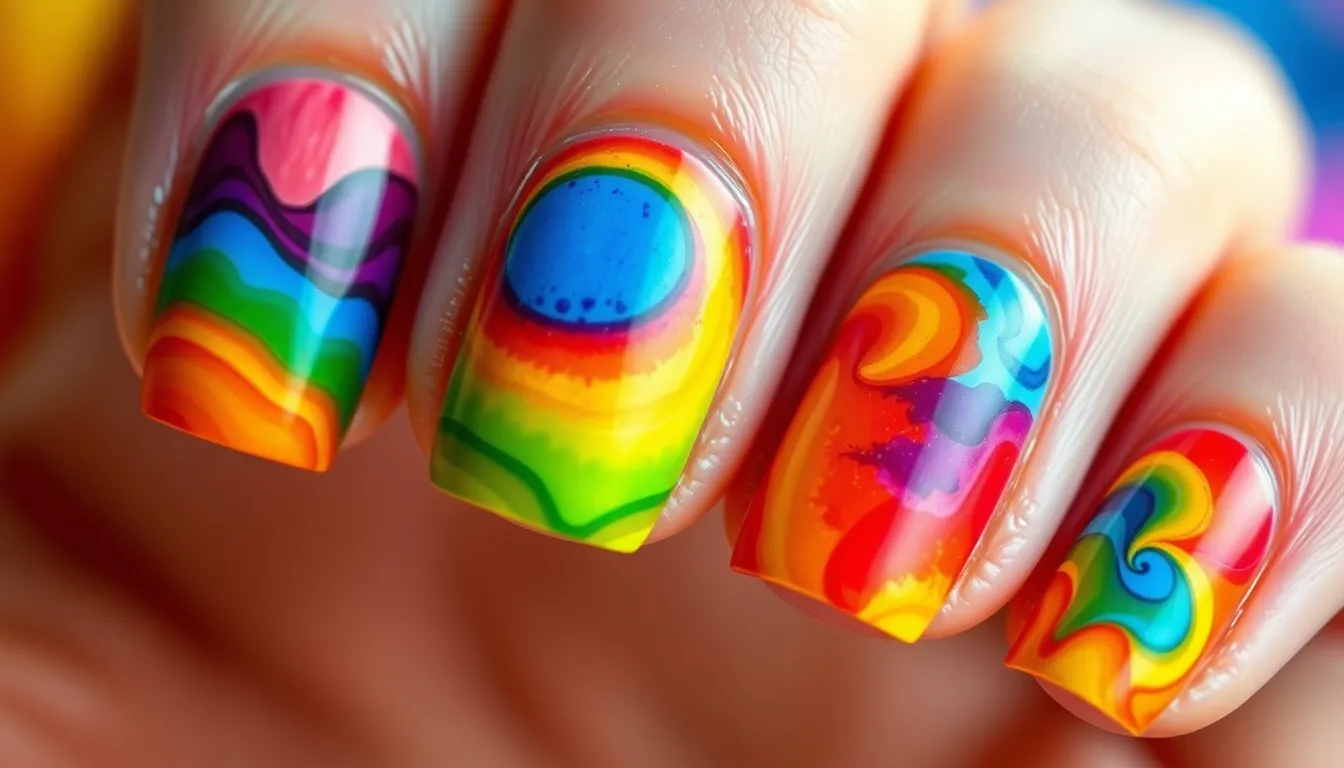
Abstract rainbow designs let you express creativity without following structured patterns. These techniques create stunning artistic effects that look professionally done while embracing spontaneous color combinations.
Watercolor Rainbow Effects
Watercolor rainbow effects create dreamy, artistic nail designs that blend colors seamlessly like paint on canvas. Start with a light base coat and then use a wet brush to blend droplets of different colored polishes, creating the signature watercolor appearance. The key is working quickly while the polish remains wet, allowing colors to naturally flow into each other.
Apply small dots of rainbow colors randomly across your nail using a thin brush or dotting tool. Immediately blend these colors with a damp brush, creating soft transitions between hues. The wet brush technique prevents harsh lines and gives you that authentic watercolor aesthetic we’re looking for.
Focus on lighter shades like pastels or diluted regular polishes for the most realistic watercolor effect. Finish with a clear top coat once completely dry to protect your artistic creation and add shine to the delicate color transitions.
Geometric Rainbow Shapes
Geometric rainbow shapes combine structured design elements with vibrant rainbow colors for modern, eye-catching nail art. Use striping tape to create clean geometric patterns like chevrons, triangles, or hexagons, then fill each section with different rainbow colors. This technique gives you precise lines and professional-looking results every time.
Start by applying a base coat and letting it dry completely before placing your striping tape. Create your desired geometric pattern, ensuring the tape adheres firmly to prevent color bleeding. Paint each section with a different rainbow color, working from lightest to darkest to avoid contamination.
Remove the striping tape while the polish is still slightly wet for the cleanest lines. Dotting tools can help you create geometric dot patterns, while nail brushes work perfectly for filling larger geometric sections. The contrast between sharp geometric lines and flowing rainbow colors creates visually striking designs that work for both casual and formal occasions.
Marble Rainbow Techniques
Marble rainbow techniques create elegant, swirled patterns that mimic natural marble stone with vibrant rainbow colors. The water marble method involves dripping different colored polishes into a cup of room temperature water, then dipping your nail into the colorful mixture. This classic technique produces unique patterns that never repeat exactly the same way twice.
Alternatively, create marbled effects using a nail polish palette or foil. Drop different rainbow colors onto your palette, then swirl them together with a toothpick or nail art brush before applying to your nail with a sponge. This method gives you more control over the final pattern while still maintaining that organic, marbled appearance.
Work quickly with marble techniques since nail polish begins to set rapidly. Protect your cuticles with tape or liquid latex before attempting water marble methods. The unpredictable nature of marble rainbow techniques means each nail becomes a unique piece of wearable art that showcases beautiful color combinations in flowing, natural patterns.
Rainbow Chrome and Metallic Finishes
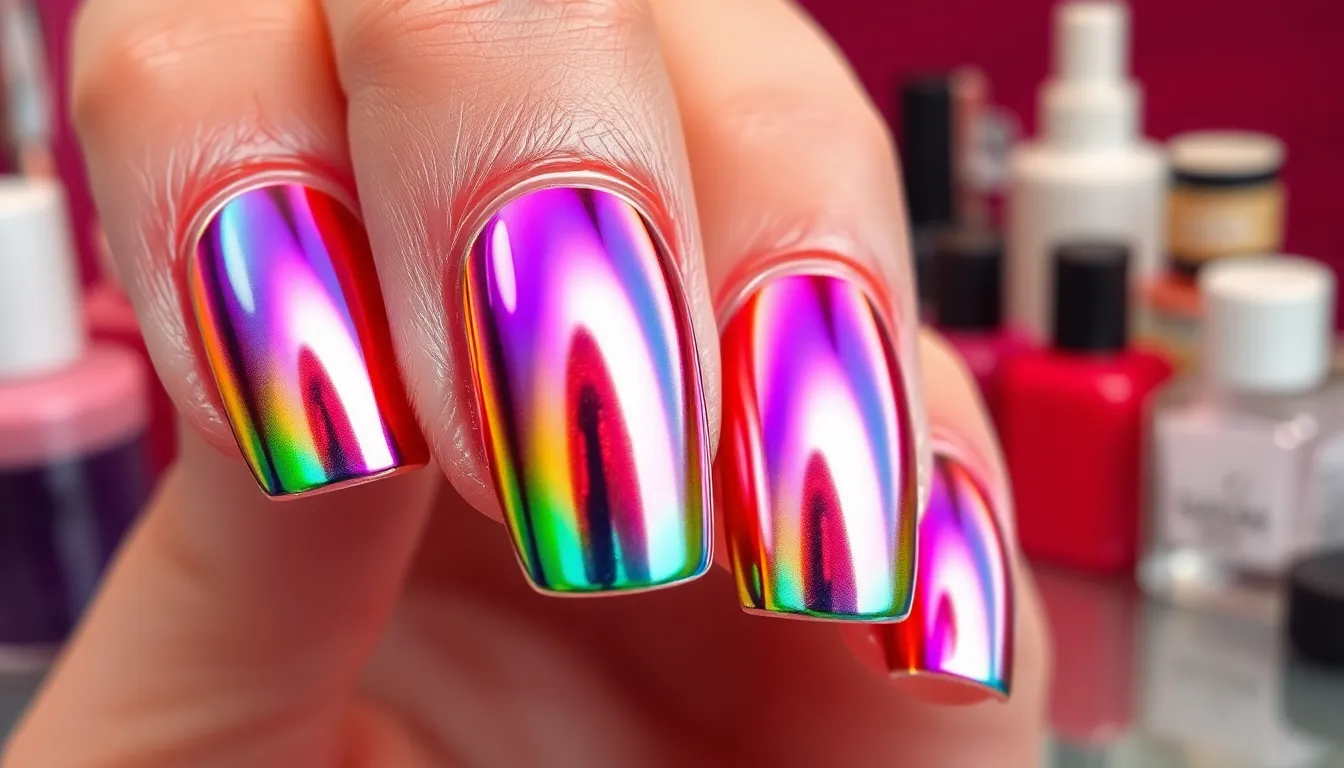
Chrome rainbow nails combine metallic chrome with vibrant rainbow hues, creating a mirror-like finish that reflects light with a holographic effect. These futuristic designs are particularly stunning when paired with dark colors like blues and purples for dramatic contrast.
Iridescent Rainbow Nails
Iridescent rainbow nails feature a mesmerizing, color-shifting effect that changes appearance based on the angle of light hitting your nails. This ethereal finish creates depth and dimension that traditional rainbow techniques can’t achieve.
Application Process:
- Apply your base coat and allow it to dry completely
- Use iridescent pigments mixed with clear top coat for the shifting effect
- Layer iridescent glitters over your base color for added sparkle
- Seal with a high-quality top coat to enhance the reflective properties
The key to achieving this look lies in using specialized iridescent pigments that reflect multiple colors simultaneously. We recommend starting with a black or dark base color to make the iridescent effect more pronounced and vibrant.
Chrome Rainbow Powder
Chrome rainbow powder creates the signature multicolored, holographic effect that makes chrome rainbow nails so captivating. This specialized powder transforms ordinary nail polish into a mirror-like surface with rainbow reflections.
Application Steps:
- Apply your base color and cure under UV/LED light
- Rub chrome rainbow powder onto the tacky layer using a silicone brush
- Buff the powder gently to achieve an even, mirror-like finish
- Apply top coat to seal and protect the chrome effect
Professional nail artists often use chrome rainbow powder over dark gel polish bases to maximize the reflective properties. The powder works best when applied to a completely smooth surface, so proper nail preparation is essential for achieving that flawless chrome finish.
Metallic Rainbow Foil
Metallic rainbow foil adds vibrant, reflective accents to your rainbow nail designs with intricate patterns and textures. This technique allows for precise placement and creative geometric designs that catch light beautifully.
Application Techniques:
- Cut foil into desired shapes and patterns before application
- Apply foil adhesive or use the tacky layer of gel polish as your base
- Press foil firmly onto the nail surface and peel away carefully
- Create layered effects by overlapping different colored foils
Foil application works exceptionally well for accent nails or creating exact rainbow patterns within your overall design. We find that combining metallic rainbow foil with other techniques like chrome powder creates stunning dimensional effects that elevate your nail art to professional levels.
Seasonal Rainbow Nail Ideas

Adapting your rainbow nail art to match the seasons creates a harmonious look that complements the changing colors around us. We’ll explore how different color palettes and techniques can capture the essence of each season perfectly.
Spring Pastel Rainbows
Pastel rainbow skittle nails offer the perfect introduction to spring nail art by painting each nail a different soft hue like yellow, green, blue, purple, and pink for a bright yet subtle appearance. Creating this look involves selecting pastels that complement your skin tone while maintaining the rainbow sequence across your fingertips.
Minimalist pastel rainbow designs work beautifully when you apply pastel hues over a nude base coat for a subtle pop of color that won’t overwhelm your spring wardrobe. This technique allows the natural nail to show through slightly, creating depth and sophistication.
Classic pastel single tones provide an elegant alternative by choosing one shade like baby blue, mint green, or pink marshmallow for all nails. We recommend rotating through different pastel shades weekly to maintain the rainbow theme while keeping your look refined and seasonally appropriate.
Summer Bright Rainbow Designs
Vibrant rainbow stripes capture summer’s energetic spirit by using bold, bright colors to create striking striped patterns that demand attention. Apply these stripes horizontally, vertically, or diagonally depending on your nail shape and personal preference.
Rainbow ombre techniques create stunning summer looks by gradually transitioning from one bright color to another for a vibrant fade effect. Start with the darkest color at the cuticle and blend toward the lightest shade at the nail tip using a makeup sponge for seamless transitions.
Gel polish applications ensure your bright summer rainbow designs last longer in hot weather and pool activities. The enhanced durability of gel formulas means your vibrant colors stay chip free for up to two weeks of summer adventures.
Autumn Rainbow Color Schemes
Earth toned rainbow combinations perfectly capture fall’s essence by blending terracotta, olive green, golden yellow, and deep orange for a season inspired look. These warm, muted tones create a sophisticated rainbow that complements autumn fashion and foliage.
Autumn leaf accent designs enhance your rainbow base by adding leaf shaped elements in shades of red, orange, and yellow. Paint small maple or oak leaf silhouettes over your earth toned rainbow background for added seasonal detail.
Coffin and square nail shapes work particularly well with autumn rainbow designs because the extended surface area showcases the rich color combinations more effectively. Experiment with different nail shapes to find the perfect canvas for your seasonal rainbow art.
Rainbow Nail Art Tools and Products

Creating stunning rainbow nail designs requires the right tools and products to achieve professional-looking results at home.
Essential Rainbow Polishes
Rainbow color collections form the foundation of any successful nail art project. We recommend stocking up on nail polish in every color of the rainbow including red, orange, yellow, green, blue, and purple to create a versatile palette for different designs.
Neon shades deliver bold, eye-catching results that make your rainbow designs pop under any lighting. These vibrant formulations work perfectly for summer festivals and Pride celebrations when you want maximum impact.
Pastel alternatives offer a softer, more subtle approach to rainbow nail art. We find these gentler tones ideal for workplace-appropriate designs or when you prefer understated elegance over dramatic statements.
Color coordination becomes easier when you choose polishes from the same brand family. This ensures consistent formula thickness and drying times across all your rainbow shades.
Nail Art Brushes and Tools
Nail art brushes prove crucial for creating intricate designs like French tips, swirls, and geometric patterns with precision. We suggest investing in various brush sizes to handle both detailed work and broader color application.
Dotting tools excel at creating small dots and patterns such as daisies or hearts throughout your rainbow designs. These inexpensive tools come in multiple tip sizes for versatile pattern creation.
Nail sponges deliver perfect ombre effects by seamlessly blending colors together. We recommend using makeup sponges or specialized nail sponges to achieve smooth gradient transitions between rainbow shades.
Striping tape creates sharp, clean lines and stripes that elevate your rainbow nail art. This tool ensures professional-looking geometric patterns and prevents color bleeding between sections.
Nail stickers and decals provide quick, easy design additions like stripes or patterns when time is limited. We find these particularly helpful for adding finishing touches to complex rainbow designs.
Top Coats for Rainbow Designs
Quick drying top coats prevent smudges and ensure a smooth finish across all your rainbow colors. We prioritize these formulations because they protect intricate designs while reducing wait time between coats.
Glossy finishes enhance the vibrancy of rainbow colors and create a mirror-like shine that catches light beautifully. These top coats work especially well with neon and chrome rainbow designs.
Matte alternatives offer a more subtle, sophisticated look that tones down bold rainbow combinations. We recommend these for workplace-appropriate rainbow designs or when you prefer understated elegance.
Base coat application protects your natural nails and ensures proper polish adhesion across all rainbow shades. This essential step prevents staining and extends the longevity of your colorful nail art.
Conclusion
Rainbow nail art offers endless possibilities for self-expression and creativity. Whether you’re drawn to bold stripes or subtle gradients we’ve shown you that achieving stunning results doesn’t require professional training.
From seasonal designs that match nature’s changing palette to chrome finishes that catch every light these techniques let you create truly unique nail art. The key is having the right tools and being willing to experiment with different approaches.
We encourage you to start with simpler designs and gradually work your way up to more complex techniques. Remember that practice makes perfect and each attempt teaches you something new about color blending and application methods.
Your nails are your canvas so don’t be afraid to mix techniques or create your own variations. The rainbow trend isn’t going anywhere and now you have all the knowledge needed to make it your own.
Frequently Asked Questions
What occasions are rainbow nails suitable for?
Rainbow nails are perfect for various occasions including Pride month celebrations, summer festivals, beach vacations, and any time you want to add vibrant color to your look. They’re versatile enough for casual outings, special events, or simply when you want to express your creativity and brighten your mood.
Do I need professional skills to create rainbow nail art?
No, you don’t need professional skills to create beautiful rainbow nail art. The techniques range from simple designs like horizontal stripes to more advanced methods like gradient blending. With the right tools and step-by-step guidance, beginners can achieve stunning results at home.
What are the basic rainbow nail design techniques for beginners?
Beginners should start with classic rainbow stripe designs including horizontal stripes, vertical lines, and diagonal patterns. These foundational techniques help you master color application and clean lines before progressing to more complex designs like gradients or abstract patterns.
How do I create a rainbow gradient effect on my nails?
To create rainbow gradients, you can use three main techniques: ombré rainbow fade, sponge gradient method, or brush blending. The sponge method involves applying different colors to a makeup sponge and gently dabbing it onto your nails for a seamless color transition.
What tools do I need for rainbow nail art?
Essential tools include various rainbow nail polishes (neon and pastel shades), nail art brushes, dotting tools, makeup sponges, striping tape, and quality top coats. These tools help you achieve clean lines, smooth gradients, and professional-looking finishes for your rainbow designs.
Can rainbow nail art work for different seasons?
Yes, rainbow nail art can be adapted for any season. Spring features pastel rainbow combinations, summer showcases vibrant stripes and ombré effects, autumn incorporates earth-toned rainbows with leaf accents, and winter can include metallic or chrome rainbow finishes for festive looks.
How do I make my rainbow nails last longer?
To ensure longevity, use a quality base coat, apply thin layers of polish, seal with a durable top coat, and consider gel polish for extended wear. Avoid water exposure immediately after application and use cuticle oil regularly to maintain nail health and design integrity.
What’s the difference between chrome and regular rainbow nails?
Chrome rainbow nails feature a mirror-like metallic finish using specialized chrome powders, while regular rainbow nails use standard polish. Chrome nails offer an iridescent, color-shifting effect that creates a more dramatic and futuristic appearance compared to traditional matte or glossy rainbow designs.
