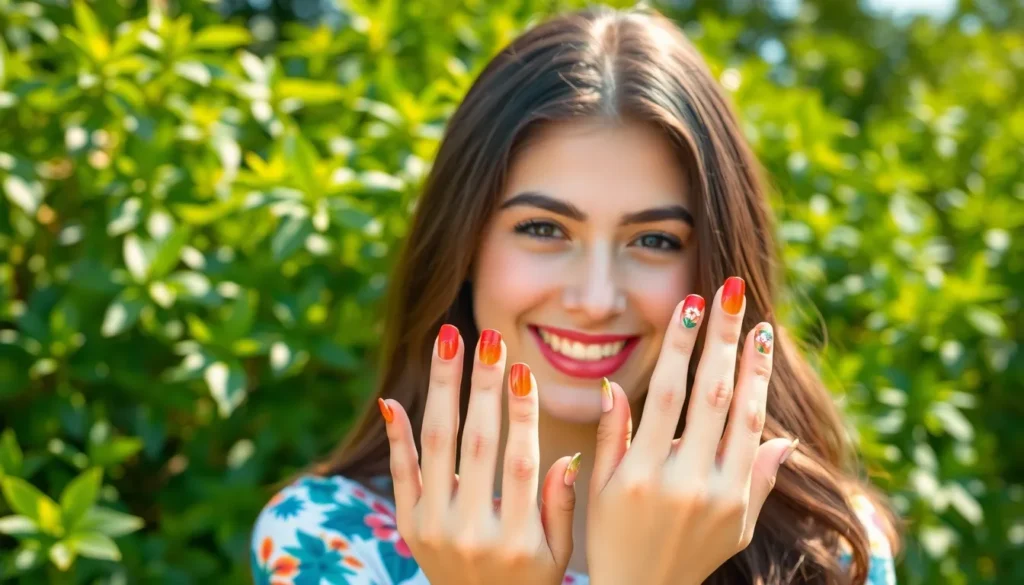
Summer’s finally here and we’re ready to ditch those dark winter hues for something fresh and vibrant! June brings longer days, beach trips, and countless opportunities to show off stunning nail art that captures the season’s energy. Whether you’re planning a tropical vacation or simply want to embrace the warm weather vibes, your nails deserve a makeover that screams summer sophistication.
We’ve curated the most trending June nail ideas that’ll have you reaching for your phone to book that manicure appointment. From coral sunset gradients to minimalist beach-inspired designs, these looks are perfect for everything from backyard barbecues to rooftop parties.
The best part? These designs work beautifully on any nail length and can be customized to match your personal style. Get ready to discover nail art that’s not only Instagram-worthy but also surprisingly wearable for your everyday summer adventures.
Fresh Floral Patterns Perfect for June Blooms
June brings nature’s most beautiful flowers into full bloom, inspiring us to recreate these stunning patterns on our nails. We’re seeing floral nail art take center stage this season with designs that capture the essence of summer gardens.
Delicate Rose Designs
Rose patterns offer timeless elegance that works beautifully for June celebrations and everyday wear. We love creating soft pink and coral roses using a dotting tool or fine brush to build layers of petals. Start with a light base color like nude or soft pink, then add darker shades for depth and dimension.
Hand painted roses look stunning when placed at the accent nail or scattered across multiple fingers. Consider mixing different rose sizes to create visual interest, with larger blooms on the ring finger and smaller buds on other nails. White roses on a clear base create an especially fresh look that complements any summer outfit.
Vibrant Sunflower Accents
Sunflower designs bring instant sunshine to your fingertips with their bold yellow petals and rich brown centers. We recommend using a bright yellow base and adding individual petals with a thin brush or nail art pen. The contrast between golden yellow petals and dark chocolate centers creates eye catching drama.
Position sunflowers as statement pieces on one or two accent nails while keeping other fingers simple with coordinating colors. Try pairing sunflower art with sage green or warm brown bases to mimic the natural color palette of these cheerful blooms. Small sunflower clusters work particularly well on shorter nails.
Minimalist Daisy Details
Daisy patterns provide a clean and fresh approach to floral nail art that’s perfect for those who prefer subtle designs. We create these using simple white petals arranged around tiny yellow centers, making them achievable for beginners. A single daisy per nail or small scattered daisies across the nail bed both look effortlessly chic.
White daisies pop beautifully against pastel backgrounds like lavender, mint green, or baby blue. Consider adding tiny green leaves or stems for extra detail without overwhelming the minimalist aesthetic. These designs work exceptionally well for professional settings while still celebrating the floral trends of June.
Bright Summer Color Combinations That Pop
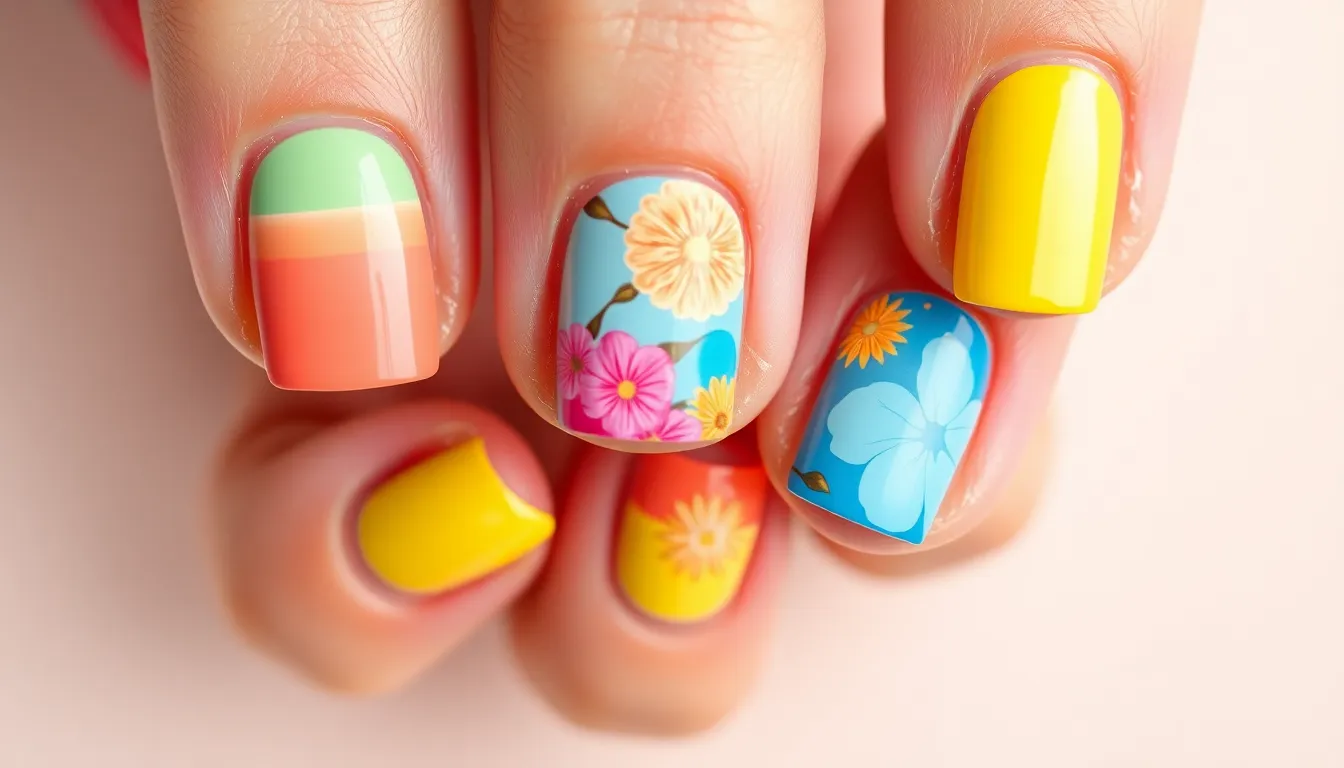
Bold color pairings create stunning nail art that captures June’s vibrant energy. We’ve curated these electrifying combinations to help you make a statement this summer season.
Coral and Mint Green Pairings
Coral and mint green create the perfect refreshing combination for summer nails. This pairing balances warmth with coolness, offering a sophisticated yet playful look that works beautifully for both casual outings and special occasions.
We love using coral as the base color while incorporating mint green accents through delicate floral designs or geometric patterns. Alternatively, you can flip the script by applying mint green as your primary shade and adding coral details for a fresh twist.
The versatility of this color duo makes it ideal for various nail art techniques. Try creating alternating accent nails, ombré effects, or even intricate botanical patterns that showcase both shades equally.
Sunset Orange and Pink Gradients
Sunset orange and pink gradients capture the magical essence of summer evenings on your fingertips. This dreamy combination blends soft pink hues with vibrant orange tones, creating a seamless transition that evokes warmth and endless summer nights.
Apply pink at the cuticle area and gradually blend into orange toward the tip for a stunning gradient effect. This technique transforms the classic French manicure into something extraordinary and perfectly suited for June’s sunny days.
We recommend using a makeup sponge to achieve the smoothest gradient transition between colors. Start with light layers and build up the intensity gradually for the most professional looking results.
Electric Blue and Yellow Contrasts
Electric blue and yellow create an incredibly bold contrast that’s perfect for making a statement this summer. The cool modern appeal of electric blue paired with yellow’s bright optimism delivers a look that’s both energetic and sophisticated.
Use electric blue as your primary color and incorporate yellow through fun accent designs like stripes, dots, or geometric patterns. This approach allows you to experiment with the brightness while maintaining a balanced overall appearance.
We suggest trying this combination on shorter nails first, as the high contrast can be quite striking. Once you’re comfortable with the pairing, you can expand to more elaborate designs that showcase both colors prominently.
Beach-Inspired Nail Art for Summer Vibes
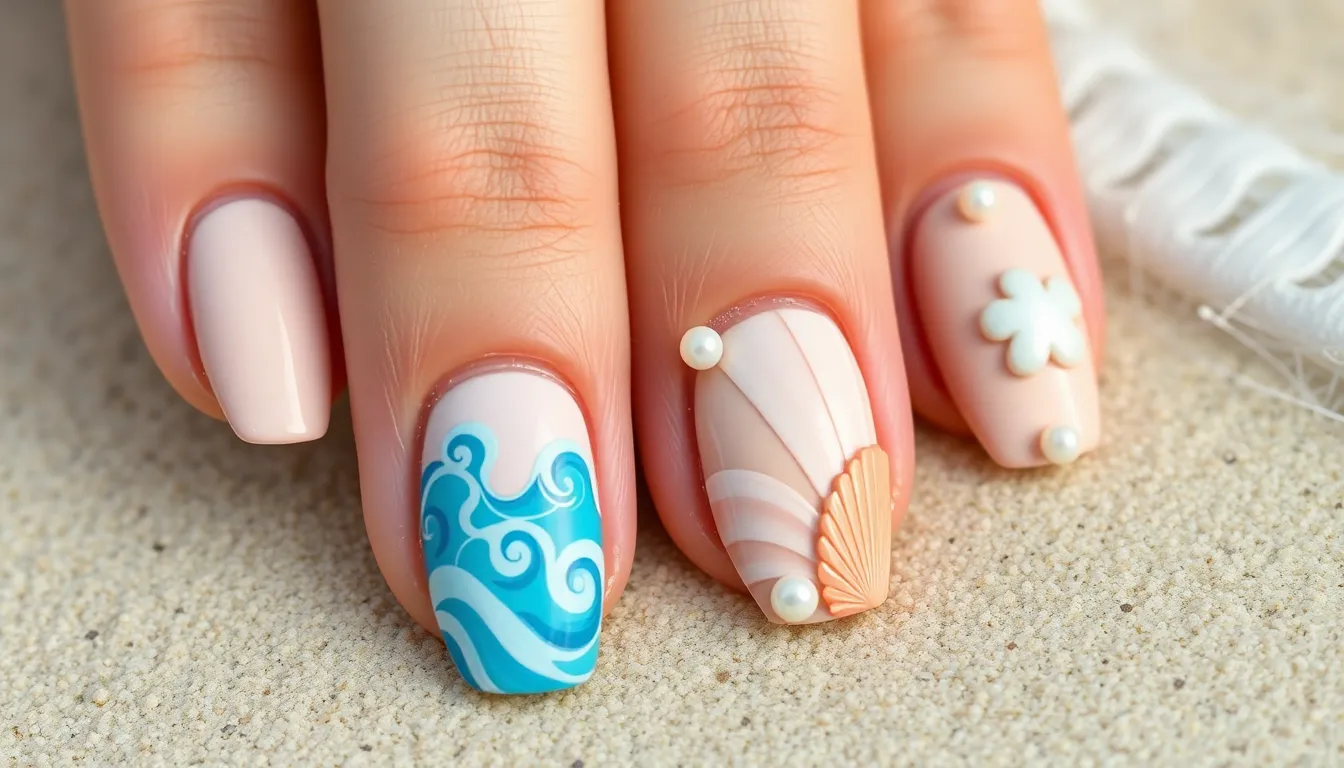
Transform your nails into seaside masterpieces that capture the essence of coastal living. These beach themed designs bring the ocean’s tranquility and beauty right to your fingertips.
Ocean Wave Techniques
Ocean Wave Techniques create stunning aquatic effects that mirror the rhythmic movement of coastal waters. We recommend starting with light blue or turquoise nail polish as your base to establish that perfect oceanic foundation. Apply the base color in smooth, even strokes across each nail for optimal coverage.
Create wave patterns using nail art brushes in flowing, curved motions that mimic natural water movement. Layer different shades of blue from light to deeper tones for dimensional depth. Add white or cream accents strategically to represent foam and wave crests using a dotting tool or fine brush.
Essential materials include ocean hued nail polishes, specialized nail art brushes for creating wave patterns, and dotting tools for achieving realistic foam effects. Practice the wave motion on a nail wheel before applying to ensure smooth, confident strokes.
Seashell and Starfish Motifs
Seashell and Starfish Motifs bring delicate marine life directly onto your nail canvas with pastel elegance. Paint small seashells using soft pink, coral, or cream colors to create realistic shell textures. We suggest varying the shell sizes across different nails for visual interest and natural variation.
Design starfish using five pointed shapes in sandy beige or pale orange tones for authentic coastal appeal. Combine these motifs with complementary beach elements like tiny dots representing sand granules or subtle wave accents. Position the marine creatures strategically on accent nails or create full sets featuring different sea life on each finger.
Required supplies include nail polish in various pastel shades, precision nail art brushes for detailed work, and dotting tools for creating texture and small decorative elements.
Sandy Nude Base with Pearl Accents
Sandy Nude Base with Pearl Accents delivers sophisticated beachside elegance perfect for any summer occasion. Apply nude colored nail polish that closely resembles natural sand tones as your foundation. We prefer warm beige or soft taupe shades that evoke sun kissed beach sand.
Enhance the sandy base with pearl accents placed strategically across the nail surface using a dotting tool. Create clusters of pearl dots near the cuticle or scatter them randomly for a natural beachcombing effect. White or cream polish works beautifully for hand painted pearl details when nail stickers aren’t available.
Necessary materials feature nude colored nail polish in sandy tones, pearl nail stickers for easy application, or alternatively a dotting tool with white or cream polish for custom pearl creation.
Tropical Fruit Nail Designs to Celebrate the Season
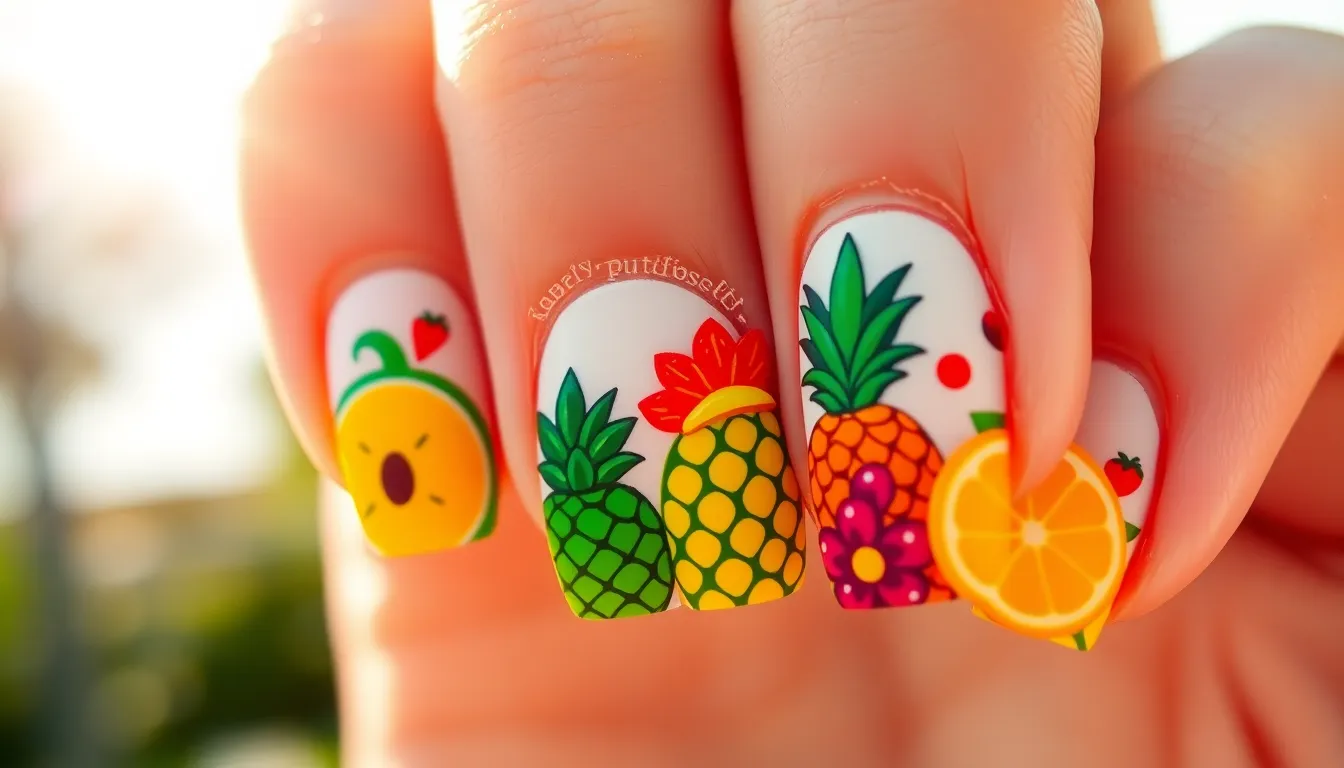
June’s warm weather calls for fresh, playful nail art inspired by tropical fruits that bring vibrant colors and summery vibes to your fingertips.
Watermelon Slice Patterns
Watermelon nail art stands as one of the most popular summer designs for June celebrations. We start with a crisp white base coat to make the vibrant colors truly pop against your natural nails. Pink or red triangular shapes resembling juicy watermelon slices get painted strategically across each nail surface.
Adding a green stripe along the triangle’s edge creates the authentic watermelon rind effect. Some nail artists enhance realism by including lighter green stripes within the darker green border. Small black dots scattered across the pink areas simulate those classic watermelon seeds that make the design instantly recognizable.
Tools we recommend include thin nail art brushes for precise lines and dotting tools for perfect seed placement. Makeup sponges work wonderfully for creating gradient effects that mimic the natural watermelon flesh texture. A quality top coat seals everything in place for long-lasting summer wear.
Pineapple Crown Details
Pineapple nails capture tropical paradise vibes with their distinctive golden appearance and iconic crown design. We begin with a bright yellow or golden base coat that represents the fruit’s sunny exterior. Brown or black dots get carefully placed across the surface to recreate that signature pineapple texture pattern.
The green pineapple crown becomes the star feature, painted either on nail tips or as striking accent details. Bright green polish forms the foundation while sharp triangular brush strokes create individual leaf shapes. These crown details perfectly mimic real pineapple leaves with their pointed, spiky appearance.
Combining pineapple designs with other tropical fruit patterns creates cohesive nail art sets. We love how this playful design instantly transports you to a tropical getaway while celebrating June’s festive energy.
Citrus Fruit Rainbow Effects
Citrus themed nails bring together oranges, lemons, limes, and grapefruits in one spectacular rainbow display. Each individual nail depicts a different citrus fruit slice using vibrant yellows, oranges, and refreshing greens arranged in realistic quarter or half circle shapes.
Curved white lines separate the fruit segments just like real citrus slices, while tiny seed details add authentic finishing touches. We arrange these colorful designs to create rainbow effects across all ten nails, providing endless variety and stunning color harmony.
The bright energy these citrus rainbow designs generate perfectly matches June’s sunny disposition. Basic nail art tools and standard polishes make these designs accessible for both beginners and experienced nail enthusiasts looking to celebrate the season with juicy, tropical flair.
Gradient and Ombre Techniques for June Nails
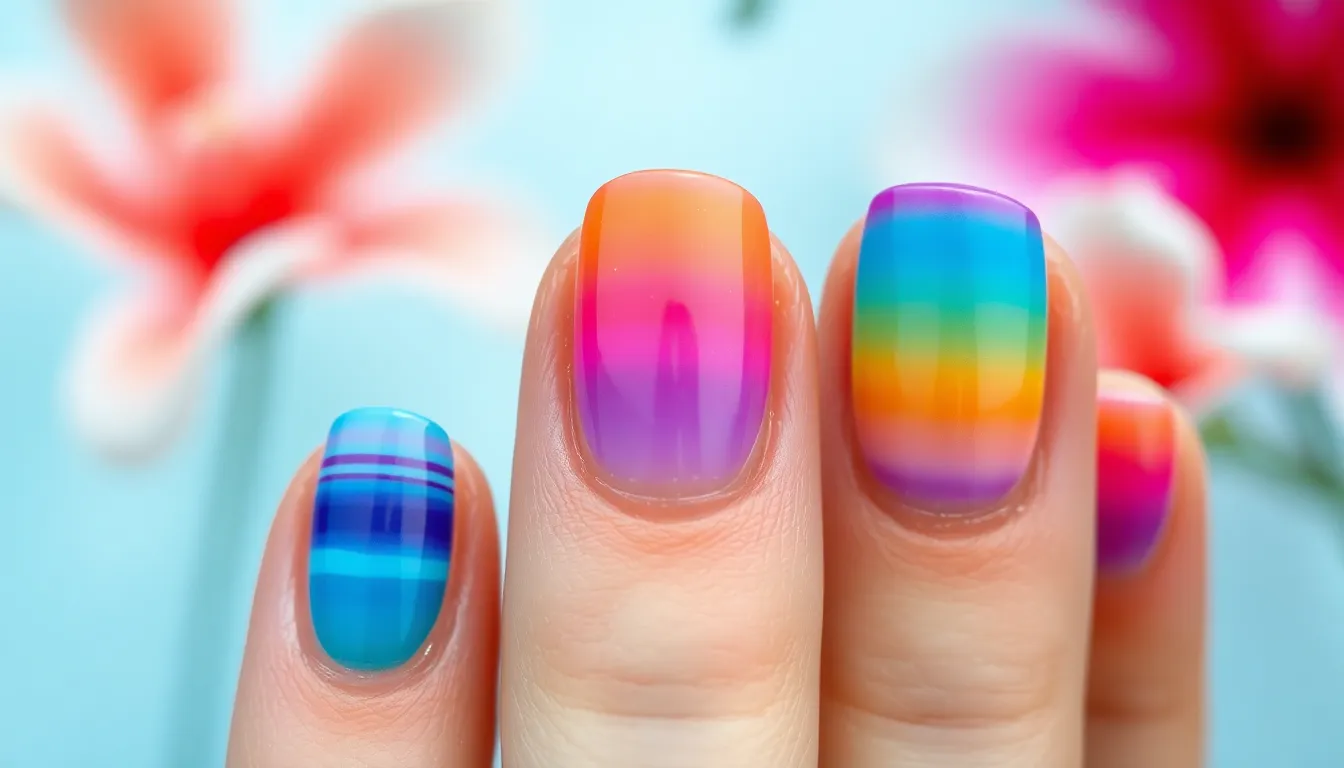
We’re diving into stunning gradient and ombre techniques that’ll elevate your June nail game with smooth color transitions and eye-catching effects.
Sunset Sky Transitions
Sunset sky transitions capture the magic of summer evenings with warm, flowing color combinations. We recommend starting with orange as your base color and gradually blending into vibrant pink and deep purple to mimic those breathtaking twilight moments. Sponge application works best for creating seamless transitions between these warm hues.
Blending becomes effortless when you work with slightly damp makeup sponges and build the colors slowly. We’ve found that using thin coats prevents muddy mixing and maintains the vibrancy of each shade. Orange to pink transitions look stunning on shorter nails, while longer nails can accommodate the full three-color sunset effect from orange through pink to purple.
Professional results come from proper color placement and patient layering techniques. We suggest applying the lightest color first, then dabbing the medium tone in overlapping sections, and finishing with the darkest shade at the tips or base depending on your desired direction.
Ocean Depth Fades
Ocean depth fades bring the tranquil beauty of deep waters to your fingertips using various shades of blue. We start with light sky blue as the foundation and gradually transition through medium blue tones to reach deep navy at the opposite end. These oceanic gradients work beautifully on any nail length and complement both casual beach days and elegant summer evenings.
Creating realistic ocean depth requires understanding how water colors shift from shallow to deep areas. We layer turquoise over the light blue base, then add deeper teal in the middle sections before finishing with navy blue. Blending these shades creates that authentic underwater effect that mimics the ocean’s natural color variations.
Technique matters significantly when crafting these aquatic transitions on your nails. We recommend using a small detail brush to soften harsh lines between colors and create that smooth underwater gradient effect that makes ocean depth fades so mesmerizing.
Pastel Rainbow Blends
Pastel rainbow blends offer a whimsical approach to June nail art using soft, dreamy color combinations. We combine gentle pink, powder blue, lavender purple, and buttery yellow to create enchanting transitions that feel perfect for summer’s lighthearted moments. These softer tones work exceptionally well for those who prefer subtle nail art over bold statements.
Achieving smooth pastel blends requires a lighter touch since these colors have less pigment density than their vibrant counterparts. We apply thin layers and use gentle dabbing motions with cosmetic sponges to prevent the colors from becoming muddy or losing their delicate appearance. Building the gradient slowly ensures each pastel shade maintains its individual beauty while blending seamlessly.
Color placement becomes crucial when working with multiple pastel shades on shorter nail surfaces. We recommend focusing on three colors maximum for shorter nails and expanding to four or five pastels on longer nail lengths to prevent overcrowding and maintain the ethereal effect that makes pastel rainbow blends so appealing.
Glitter and Metallic Accents for Summer Shine
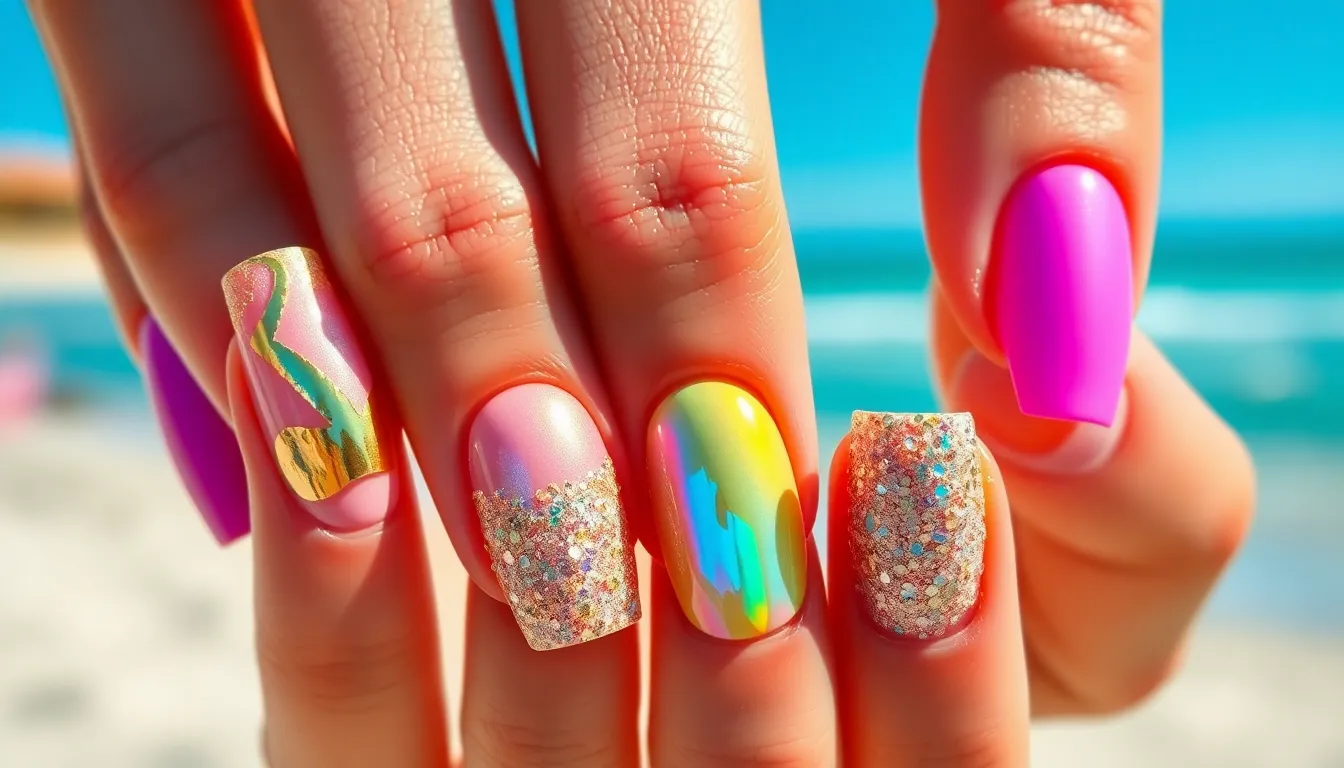
Elevating your June nail art becomes effortless when you incorporate sparkly elements that catch the summer light. These shimmering techniques transform ordinary manicures into eye-catching statements perfect for poolside parties and beach vacations.
Gold Foil Applications
Gold foil creates luxurious nail designs that rival high-end salon treatments. We recommend using nail glue and real gold foil strips for authentic metallic finishes that won’t chip or fade. Applying foil strategically to exact nail sections adds dimension and elegance to your summer look.
Pairing gold foil with clear polish maximizes visibility and creates sophisticated contrast. Light-colored base polishes in nude, pink, or peach also complement gold accents beautifully. Pressing foil firmly onto tacky polish ensures proper adhesion and prevents lifting.
Creating geometric patterns with gold foil strips transforms simple manicures into artistic statements. French tip variations using gold foil instead of white polish offer modern twists on classic styles. Accent nails featuring full gold foil coverage provide focal points without overwhelming your overall design.
Holographic Top Coat Effects
Holographic top coats transform any nail polish into rainbow-shifting masterpieces that dance in sunlight. ETHOS and F.U.N Lacquer produce high-quality holographic toppers that create stunning prismatic effects over any base color. These innovative formulas catch light from multiple angles to produce mesmerizing color shifts.
Layering holographic top coats intensifies the rainbow effect and creates deeper dimension. We suggest applying thin coats rather than thick applications to avoid bubbling or uneven coverage. Building up intensity gradually allows you to control the final holographic strength.
Dark base colors like navy, black, or deep purple showcase holographic effects most dramatically. Light bases in white, silver, or pale pink create subtle rainbow whispers perfect for professional settings. Experimenting with different base shades reveals unique holographic personalities for each combination.
Chunky Glitter Accent Nails
Chunky glitter polish creates playful focal points that capture summer’s fun-loving spirit. Applying glitter to just one or two accent nails prevents overwhelming your design while adding perfect pops of texture. Ring finger and thumb placements work particularly well for chunky glitter statements.
Bright summer colors in pink, orange, and yellow bring vibrant energy to chunky glitter applications. We recommend using glitter polishes with varied particle sizes to create interesting textural depth. Mixing different glitter colors within single accent nails produces custom sparkle combinations.
Sealing chunky glitter with high-quality top coat prevents snagging and extends wear time. Multiple thin top coat layers smooth rough glitter surfaces for comfortable wear. Building up coverage gradually ensures even distribution and professional-looking finishes that last through summer activities.
Minimalist June Nail Ideas for Subtle Elegance
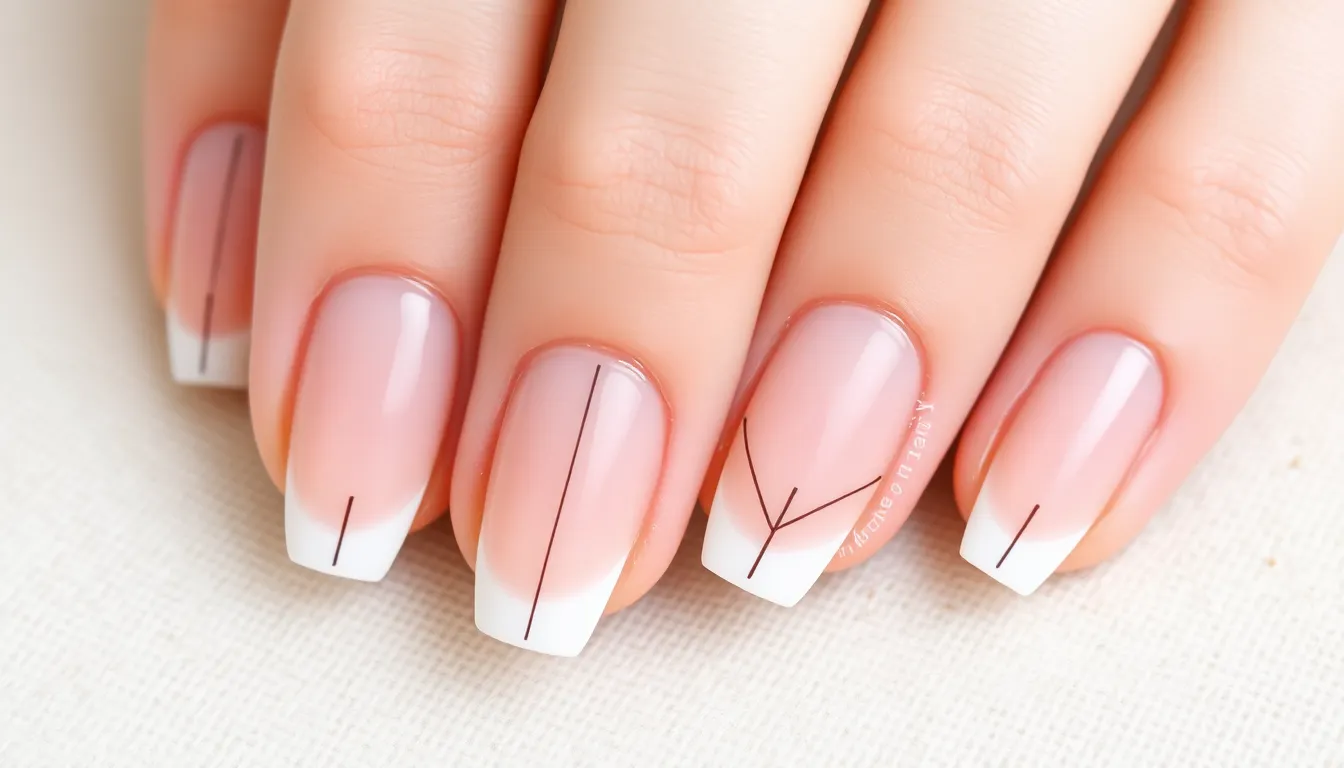
Sometimes less is more when it comes to summer nail art. We’re embracing clean lines and subtle sophistication for June looks that work beautifully in professional settings and casual outings alike.
Clean French Tip Variations
Micro French manicures transform the classic design with ultra-thin color lines along nail edges instead of traditional thick white tips. We love starting with sheer nude base coats and using fine-line brushes to create delicate outlines in soft pinks or beiges for that polished finish.
Negative space designs leave strategic portions of the nail bare, creating chic geometric patterns that feel modern and fresh. These variations work exceptionally well on shorter nails where traditional French tips might overwhelm the nail bed.
Reverse French techniques place accent colors at the nail base rather than the tips, offering a bold twist on the timeless style. We recommend pairing these with neutral tones like soft beige to maintain that subtle elegance while adding visual interest.
Single Color Statement Nails
Vibrant single shades make powerful statements without complicated designs or multiple colors. We suggest choosing one bold hue that complements your skin tone and applying it evenly across all nails for maximum impact.
Nude variations in different undertones create sophisticated looks perfect for any June occasion. These shades range from warm peachy nudes to cool taupe tones, allowing you to find the perfect match for your complexion.
Pastel statements work beautifully for summer while maintaining that minimalist aesthetic. Soft lavenders, mint greens, and powder blues offer just enough color to feel seasonal without being overwhelming.
Geometric Line Art Designs
Simple line patterns using fine-tip brushes create striking visual effects with minimal effort. We recommend starting with basic straight lines across one or two accent nails before attempting more complex geometric shapes.
Angular designs incorporate triangles and diamonds for modern, architectural looks that feel fresh and contemporary. These patterns work best when executed in contrasting colors against neutral base shades.
Intersecting lines create sophisticated grid patterns or crosshatch effects that add texture without requiring advanced nail art skills. Experimenting with different angles and spacing helps achieve unique looks that reflect your personal style.
Bold Statement Nails for Summer Events
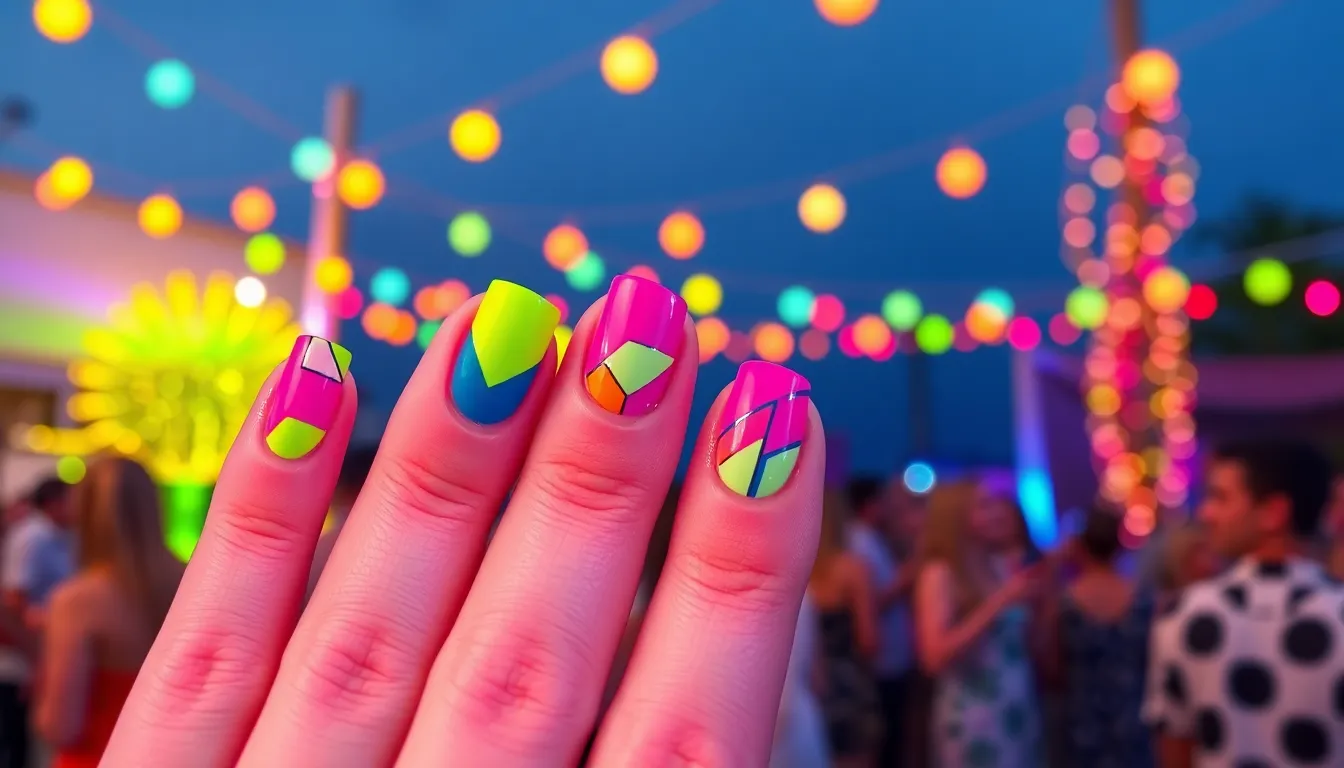
When summer celebrations call for show-stopping looks, we turn to dramatic nail art that commands attention. These designs make perfect conversation starters at festivals, beach parties, and outdoor weddings.
Neon Color Blocking
Neon color blocking transforms your nails into vibrant geometric masterpieces that shine under both sunlight and party lights. We create contrasting blocks using bold neon shades like electric pink, lime green, and shocking orange to make each nail a miniature work of art.
These designs work particularly well for summer festivals where they stand out under LED lighting systems. Some neon polishes even glow under UV light, making them perfect for late-night events and concerts. We recommend starting with a white base coat to make the neon colors pop even more dramatically.
Airbrushed neon techniques offer another stunning approach to this trend. We use vibrant yellows and oranges in outlined nail designs or geometric patterns that create depth and dimension. Professional airbrush tools help achieve smooth color transitions that are difficult to replicate with traditional brushes.
3D Flower Embellishments
3D floral accents bring a whimsical touch to summer nails that captivates everyone who sees them. We attach small acrylic or gel flowers directly onto the nail surface using nail glue or specialized adhesives for lasting wear. These embellishments work especially well for garden parties, weddings, and outdoor brunches.
Popular flower choices include tiny roses, daisies, and cherry blossoms in bright summer colors. We often pair these 3D elements with complementary nail art like gradient backgrounds or subtle shimmer effects. The key is balancing the dimensional flowers with the overall design to avoid overwhelming the nail.
Application techniques require patience and precision for professional looking results. We start by applying a base color and letting it dry completely before adding the flowers. Sealing everything with a thick top coat helps protect the embellishments from daily wear and tear.
Mixed Pattern Combinations
Pattern mixing creates unique nail art that showcases multiple design elements in one cohesive look. We combine stripes, polka dots, and geometric shapes across different nails or even within single nail designs for maximum visual impact. This approach allows endless creativity while maintaining a coordinated appearance.
Summer themes work particularly well with mixed patterns. We might pair tropical leaf prints with geometric triangles or combine floral motifs with bold stripes. The secret lies in choosing a consistent color palette that ties all the different patterns together harmoniously.
Execution strategies help ensure the patterns complement rather than compete with each other. We typically choose one dominant pattern and use others as accent elements. Starting with simpler combinations and gradually adding complexity helps develop the skills needed for more intricate mixed pattern designs.
Easy DIY June Nail Tutorials for Beginners
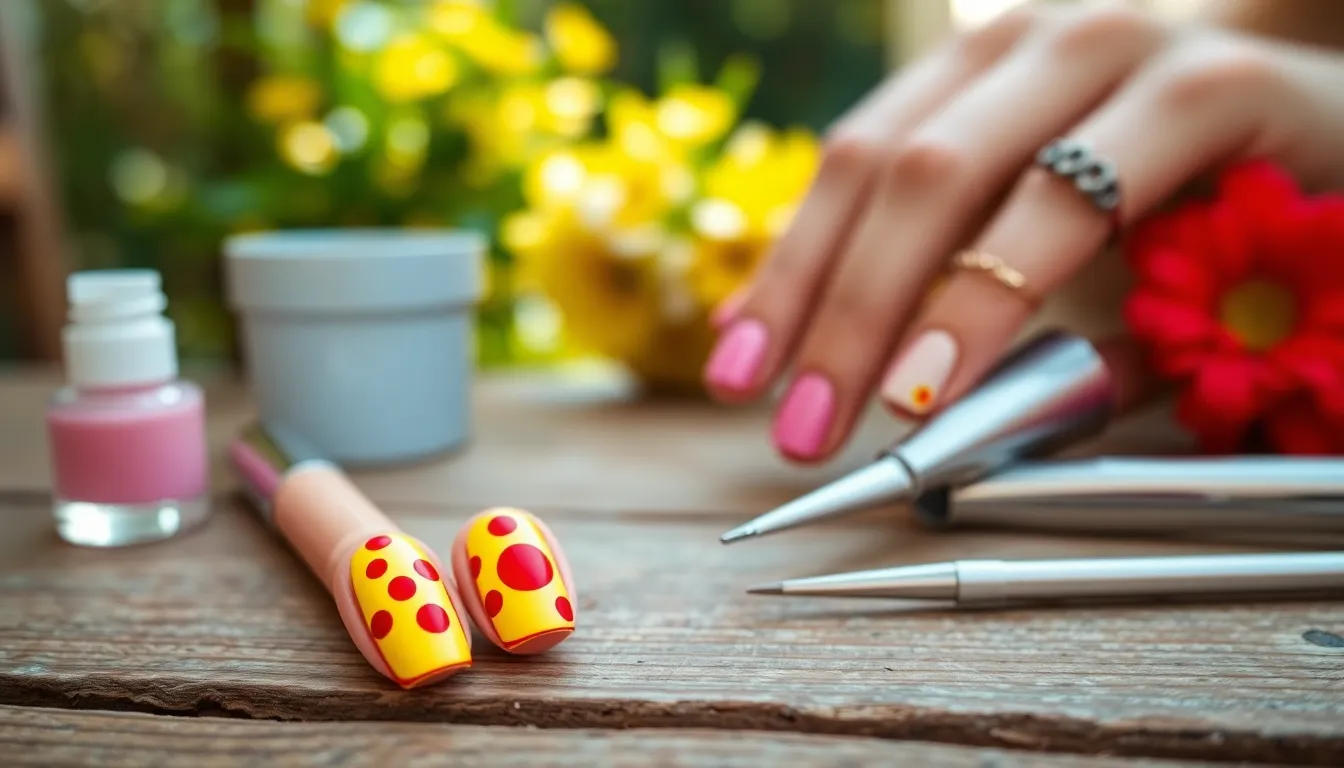
We’ve curated three beginner-friendly techniques that’ll help you create stunning June nail art without professional training. These methods use basic tools and materials you likely already have at home.
Simple Polka Dot Techniques
Polka dots create charming nail art that’s perfect for June’s playful summer vibe. We recommend starting with two contrasting colors like butter yellow and cherry red, which are trending for summer 2025.
Materials you’ll need: Base coat, two nail polish colors, dotting tool or toothpick, top coat.
Step-by-step process:
- Apply your base coat first to protect your natural nails
- Paint a solid background color and let it dry completely
- Dip your dotting tool or toothpick tip into the second color
- Create dots by gently pressing the tool onto your nail surface
- Space dots evenly for uniform patterns or randomly for organic looks
- Seal everything with a clear top coat for lasting wear
This technique works beautifully with muted pastels for French tip variations or bright summer shades for bold statements.
Basic Stripe Patterns
Stripes offer endless possibilities for creating geometric nail art that captures June’s fresh energy. We love how nail tape makes this technique foolproof for beginners.
Essential supplies: Base coat, multiple nail polish colors, nail tape or striping tape, top coat.
Application method:
- Start with your base coat application
- Apply your first color as the background shade
- Place nail tape strips in your desired pattern once the base is dry
- Paint over the taped areas with your second color choice
- Remove tape immediately while the polish is still wet
- Finish with a protective top coat layer
Experiment with different tape widths and spacing to create unique stripe combinations. Vertical stripes elongate shorter nails while horizontal patterns add width to narrow nail beds.
Quick Stamping Methods
Stamping transforms intricate designs into achievable nail art for beginners. We find this technique particularly effective for creating detailed June florals and summer patterns.
Required materials: Nail stamping plate with desired designs, nail stamping tool, nail polish, plastic scraper card, top coat.
Stamping technique:
- Choose your stamping plate design that matches your June theme
- Apply a generous amount of nail polish over the chosen pattern
- Scrape excess polish away using your plastic card at a 45-degree angle
- Press the stamping tool firmly onto the design to pick up the image
- Roll the stamper across your nail surface in one smooth motion
- Apply your top coat once the stamped design is completely dry
Popular June stamping designs include sunflowers, ocean waves, and tropical fruits. Practice on a nail wheel first to perfect your pressure and rolling technique before stamping your actual nails.
Conclusion
June offers endless possibilities for expressing our creativity through stunning nail art that captures summer’s vibrant spirit. Whether we’re drawn to bold tropical patterns or prefer subtle minimalist designs we’ve explored options that work for every style preference and skill level.
The beauty of June nail art lies in its versatility – from beachside elegance to festival-ready statements we can easily adapt these trends to match our summer adventures. With simple DIY techniques and professional-level designs at our fingertips there’s never been a better time to experiment with fresh colors and patterns.
As we embrace the warmth and energy of summer let our nails become the perfect canvas for celebrating this magical season. These June-inspired designs will keep us looking effortlessly chic from poolside gatherings to outdoor celebrations.
Frequently Asked Questions
What are the trending nail art ideas for June 2025?
Trending June nail art includes coral sunset gradients, minimalist beach-inspired styles, fresh floral patterns with roses and sunflowers, and bold color combinations like coral with mint green. Ocean wave techniques, tropical fruit designs, and gradient ombre styles are also popular. These versatile designs work on any nail length and can be customized for both casual and professional settings.
How do I create ocean wave nail art?
Start with a light blue or turquoise base color. Layer different shades of blue to create depth, using darker blues for shadows and lighter blues or white for wave crests. Apply the colors in wavy patterns using a small brush or sponge, blending while wet. Finish with a glossy top coat for a realistic water effect.
What colors work best for summer nail art?
Popular summer nail colors include coral, mint green, sunset orange, electric blue, bright yellow, and tropical pastels. Bold combinations like coral and mint or orange and pink create stunning gradients. Neon shades work great for statement nails, while nude and soft pastels offer minimalist elegance perfect for professional settings.
How can beginners create easy summer nail designs?
Beginners can start with simple polka dots using contrasting colors, basic stripe patterns with nail tape, or quick stamping techniques for floral designs. Use a dotting tool for perfect circles, tape for clean geometric lines, and stamping plates for intricate patterns. These techniques require minimal tools and create professional-looking results.
What materials do I need for DIY summer nail art?
Essential materials include base coat, various nail polish colors, dotting tools, nail tape, small brushes, sponges for gradients, and top coat. For advanced designs, consider nail stamps, foil, glitter, and 3D embellishments. Most summer nail art can be achieved with basic drugstore supplies and common household items like toothpicks.
How do I make tropical fruit nail designs?
Create watermelon nails with a white base, pink triangular shapes, and green stripes for the rind. For pineapples, use bright yellow with crosshatch patterns and green crown details. Citrus designs combine orange, lime, and lemon slices using circular patterns with realistic segments. Use thin brushes for detailed work and bright, vibrant colors.
What are the best minimalist nail ideas for summer?
Minimalist summer nails include clean French tip variations, micro French manicures, negative space designs, and single color statement nails in nude or pastel shades. Geometric line art using simple patterns creates striking effects with minimal effort. These designs maintain elegance while being appropriate for both professional and casual summer settings.
How do I add glitter and metallic accents to summer nails?
Apply gold foil over tacky base coat for luxurious designs, use holographic top coats for rainbow effects, or add chunky glitter as accent nails. Layer glitter gradually for desired intensity and seal with top coat. Pair metallics with light-colored bases for best contrast and ensure proper adhesion by following manufacturer instructions.
Can floral nail art work for professional settings?
Yes, choose subtle floral designs with soft colors like pale pink roses or minimalist daisy patterns against neutral backgrounds. Avoid bold, chunky flowers and opt for delicate, small-scale designs. Nude bases with subtle floral accents maintain professionalism while embracing summer trends. Keep designs simple and colors muted for workplace appropriateness.
How long do summer nail art designs typically last?
With proper base and top coat application, summer nail art can last 7-14 days depending on design complexity and daily activities. Simple designs like solid colors or basic patterns last longer than intricate artwork. Swimming, sun exposure, and outdoor activities may reduce longevity. Use quality products and avoid harsh chemicals to extend wear time.
