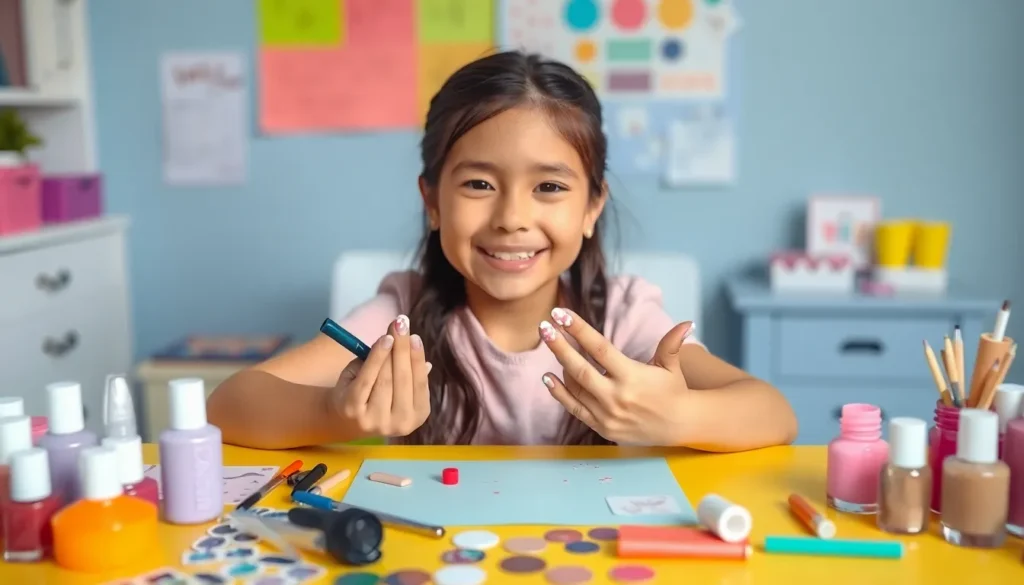
We’ve all seen those adorable little hands reaching for mom’s nail polish collection, and there’s something magical about watching a 9-year-old’s face light up when they get their first real manicure. At this age, kids are developing their personal style and love experimenting with colors and creative designs that reflect their vibrant personalities.
Finding the perfect nail ideas for 9-year-olds isn’t just about pretty colors – it’s about creating age-appropriate designs that are fun, safe, and easy to maintain. We understand that parents want options that won’t interfere with daily activities like sports, school, or playtime while still making their little ones feel special and confident.
From simple polka dots and rainbow stripes to cute animal designs and glittery accents, we’ve gathered the most exciting nail art ideas that’ll have your 9-year-old showing off their manicure to everyone they meet. These creative designs strike the perfect balance between playful and practical.
Simple Solid Color Nails That Are Perfect for Beginners
Simple solid colors offer the ideal starting point for 9 year olds discovering nail art. These classic looks build confidence while developing essential nail care skills.
Choosing Age-Appropriate Colors
Light pastels work wonderfully for young nail artists beginning their journey. We recommend soft pink, lavender, mint green, and baby blue as gentle options that complement any outfit. Classic neutrals like clear polish with shimmer, light coral, or peachy tones provide sophistication without being too mature.
Bright and cheerful shades capture the playful spirit of childhood perfectly. Sunny yellow, bright orange, and vibrant turquoise create joyful nail looks that match their energetic personalities. School-friendly options include subtle colors that won’t distract from learning activities.
Avoid dark colors like black, deep purple, or burgundy as these can appear too mature for 9 year olds. We suggest steering clear of neon shades that might chip easily and show wear more obviously on active hands.
Application Tips for Small Fingers
Prepare the workspace by laying out towels and having nail polish remover ready for quick cleanup. We recommend using a small table where kids can rest their hands comfortably during application. Choose kid-friendly brushes with wider handles that are easier for small hands to grip and control.
Apply thin coats rather than trying to achieve full coverage in one layer. We find that two thin coats create better results and last longer than one thick application. Use gentle strokes from cuticle to nail tip, allowing each coat to dry completely before adding the next layer.
Practice patience by encouraging breaks between coats to prevent smudging. We suggest fun activities like reading or listening to music during drying time. Clean up mistakes immediately with a small brush dipped in nail polish remover for neat, professional looking results.
Fun Sticker and Decal Designs for Easy Nail Art
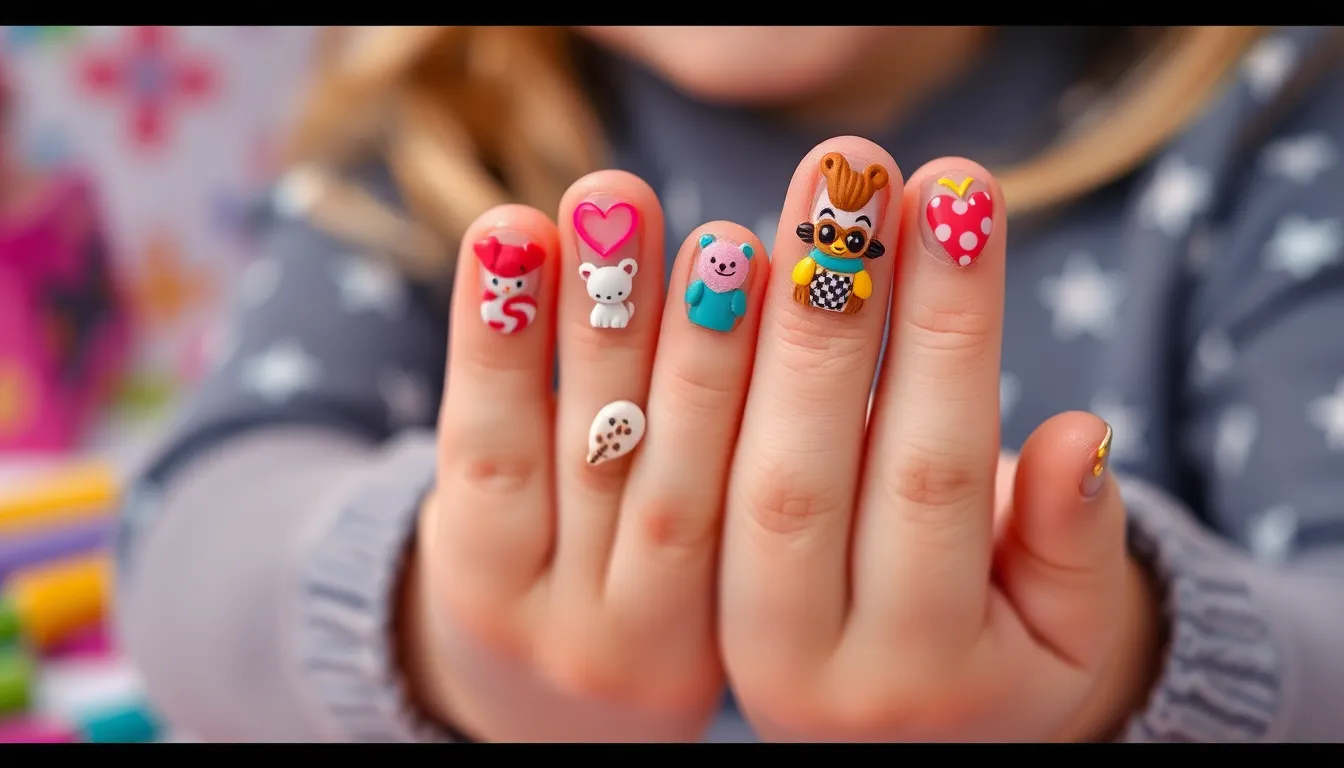
Sticker nail art transforms plain nails into colorful masterpieces without requiring advanced painting skills. Young nail artists can create stunning designs using simple decals that stick directly onto clean nails.
Where to Find Kid-Friendly Nail Stickers
Create stores offer extensive collections of nail stickers designed specifically for children’s delicate nails. Major department stores stock colorful, non-toxic options that feature popular themes like animals, hearts, and seasonal motifs. Online retailers provide convenient access to specialized collections including unicorns, flowers, and whimsical shapes that appeal to 9 year olds.
Pinterest boards showcase curated nail art ideas specifically customized for young kids, featuring short and cute designs with safe materials. Rainy Roses and similar specialty websites maintain carefully selected lists of child-appropriate nail stickers that prioritize both safety and visual appeal. These platforms ensure parents can find quality products that won’t harm developing nails while delivering vibrant results kids love.
How to Apply Stickers Without Mess
Clean and dry nails provide the perfect foundation for successful sticker application. Start by washing hands thoroughly and ensuring nail surfaces are completely free of oils or moisture that might prevent proper adhesion.
Apply a clear or colored base coat if desired, allowing it to dry completely before proceeding. Carefully peel each sticker from its backing paper using clean fingertips or tweezers for precision placement. Position the decal exactly where you want it on the nail surface before pressing down.
Press firmly using the pad of your finger or a soft cotton swab to ensure complete contact with the nail. Work from the center outward to eliminate air bubbles that could cause lifting or peeling. Seal the design with a clear top coat to lock the sticker in place and extend wear time.
Remove any excess sticker material that extends beyond the nail edge using a toothpick or orange stick. Gently push out remaining air bubbles and smooth any wrinkled areas for a professional finish that’ll impress friends and family.
Basic Polka Dot Patterns Using Simple Tools
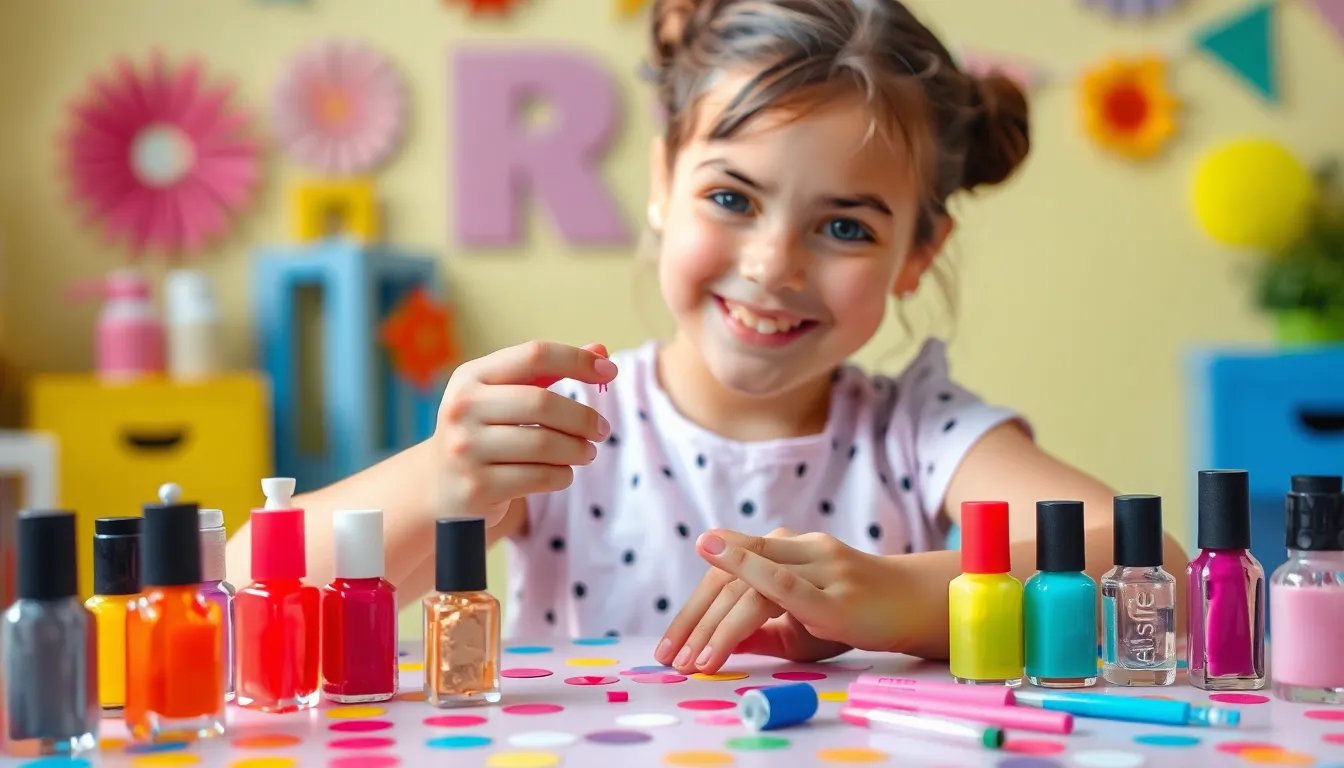
We love polka dot nail art for 9-year-olds because it’s incredibly simple yet creates such a playful, eye-catching look. This technique requires minimal supplies and delivers maximum fun for young nail artists ready to try their first patterns.
Creating Dots with Bobby Pins
Bobby pins serve as the perfect alternative to expensive dotting tools when creating polka dot designs. We recommend dipping the rounded tip of a clean bobby pin directly into your chosen nail polish color. Gently press the pin onto the nail surface after your base coat has completely dried to create uniform, perfectly round dots.
Different dot sizes emerge when you vary the pressure applied or use bobby pins with different sized ends. Light pressure creates delicate, small dots while firmer pressure produces bolder, larger circles. We suggest practicing on a piece of paper first to get comfortable with the technique before moving to actual nails.
Safety remains our top priority, so adult supervision helps ensure proper handling of the bobby pin and nail polish. Clean the bobby pin tip with nail polish remover between different colors to prevent muddy color mixing.
Color Combinations That Pop
Pink bases paired with purple dots create one of our most requested looks for young nail artists. This combination offers a sweet, feminine appeal that works beautifully for everyday wear or special occasions.
Aqua blue bases with silver or white dots deliver that magical mermaid effect that many 9-year-olds absolutely adore. The cool tones complement each other perfectly while creating an underwater fantasy theme.
| Base Color | Dot Color | Theme Effect |
|---|---|---|
| Pink | Purple | Sweet & Feminine |
| Aqua Blue | Silver/White | Mermaid Magic |
| White | Red/Green | Holiday Cheer |
| Rainbow | Various | Playful Vibrant |
White bases provide the perfect canvas for holiday themed designs using red and green dots. These festive combinations work wonderfully for December celebrations or any time your child wants to show seasonal spirit.
Rainbow color schemes allow for maximum creativity by using different colored dots on various base shades. Each nail becomes a unique canvas where bright and pastel colors blend together for a vibrant, personalized look that truly reflects their playful personalities.
Rainbow Stripes for a Colorful Statement

Rainbow stripes create vibrant, cheerful looks that perfectly capture the playful spirit of young nail artists. We love how these colorful designs transform plain nails into festive statements that work beautifully for school days and special occasions.
Horizontal Stripe Techniques
Horizontal stripes offer beginner-friendly application using simple tools like nail tapes or thin brushes. We recommend starting with a neutral or pastel base coat, then adding contrasting shades in parallel lines across each nail. Popular combinations include pink and white for sweetness, purple and yellow for boldness, or alternating bright color blocks for maximum impact.
This technique works particularly well for 9-year-olds because horizontal stripes visually shorten the nail, complementing the shorter lengths we recommend for young children. The application process allows for quick cleanup if mistakes happen, making it perfect for developing steady hands and confidence.
Creating these stripes requires painting your base color first, waiting for it to dry completely, then using striping tape to mark your lines. Remove the tape while the polish is slightly wet for clean, crisp edges that look professionally done.
Vertical Stripe Variations
Vertical stripes elongate the appearance of nails while offering endless creative possibilities for young artists. We suggest using detail brushes or striping tape to draw straight, vertical lines after applying your chosen base color. Many children enjoy experimenting with color-blocking techniques that pair bold and soft shades side by side.
Multi-color vertical blocks create stunning rainbow effects when each stripe uses a different hue from the spectrum. Alternating between two complementary colors per nail provides a sophisticated look that’s still age-appropriate. Gradient effects blended at the stripe edges offer a modern twist that makes nails appear professionally designed.
These designs offer versatile styling options that can be personalized with glitter accents or tiny animal stickers between the stripes. The vertical application helps children practice steady hand movements while creating artwork that showcases their unique personality and creative vision.
Glitter Accent Nails for Special Occasions

Glitter accent nails bring magic to any celebration, making birthdays and holidays extra special for your 9-year-old. We recommend using sparkly polish on just one or two nails to create a dazzling focal point that won’t overpower their overall look.
Safe Glitter Options for Kids
Choosing non-toxic glitter polishes protects your child’s health while delivering stunning results. We trust Piggy Paint for their water-based formula that’s virtually odorless and completely safe for young nails. Their “Glitterbug” polish features multi-silver glitter that looks beautiful on its own or layered over darker base colors.
Little Lady Products offers another excellent choice with their scented, 17-toxin-free polishes that smell as good as they look. We also recommend Oh Flossy for their plant-based formulas that are 10-Free and perfect for sensitive skin. These brands prioritize safety without sacrificing the sparkle that makes special occasions memorable.
Always apply a clear base coat first to protect your child’s natural nails before adding any glitter polish. This extra step helps prevent staining and makes removal much easier when it’s time for a fresh design.
Which Fingers to Accent
Selecting the right fingers for glitter accents creates balance and visual interest in your child’s nail design. We suggest starting with the ring finger for a classic, elegant look that feels sophisticated yet age-appropriate. This traditional choice draws attention without being too bold for everyday wear.
Index fingers work perfectly when your child wants to make a statement with their nail art. These prominent fingers showcase glitter beautifully when they’re writing, drawing, or playing with friends. Consider accenting both index fingers for symmetry or just one for an asymmetrical modern look.
Pinky fingers offer the cutest option for younger children who want subtle sparkle. We love this choice because it’s playful and sweet while still feeling special. The smaller nail surface means less glitter polish is needed, making application easier and more manageable for little hands.
Animal-Themed Nail Art Made Simple

Animal themed nail art brings endless joy to young artists who love expressing their creative side. These adorable designs combine simple techniques with playful themes that make every manicure feel like a fun adventure.
Easy Cat Face Designs
Cat face designs start with creating simple circles for the base shape on each nail. We recommend using a dotting tool or bobby pin to make perfectly round faces that fit comfortably on small nail beds. Pink or white polish works beautifully as the foundation color for these sweet feline friends.
Adding facial features becomes effortless when you break down each element into basic shapes. Small dots create the eyes using black or dark brown polish applied with a toothpick tip. Triangle shapes form the nose using the same dark color, while tiny curved lines make whiskers that bring each kitty to life.
Ears complete the cat face design by adding two small triangular shapes at the top of each circle. We suggest using the base color or a slightly darker shade to create dimension and make the ears stand out. Clear top coat seals the design and helps these adorable cats last through playground adventures.
Simple Butterfly Wings
Butterfly wing designs transform nails into colorful works of art using basic stripe and oval techniques. We start by dividing each nail into sections that represent the upper and lower wing portions. Bright colors like purple, blue, pink, and orange create stunning wing combinations that capture attention.
Creating wing shapes involves painting simple ovals or elongated circles on each side of the nail. The upper wings typically appear larger than the lower wings, mimicking real butterfly proportions. We recommend using different colors for each wing section to add visual interest and make the design pop.
Decorative details enhance butterfly wings through spots, glitter accents, or thin lines that represent wing patterns. Small dots using contrasting colors create beautiful spotted effects, while glitter polish adds magical sparkle that catches light beautifully. These finishing touches make each butterfly unique and help young artists develop their personal style preferences.
Seasonal Nail Ideas Throughout the Year
Seasonal nail art keeps young artists excited and engaged as they celebrate nature’s changing beauty throughout each month. We’ll explore seasonal designs that capture the magic of every time of year with age-appropriate themes and colors.
Spring Flower Motifs
Spring flower motifs bring fresh energy to young nails with soft pastel colors and cheerful designs. We recommend starting with simple daisy patterns using white polish for petals and yellow centers created with a dotting tool or bobby pin. Tulip designs work beautifully with pink, purple, or yellow bases and green stems painted with a thin brush.
Hibiscus flowers create vibrant and colorful options that capture spring’s awakening spirit. These tropical blooms use bright pinks, oranges, and reds with simple petal shapes that young artists can easily master. Easter themed elements like painted eggs, cute bunnies, or delicate butterflies add seasonal charm to spring nail collections.
Summer Beach Themes
Summer beach themes transport young nail artists to sunny coastal adventures with bright, cheerful colors. Seashell designs work perfectly using white or pearl polish as the base with simple curved lines to create conch shells or scalloped edges for clam shells. Anchor motifs bring nautical charm using navy blue or black polish on light blue backgrounds.
Ice cream cone designs capture summer’s sweetness with pink, yellow, and mint green colors stacked in simple triangular cone shapes. Watermelon slice patterns create fun focal points using bright pink polish with black seeds dotted on top and thin green curved lines for the rind.
Fall Leaf Patterns
Fall leaf patterns celebrate autumn’s stunning color palette with warm oranges, deep reds, and golden yellows. We suggest creating simple maple leaf shapes using orange polish as the base and adding thin brown lines for leaf veins with a detail brush. Oak leaf designs work beautifully with yellow and brown combinations, featuring rounded lobes that young artists can paint easily.
Pumpkin motifs add seasonal charm using bright orange polish with green stems and curly vines. Acorn designs bring woodland magic to fall nails with brown oval shapes and tan caps that create adorable autumn accents.
Winter Snowflake Designs
Winter snowflake designs create magical nail art using white or silver polish against dark blue or purple backgrounds. We recommend starting with simple six pointed stars and adding delicate lines extending from each point. Silver glitter polish enhances snowflake centers for extra sparkle that catches winter light beautifully.
Snowman motifs bring winter joy with white oval shapes stacked vertically and tiny orange triangles for carrot noses. Christmas tree designs work perfectly with green triangle shapes and colorful dot ornaments using red, gold, and silver accents. Candy cane patterns create festive holiday spirit with red and white striped designs that young artists love creating for December celebrations.
Nail Care Tips Every 9-Year-Old Should Know

Healthy nail habits start early and create a foundation for beautiful nails throughout life. Teaching proper nail care helps young artists maintain strong, clean nails that serve as the perfect canvas for creative designs.
Proper Nail Hygiene
Trimming techniques matter most for preventing nail damage and maintaining healthy growth. We recommend cutting nails straight across with slightly rounded tops to avoid cracking or breaking. Sharp nail scissors or clippers designed for children work best for achieving clean, even cuts.
Washing hands frequently keeps nails naturally clean and prevents bacteria buildup. Daily hand washing with soap removes dirt that accumulates under nail beds. Gentle scrubbing with a soft nail brush helps eliminate stubborn debris without damaging delicate nail surfaces.
Moisturizing cuticles creates healthy nail growth conditions. We suggest applying a gentle moisturizer to cuticle areas after washing hands. Natural oils like coconut or jojoba work wonderfully for keeping cuticles soft and preventing painful hangnails.
Avoiding nail biting protects against damage and infection risks. Picking at nails or cuticles can introduce harmful bacteria and create open wounds. Instead, we encourage young nail artists to keep hands busy with fidget toys or stress balls when feeling the urge to bite.
Maintaining a protein rich diet supports strong nail development. Foods containing vitamins and minerals fuel healthy nail growth from within. We recommend including eggs, nuts, and leafy greens in daily meals to nourish growing nails naturally.
When to Remove Polish
Duration guidelines prevent nail damage from prolonged polish wear. We recommend removing nail polish after approximately one week to allow nails to breathe properly. Extended wear can cause discoloration and weaken natural nail structure over time.
Gentle removal techniques preserve nail health during polish changes. Using acetone free nail polish removers protects young nails from harsh chemicals. We suggest soaking cotton pads with remover and gently pressing against each nail for 10 seconds before wiping away polish.
Proper shoe fitting prevents ingrown toenails and related complications. Ensuring shoes fit correctly eliminates pressure on toenails that can cause painful ingrown conditions. We recommend checking shoe sizes regularly as growing feet change quickly during childhood years.
Rest periods between polish applications strengthen natural nails. Allowing nails to remain bare for a day or two between manicures helps maintain optimal nail health. This breathing time prevents yellowing and keeps nails strong for future nail art adventures.
Conclusion
We’ve discovered that nail art for 9-year-olds offers endless opportunities for creativity and self-expression. From simple solid colors to sparkly accents and seasonal designs these age-appropriate options help young artists build confidence while developing their personal style.
Remember that safety always comes first when choosing polishes and tools for children. Non-toxic formulas and proper nail care habits ensure that this fun activity remains healthy and enjoyable for years to come.
Most importantly we’ve learned that the joy isn’t just in the final result but in the creative process itself. Whether they’re adding polka dots or painting butterfly wings these nail art adventures create lasting memories and spark artistic confidence that extends far beyond their fingertips.
Frequently Asked Questions
What are the best nail colors for 9-year-olds?
The best nail colors for young children include soft pastels like pink, lavender, mint green, and baby blue, as well as cheerful shades like sunny yellow and bright orange. These colors are age-appropriate and reflect their playful spirit. Avoid dark or neon colors that may appear too mature or chip easily.
Where can I find safe nail stickers for kids?
You can find kid-friendly nail stickers at major department stores and online retailers that offer non-toxic options. Look for themes like animals, flowers, and seasonal motifs. Pinterest boards and specialty websites also curate safe nail art ideas specifically designed for young children.
How do I apply nail stickers properly on small fingers?
Start with clean, dry nails and apply a base coat if desired. Place stickers carefully, press down to eliminate air bubbles, and seal with a clear top coat for durability. Remove excess sticker material for a polished finish. Always supervise young children during application.
What are some easy nail art techniques for beginners?
Simple techniques include solid colors, polka dots using bobby pins, basic stripes with nail tape, and animal faces with dots and triangles. These designs build confidence and essential nail care skills while allowing children to express their creativity without requiring advanced painting abilities.
Which nail polish brands are safe for children?
Non-toxic brands like Piggy Paint, Little Lady Products, and Oh Flossy offer safe formulas specifically designed for children. These brands avoid harmful chemicals and provide vibrant colors that are perfect for young nail artists while prioritizing safety and health.
How should kids care for their nails between polish applications?
Proper nail care includes regular trimming, hand washing, moisturizing cuticles, and avoiding nail biting. Allow nails to rest between polish applications and use gentle removal techniques. Teaching these healthy habits early helps maintain strong, clean nails that serve as the perfect canvas for creative designs.
What seasonal nail art ideas work well for young children?
Seasonal themes include spring flower motifs with pastels, summer beach designs with bright colors, fall leaf patterns in autumn shades, and winter snowflake designs. Each season offers simple techniques and appropriate color palettes that help children celebrate nature’s beauty while developing their artistic skills.
How can I create glitter accent nails safely?
Apply non-toxic glitter polish to one or two nails as focal points, typically the ring finger or pinky. Start with a clear base coat to protect natural nails, then apply the glitter polish sparingly. This creates a magical effect perfect for special occasions while maintaining age-appropriate styling.

