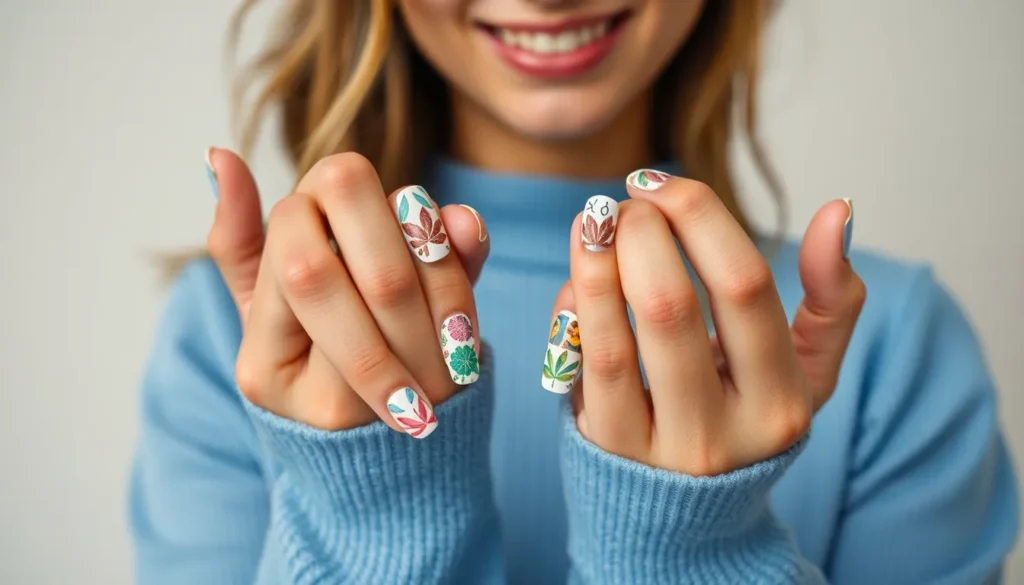
We’ve all been there – staring at our nails wondering how to create stunning nail art without very costly or spending hours at the salon. Paper nail art has emerged as one of the most creative and budget-friendly ways to transform your manicure game, and we’re absolutely obsessed with the endless possibilities it offers.
From delicate origami-inspired designs to bold geometric patterns made with newspaper clippings, paper nail art lets you experiment with textures and styles you’d never achieve with traditional polish alone. The best part? You probably already have everything you need sitting in your create drawer or recycling bin.
Classic Paper Nail Art Techniques That Never Go Out of Style
Building on these foundational paper nail concepts, we’ll explore the time-tested methods that nail artists have relied on for decades.
Traditional Newspaper Print Method
Alcohol-based transfer creates the most authentic newspaper nail effect. We start by applying a light base coat in white or nude tones to ensure the text shows clearly. Small pieces of newspaper work best when cut slightly larger than each nail surface.
Rubbing alcohol serves as our primary transfer medium. We soak the newspaper piece for 10-15 seconds until it becomes pliable. Press the dampened paper firmly against the nail for 30 seconds to allow complete text transfer.
Vintage headlines and classified sections produce the most striking results. We recommend using older newspapers with bold print rather than modern thin fonts. The transfer process works equally well with foreign language newspapers for unique international flair.
Magazine Cutout Applications
Colorful magazine pages offer vibrant alternatives to traditional black text. We select high-gloss magazine paper that adheres smoothly without creating air bubbles. Fashion magazines with bold typography work exceptionally well for this technique.
Decoupage medium provides stronger adhesion than alcohol transfers. We apply a thin layer of nail-safe adhesive before placing our cutout pieces. This method allows for layering multiple magazine elements on a single nail.
Celebrity photos and product advertisements create conversation-starting designs. We cut tiny facial features or brand logos to create miniature collages. The glossy finish of magazine paper requires minimal top coat for protection.
Book Page Vintage Designs
Aged book pages deliver sophisticated literary-themed nail art. We source pages from damaged or discarded books to maintain ethical crafting practices. Classic literature excerpts add intellectual appeal to our manicures.
Tea staining enhances the antique appearance of book page transfers. We lightly brush cold tea across fresh book pages before cutting them to size. This aging process creates authentic vintage coloring that complements neutral nail polish shades.
Poetry and sheet music pages offer artistic versatility. We focus on pages with interesting fonts or musical notations for visual impact. The thin paper texture of old books requires gentle handling during the transfer process to prevent tearing.
Modern Digital Paper Nail Ideas for Tech-Savvy Beauty Lovers
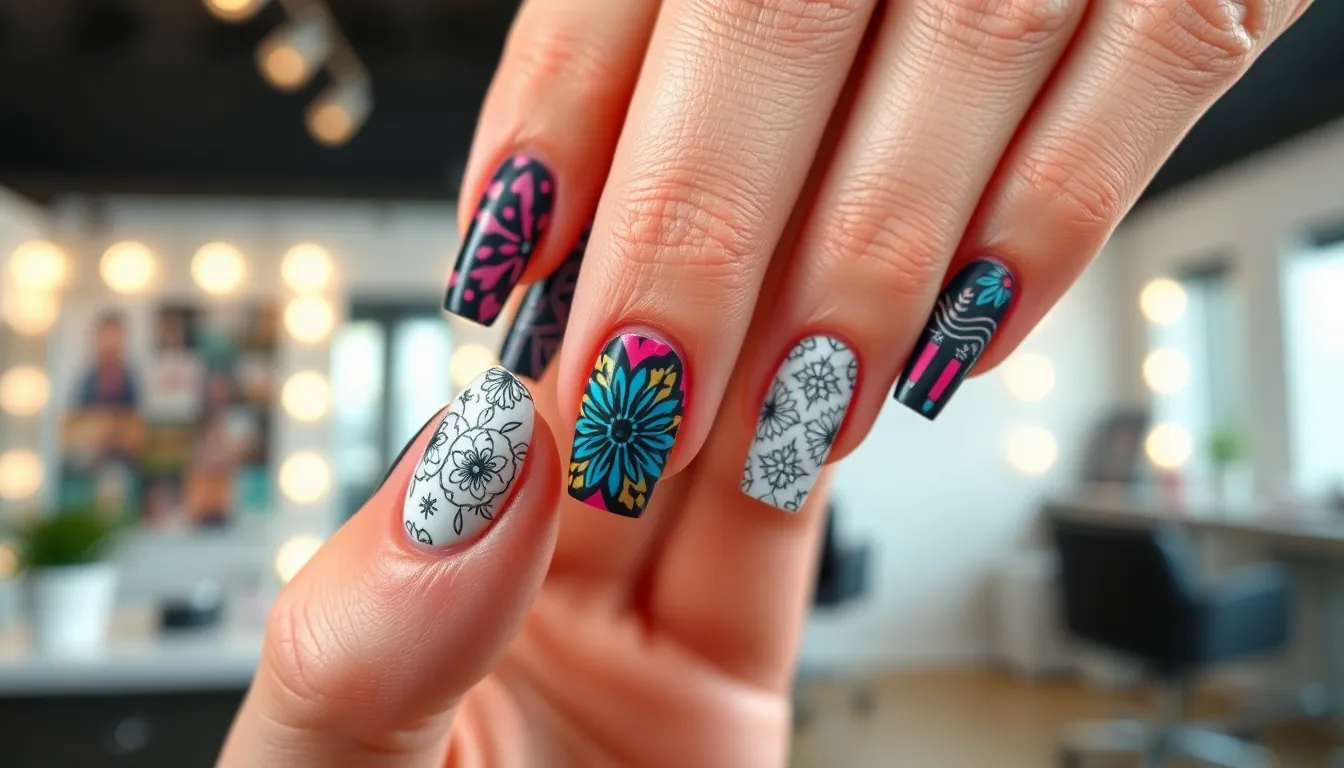
Technology has revolutionized paper nail art, bringing digital innovation to this creative beauty trend. We can now blend traditional techniques with cutting-edge methods for stunning, personalized results.
Printed Pattern Transfer Techniques
Printed pattern transfer builds on traditional newspaper methods while incorporating digital precision. We apply a light base color, dip our nail in rubbing alcohol, and press newspaper onto the surface before peeling it off to reveal the transferred print. A top coat seals the design for longevity.
Digital alternatives offer superior customization through custom-printed nail wraps and water decals. These materials eliminate the unpredictability of traditional ink transfer while providing high-resolution images and complex gradients. We can create personalized patterns without worrying about smudged text or incomplete transfers that sometimes occur with newspaper methods.
Digital Art Paper Applications
Digital nail art printing has transformed how we approach paper nail designs. Specialized printers produce custom nail wraps from digital files, supporting intricate artwork and unique patterns that weren’t possible with traditional methods.
High-resolution images translate beautifully onto nail wraps, offering durability and versatility that surpasses conventional paper applications. We adhere these wraps using clear polish or built-in adhesives for professional-looking results. Online platforms and custom nail studios now cater to individual preferences, making personalized designs accessible to everyone.
QR Code and Barcode Nail Designs
QR codes and barcodes represent the cutting edge of tech-inspired nail art. We can print these functional designs onto nail wraps or apply them directly to the nail surface for an ultra-modern aesthetic.
Scannable QR codes link to websites, social media profiles, or digital business cards when photographed with smartphones. Barcode designs add graphic appeal while maintaining the tech-forward theme. Digital printing ensures precision and correct scannability, making these designs both decorative and interactive.
Custom options allow us to create promotional designs, interactive elements, or purely aesthetic tech patterns. These advanced applications blend traditional create techniques with modern digital technology for truly unique results.
Seasonal Paper Nail Ideas to Match Every Holiday
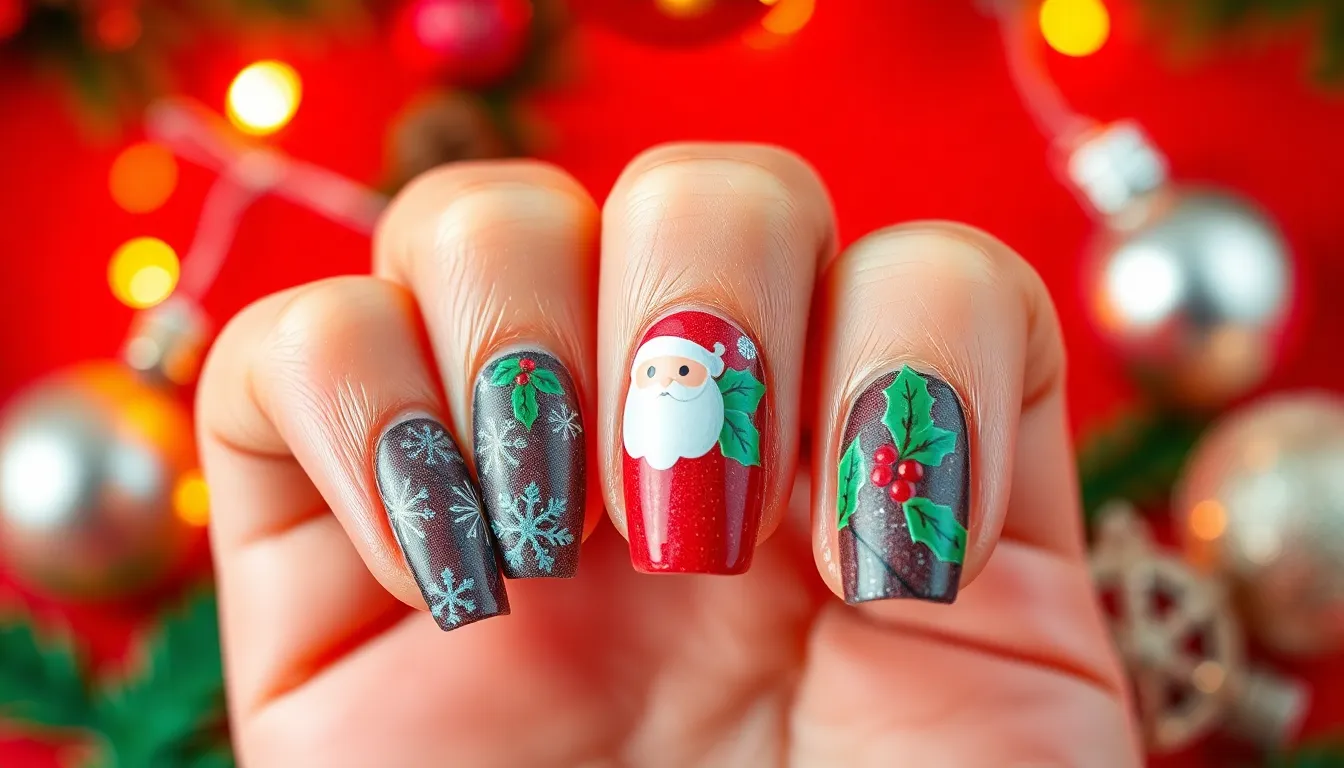
Transform your paper nail art into festive masterpieces by incorporating holiday themes that celebrate every season. We’ll explore creative ways to adapt paper nail techniques for exact celebrations throughout the year.
Christmas Wrapping Paper Nails
Christmas themed paper nails bring holiday magic to your fingertips using nail art foils with festive designs like snowmen, Santa, wreaths, baubles, and snowflakes. We recommend starting with a solid red or green base coat before applying your chosen Christmas motifs. Apply nail stickers or foils that mimic traditional wrapping paper patterns such as holly berries, bells, and ribbons for an authentic holiday look.
These designs work exceptionally well when you layer different Christmas elements on each nail, creating a coordinated set that tells a complete holiday story. Consider alternating between metallic gold foils and classic red patterns to achieve that premium wrapping paper aesthetic we all recognize from under the tree.
Halloween Themed Paper Designs
Halloween paper nail art incorporates spooky and festive elements like pumpkins, bats, and cobwebs using specialized stickers or foils that capture the season’s eerie spirit. We suggest using black or dark colored polish as your foundation, then layering Halloween themed designs on top for maximum contrast and visual impact.
Orange and purple accents work particularly well when combined with traditional black bases, creating that authentic Halloween color palette we associate with the holiday. These designs allow you to experiment with both cute and creepy aesthetics, from friendly jack o’lanterns to more dramatic gothic patterns that suit different Halloween celebrations.
Spring Floral Paper Applications
Spring floral paper nails feature patterns reminiscent of blooming flowers like daisies and tulips that brighten your manicure with seasonal freshness. We apply pastel colored polish as the foundation, then add delicate floral stickers or nail art to create garden inspired looks that celebrate renewal and growth.
These designs work beautifully with soft pink, lavender, and mint green base colors that complement the natural flower motifs. Fresh botanical patterns can be mixed and matched across your nails, with some featuring single large blooms while others showcase scattered petals or leaf patterns that create movement and organic flow.
Minimalist Paper Nail Ideas for Everyday Elegance
Sometimes the most striking nail art comes from embracing simplicity rather than complexity. We’ll explore how paper elements can create sophisticated designs that complement your daily style without overwhelming your overall look.
Simple Text-Based Designs
Typography transforms ordinary nails into conversation starters with minimal effort. We recommend cutting thin strips from magazines or printed materials to create elegant word art across your nail surface. Small phrases like “love,” “hope,” or even single letters work beautifully when applied over neutral base coats.
Newspaper clippings offer authentic vintage appeal for text based applications. Choose headlines or article snippets that resonate with your personality and apply them using clear nail adhesive. This technique works exceptionally well on accent nails paired with solid colors on remaining fingers.
Custom printed text allows complete creative control over your message. Print your favorite quotes or meaningful words on thin paper using standard home printers. Apply these personalized elements over white or cream base polish to ensure maximum readability and impact.
Clean Geometric Paper Patterns
Geometric shapes create modern sophistication through strategic paper placement. We suggest cutting precise triangles, squares, and diamonds from colored paper to form contemporary patterns. These angular elements work best when applied to one or two accent nails rather than every finger.
Paper stencils enable perfect geometric lines without artistic skill requirements. Use washi tape or sturdy paper to mask areas of your nails before applying contrasting polish colors. Remove the paper guides while polish remains slightly wet for crisp, professional looking edges.
Chevron patterns add ever-changing movement using alternating paper strips. Cut thin diagonal strips from coordinating paper colors and arrange them in zigzag formations across your nail bed. This technique creates visual interest while maintaining the clean aesthetic minimalist designs require.
Monochrome Paper Nail Art
Single color palettes maximize impact through thoughtful shade variation. We create depth by layering different tones of the same color family using various paper textures and opacities. Gray scale combinations offer particularly striking results for professional environments.
Tonal gradients develop naturally when combining paper elements of similar hues. Select papers ranging from light to dark within your chosen color spectrum and arrange them to create smooth transitions. This approach works beautifully with blues, greens, and neutral brown tones.
Texture contrast adds visual interest without introducing additional colors. Combine matte paper cutouts with glossy magazine clippings in matching shades to create subtle dimensional effects. The varying surface finishes catch light differently while maintaining color cohesion across your manicure.
DIY Paper Nail Ideas Using Household Materials
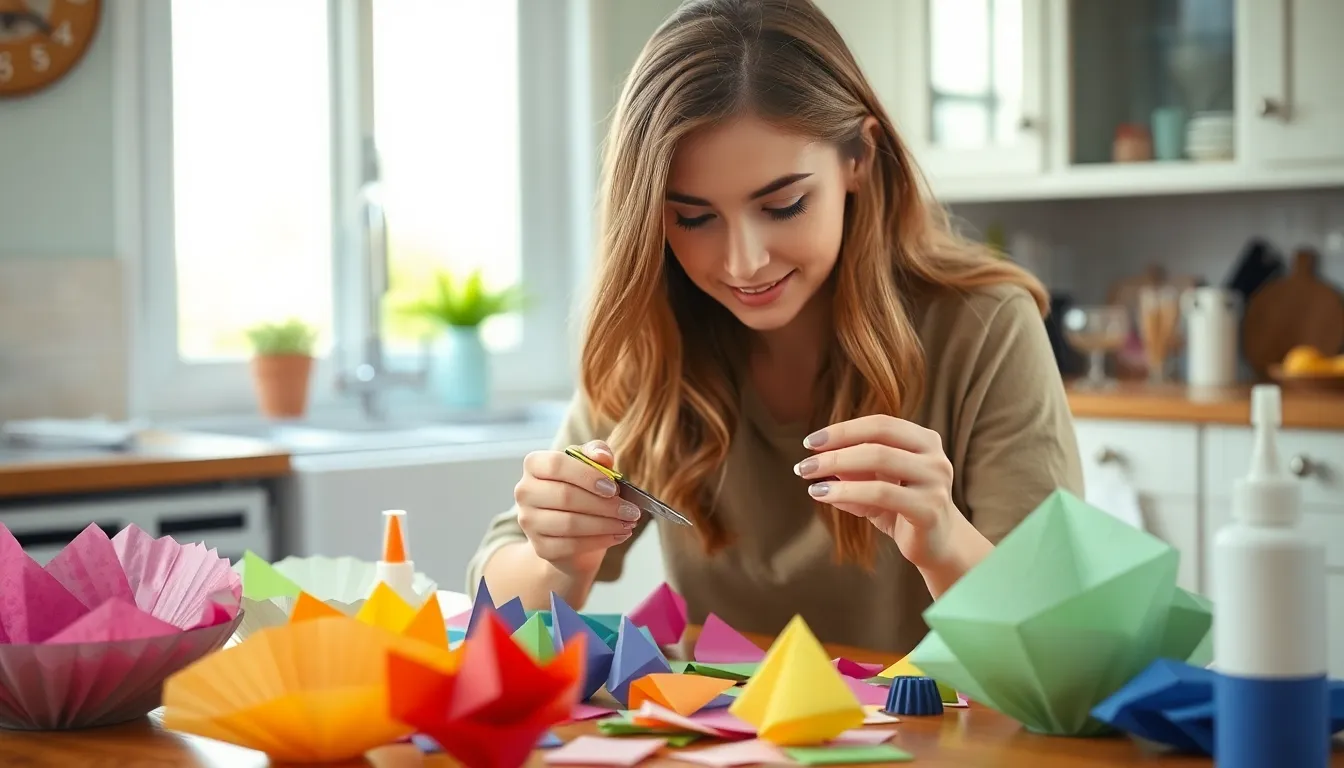
Household materials open up endless possibilities for creative paper nail art without very costly. We’ll explore three accessible techniques that transform everyday items into stunning nail designs.
Coffee Filter Nail Art
Coffee filter nail art creates surprisingly professional-looking results using materials you already have in your kitchen. We shape the coffee filter to match our nail’s natural curve and secure it with nail glue or dip powder for a seamless application. YouTube tutorials and blogs like DipWell provide step-by-step guidance for achieving this technique successfully. The filter’s thin, flexible material mimics traditional nail tips while offering a cost-effective alternative. We recommend cutting the filter slightly larger than your nail to ensure proper coverage and trimming excess material for a clean finish.
Tissue Paper Gradient Effects
Tissue paper transforms ordinary manicures into eye-catching gradient masterpieces with minimal effort and expense. We tear or cut tissue paper into small, irregularly shaped pieces to create natural blending effects across the nail surface. Layering different colored tissue pieces while they’re still damp allows us to achieve smooth color transitions that rival professional ombre techniques. Top coat or nail glue serves as our adhesive medium, helping the tissue paper conform to the nail’s shape. We apply the pieces strategically, overlapping edges to eliminate harsh lines and create seamless color flows.
Origami Paper Nail Designs
Origami paper elevates nail art to an intricate level of detail that showcases true artistic flair. We fold tiny origami shapes like cranes, flowers, or geometric patterns and carefully attach them to create three-dimensional nail designs. The paper’s crisp edges and vibrant colors make each nail a miniature work of art that stands out dramatically. Small scissors help us trim shapes to fit our nail size perfectly while maintaining the origami’s structural integrity. We seal these delicate designs with multiple top coat layers to protect the paper and ensure long-lasting wear.
Advanced Paper Nail Ideas for Experienced Artists

For seasoned nail artists ready to push creative boundaries, advanced paper techniques offer endless possibilities for sophisticated designs. These methods require precision and patience but deliver stunning professional results.
3D Paper Element Applications
Creating dimensional flowers transforms flat paper into sculptural nail art masterpieces. We recommend using lightweight tissue paper or origami paper to create delicate rose petals that won’t weigh down your natural nails. Secure each element with a thin layer of nail glue before sealing with top coat.
Abstract geometric shapes add modern sophistication to any manicure design. Paper triangles, circles, and angular forms create striking visual depth when layered at different heights. Position these elements strategically across 2-3 nails for balanced composition.
Miniature paper sculptures require steady hands but produce gallery worthy results. Tiny paper cranes, butterflies, or architectural elements become conversation starting focal points. Attach these delicate pieces using tweezers and UV resin for permanent adhesion.
Layered Paper Texture Techniques
Building dimensional surfaces starts with applying paper pieces in graduated sizes from largest to smallest. Each layer needs 30-60 seconds of drying time before adding the next application. This method mimics paper mache textures while maintaining nail wearability.
Creating depth through transparency involves using translucent papers like vellum or tissue paper in multiple layers. Overlapping sections produce subtle color variations and shadow effects that change with different lighting conditions. Apply each layer with decoupage medium for seamless blending.
Textural contrast combinations pair smooth magazine paper with rough handmade paper for visual interest. Alternate between glossy and matte paper finishes to create sophisticated surface variations. This technique works particularly well on accent nails paired with solid colors.
Mixed Media Paper Nail Art
Combining paper with metallic accents elevates simple designs into luxury nail art statements. Gold leaf, silver foil, or metallic nail tape complement paper elements while adding glamorous shine. Apply metallics after paper placement but before final top coat application.
Integrating glitter and paper textures creates multidimensional effects that catch light beautifully. Sprinkle fine glitter over wet paper adhesive or create glitter gradients beneath translucent paper layers. This combination works especially well for evening or special occasion manicures.
Blending paper with gel polish techniques allows for seamless color transitions and professional finishes. Use paper as stencils for ombre effects or incorporate paper pieces into gel polish curing processes. Cure each layer according to manufacturer instructions for optimal durability and shine.
Essential Tools and Materials for Paper Nail Ideas
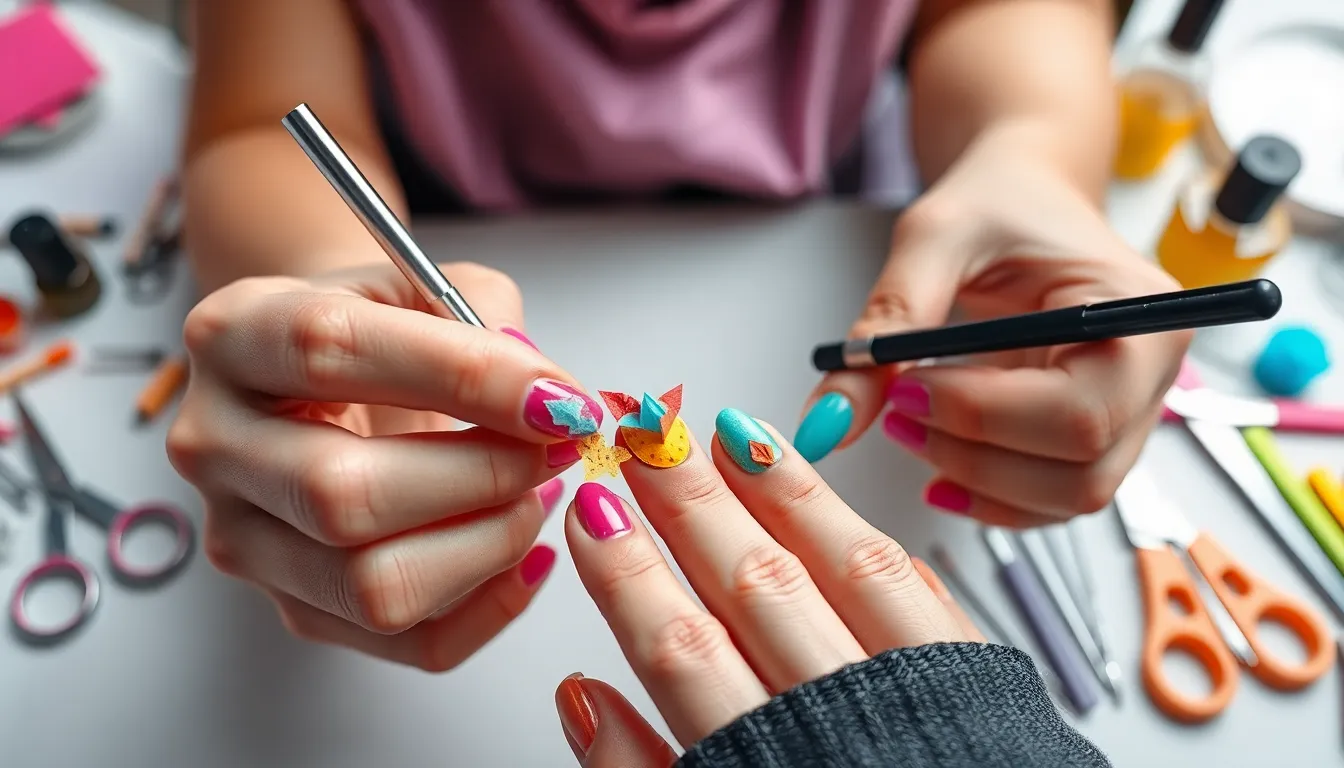
Creating stunning paper nail art requires exact tools and materials to achieve professional-looking results that last. We’ll guide you through the essentials that make the difference between amateur attempts and salon-quality designs.
Adhesive Options for Paper Application
Nail polish serves as our primary adhesive method by applying a second coat while it’s still tacky to secure paper elements directly to the nail surface. This technique works exceptionally well with lightweight tissue paper, wrapping paper, and printed paper napkins, creating a seamless bond that looks natural.
Traditional nail glue offers an alternative approach for securing more substantial paper elements or when working with press-on nail designs. While we don’t typically use nail glue for delicate paper wraps, it becomes invaluable when attaching thicker paper cutouts or creating dimensional effects that require stronger adhesion.
Base coat application creates the foundation we need for any successful paper nail design, protecting our natural nails while providing the perfect surface for paper adherence. Light-colored polish underneath enhances the vibrancy of our paper designs, especially when working with translucent materials like tissue paper.
Protective Top Coats and Sealers
Clear top coat acts as our protective barrier that seals paper designs and prevents them from peeling off during daily activities. We apply this essential layer immediately after positioning our paper elements to lock in the design and provide that professional glossy finish.
Multiple top coat layers create the glassy effect we often see in high-end nail art, particularly when working with tissue paper applications. Building up several thin coats rather than one thick application ensures even coverage and eliminates air bubbles that can compromise the final look.
Quality sealers extend the lifespan of our paper nail art by creating a durable surface that withstands washing, typing, and other daily wear. We recommend investing in a high-quality top coat specifically designed for nail art to achieve the best results and longest-lasting designs.
Cutting Tools and Precision Equipment
Nail scissors provide the precision cutting we need to trim paper elements exactly to our nail shape and size. These specialized scissors offer better control than regular scissors when working with delicate materials like tissue paper or thin magazine pages.
Nail files serve dual purposes in our paper nail art process, both for shaping our natural nails beforehand and gently removing excess paper at the tips after application. We use fine-grit files to avoid tearing the paper while achieving clean, professional edges.
Precision scissors enable intricate detail work when creating complex designs or cutting exact shapes from decorative paper. These tools become essential when working with origami paper or creating dimensional elements that require exact cuts and clean lines.
Step-by-Step Application Process for Paper Nail Ideas

Mastering the application process transforms your paper nail designs from amateur attempts into professional-looking manicures. We’ll guide you through each crucial step to ensure your creative paper nail art achieves stunning, long-lasting results.
Surface Preparation Techniques
Clean your natural nails thoroughly using rubbing alcohol to remove oils and debris that prevent proper adhesion. Push back cuticles gently with a cuticle pusher to create a smooth working surface for your paper designs.
Apply a high-quality base coat to protect your natural nails and provide an optimal foundation for paper attachment. Allow the base coat to dry completely before proceeding to prevent bubbling or lifting issues.
Buff nail surfaces lightly with a fine-grit buffer to create slight texture that helps paper materials adhere more effectively. Remove all dust particles with a lint-free cloth to ensure perfect paper placement.
Select appropriate nail length by trimming nails to your desired size, keeping in mind that shorter nails work better for intricate paper designs like Sanrio characters or geometric patterns.
Paper Placement and Smoothing Methods
Position your paper design carefully over the prepared nail surface, starting from the cuticle area and working toward the nail tip. Use tweezers for precise placement of small paper elements to avoid fingerprint smudges.
Smooth the paper gently using a cuticle stick or clean brush to eliminate air bubbles that create uneven surfaces. Work from the center outward in gentle strokes to maintain the paper’s integrity.
Press edges firmly along the nail perimeter to ensure complete adhesion, paying special attention to corners where lifting commonly occurs. Apply consistent pressure without tearing delicate paper materials.
Trim excess paper using nail scissors to match your nail shape perfectly, leaving no overhang that could catch on fabric or hair. File edges smooth with a fine nail file for a professional finish.
Finishing and Sealing Steps
Apply a thin top coat layer immediately after paper placement to begin the sealing process and prevent paper shifting. Choose a quick-dry formula to minimize working time and reduce smudging risks.
Add multiple thin coats rather than one thick application to build durability without creating a cloudy appearance over your paper designs. Allow each coat to dry completely between applications.
Seal paper edges thoroughly by applying extra top coat along the nail perimeter where paper meets the nail surface. This prevents water damage and extends your paper nail art’s lifespan significantly.
Clean up excess product around cuticles using a small brush dipped in acetone for crisp, professional-looking results. Finish with cuticle oil to nourish the surrounding skin and complete your paper nail masterpiece.
Troubleshooting Common Paper Nail Art Problems
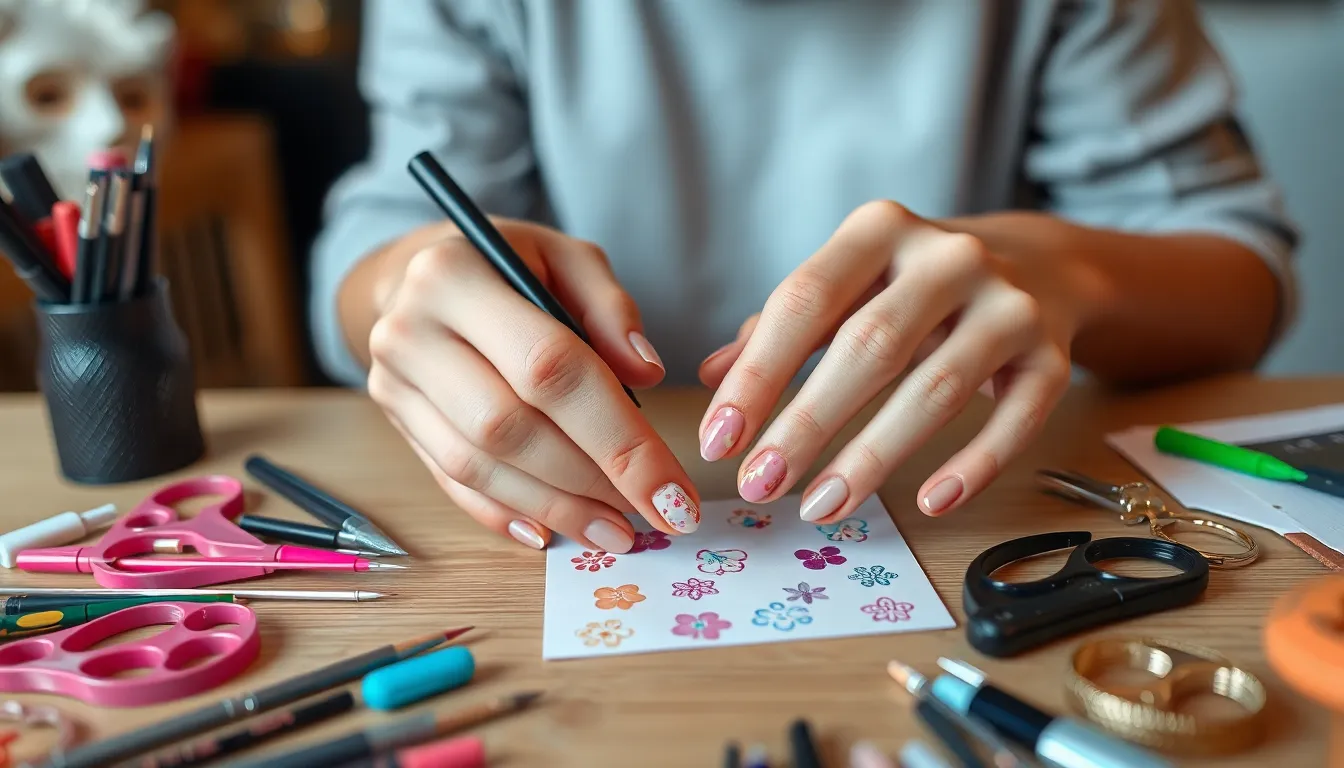
Even experienced nail artists encounter challenges when working with paper designs. We’ll help you solve the most common issues to achieve flawless results every time.
Preventing Air Bubbles and Wrinkles
Saturate the paper completely with rubbing alcohol before applying it to your nail surface. This crucial step ensures smooth adhesion and eliminates those frustrating air pockets that can ruin your design.
Work from center outward when pressing the paper onto your nail to push out any trapped air. Gentle pressure helps the paper conform to your nail’s natural curve without creating unwanted wrinkles.
Choose the right paper thickness for your design complexity. Thinner papers like tissue or coffee filters adapt more easily to curved surfaces than thicker materials.
Apply even pressure across the entire nail surface using a cuticle pusher or similar tool. This technique distributes the paper smoothly and prevents bubble formation during the transfer process.
Fixing Lifting and Peeling Issues
Ensure your base coat dries completely before applying any paper elements. Rushing this step often causes lifting problems that compromise your entire manicure’s longevity.
Seal edges immediately with a thin layer of clear polish to prevent moisture from getting underneath the paper. This barrier protection stops peeling before it starts.
Use a fast-drying top coat after transferring the ink to lock everything in place. Multiple thin layers work better than one thick application for preventing peeling issues.
Avoid water exposure for at least two hours after completing your paper nail art. Early moisture contact weakens the adhesive bond and leads to premature lifting.
Extending Wear Time and Durability
Apply rubbing alcohol liberally to both the paper and nail surface to enhance ink transfer and create stronger adhesion. This method significantly improves your design’s staying power.
Build protective layers gradually by applying base coat, allowing complete drying, then sealing with multiple thin top coat applications. Each layer adds durability to your paper nail art.
File nails when completely dry to prevent weakening that could affect your paper design’s longevity. Wet filing damages the nail structure and reduces overall wear time.
Maintain smooth nail surfaces through proper preparation and buffing before applying paper elements. Even surfaces help paper adhere uniformly and last longer.
Reapply top coat every few days to refresh the protective seal and extend your paper nail art’s lifespan. This simple maintenance step can double your design’s durability.
Conclusion
Paper nail art opens up endless creative possibilities while keeping costs minimal. We’ve shown you how this accessible technique transforms everyday materials into stunning manicures that rival salon results.
Whether you’re drawn to classic newspaper prints or cutting-edge QR code designs there’s a paper nail style for every personality and skill level. The beauty lies in experimentation – each household item becomes a potential nail art supply.
Remember that practice makes perfect with paper nail techniques. Start with simple designs and gradually work toward more complex applications as your confidence grows.
Most importantly don’t be afraid to mix traditional methods with modern innovations. The fusion of old-school crafting with digital precision creates truly unique nail art that reflects your personal style.
Frequently Asked Questions
What is paper nail art?
Paper nail art is a creative and cost-effective way to create stunning nail designs using various types of paper materials like newspapers, magazines, book pages, or specialty papers. This technique allows you to achieve professional-looking manicures at home without expensive salon visits or extensive time commitments.
What materials do I need for paper nail art?
Most materials can be found at home: newspapers, magazines, book pages, nail polish, rubbing alcohol, nail scissors, base coat, top coat, and nail glue or decoupage medium. You may also need precision cutting tools for intricate designs and coffee filters or tissue paper for specific techniques.
How do I apply paper to my nails?
Start with clean nails and apply a base coat. Cut your chosen paper to nail size, then use rubbing alcohol to transfer newspaper text or decoupage medium for other papers. Smooth out air bubbles, trim excess paper, and seal with multiple thin top coat layers for durability.
How long does paper nail art last?
With proper application and sealing techniques, paper nail art can last 5-7 days. To extend wear time, reapply top coat every few days, avoid excessive water exposure, and ensure edges are properly sealed to prevent lifting and peeling.
Can I create 3D effects with paper nail art?
Yes! Advanced techniques include layered paper textures, dimensional flowers, origami paper shapes, and mixed media applications combining paper with metallic accents or glitter. These create depth and visual interest for more sophisticated designs requiring patience and precision.
What are the best papers for nail art?
Newspapers work great for text transfer, magazines provide vibrant colors and patterns, aged book pages offer vintage aesthetics, and origami paper allows for intricate folded designs. Coffee filters and tissue paper are excellent for gradient effects and texture variations.
How do I fix common paper nail art problems?
For air bubbles, saturate paper with rubbing alcohol and apply even pressure. To prevent lifting, ensure your base coat is completely dry before application and seal edges with clear polish. If peeling occurs, reapply top coat and avoid excessive hand washing immediately after application.
Can I use digital designs for paper nail art?
Absolutely! Modern paper nail art incorporates digital printing for custom nail wraps, water decals, and high-resolution patterns. You can even create QR code or barcode designs that link to digital content, blending traditional techniques with contemporary technology innovations.
