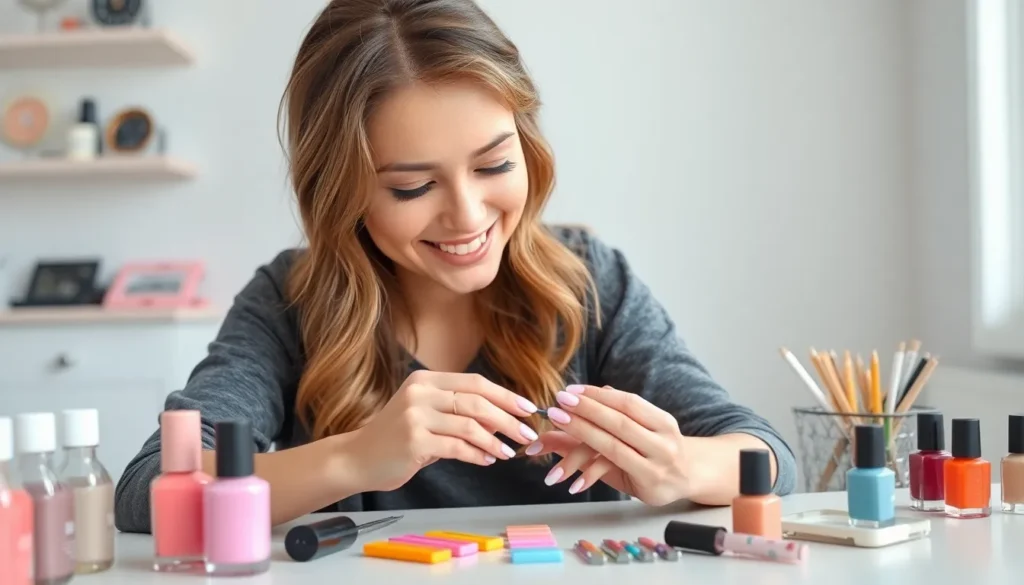
We all deserve gorgeous nails that make us feel confident and put-together, but who has time for complicated nail art that takes hours to perfect? Whether you’re rushing to get ready for work or preparing for a special event, you need nail designs that look stunning without requiring a professional manicurist’s skill level.
Easy cute nail ideas are the perfect solution for busy lifestyles and beginner nail enthusiasts alike. From simple geometric patterns to effortless ombré effects, these designs prove that beautiful nails don’t have to be time-consuming or expensive. We’ve discovered that the most eye-catching manicures often come from the simplest techniques.
Our collection of adorable nail ideas will transform your at-home manicure game forever. These designs use basic tools you already own and require minimal drying time, so you can achieve salon-worthy results in just minutes. Get ready to fall in love with nail art that’s both achievable and absolutely irresistible.
Simple French Manicure Variations
French manicures remain timeless classics that we can easily modernize with creative twists. These simple variations transform the traditional look into fresh designs perfect for any occasion.
Classic White Tips with a Twist
Glitter accent nails elevate the standard French manicure by adding sparkle to one or two fingertips. We recommend applying your regular white tips first, then dabbing fine glitter polish on the ring finger for an elegant touch.
Thin metallic lines create sophisticated detail when drawn just below the white tip. Gold and silver work beautifully, requiring only a thin brush or striping tape to achieve clean lines that catch the light perfectly.
Matte topcoat finish gives traditional white tips a modern edge without changing colors. This simple switch transforms glossy nails into contemporary statements that feel fresh and current.
Colorful French Tips
Pastel rainbow tips bring playful energy to classic French nails using soft pinks, blues, yellows, and greens. We suggest using one color per nail for maximum impact while keeping the overall look cohesive and sweet.
Coral and peach combinations offer warm alternatives that complement most skin tones beautifully. These shades work especially well during spring and summer months when we want cheerful nail colors.
Navy blue tips provide sophisticated contrast against natural nail beds while remaining office appropriate. This color choice feels fresh and unexpected compared to traditional white tips.
Reverse French Manicure
Half moon designs flip the classic French by painting color at the nail base instead of tips. We create this look by using reinforcement stickers as guides, then painting the exposed crescent shape with our chosen polish.
Double reverse technique combines both base and tip colors for maximum visual interest. Start with the half moon application, then add complementary tips once the base color dries completely.
Negative space variations incorporate clear nail sections that create modern geometric patterns. These designs work best with bold colors like black or deep red that create strong contrast against natural nails.
Polka Dot Nail Designs
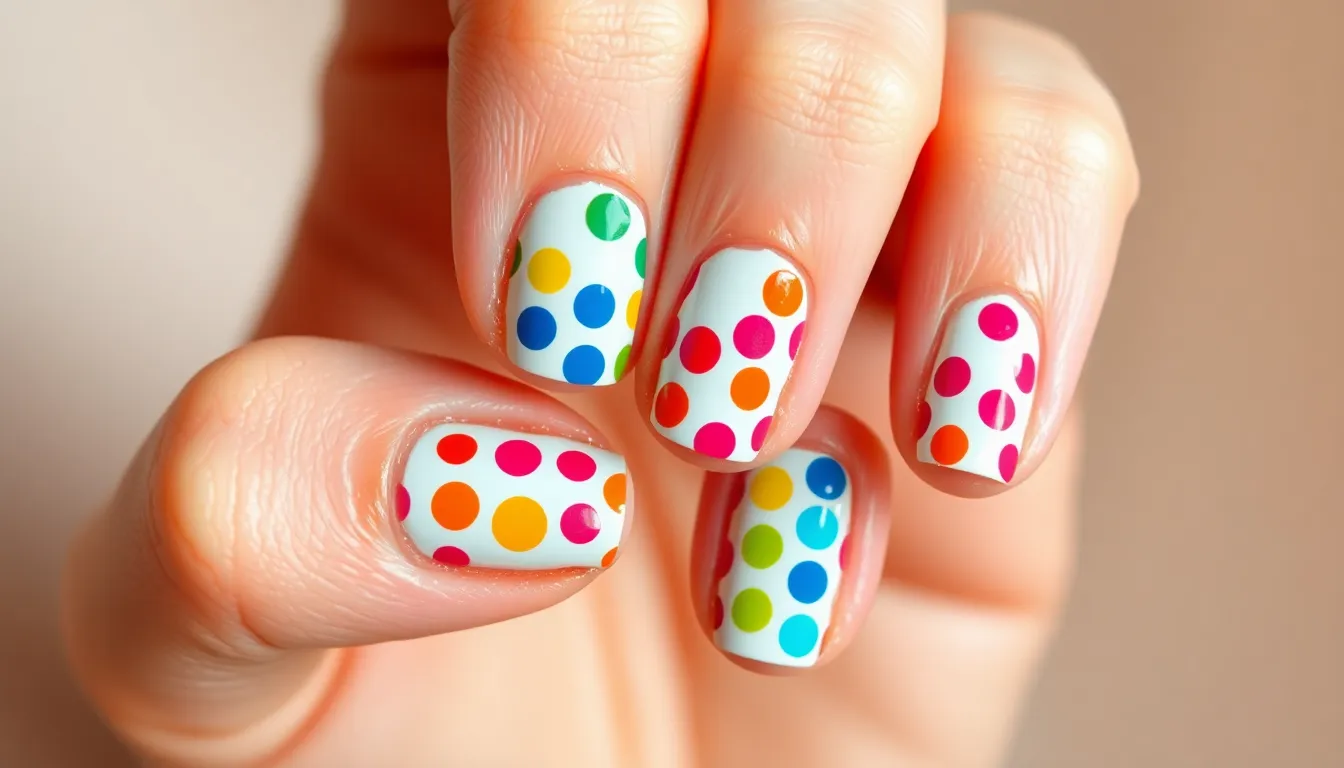
Polka dot nail designs offer one of the most charming and achievable ways to create adorable nail art at home. These timeless patterns work beautifully with our simple approach to nail design, requiring only basic tools you likely already have.
Single Color Polka Dots
Creating single color polka dots gives us the perfect starting point for cute nail art. We recommend using a bobby pin, toothpick, or dotting tool to place dots evenly across your base color. The key lies in choosing dots that are darker than your base shade to ensure proper visibility and contrast.
Start by applying your base coat and allowing it to dry completely. Dip your chosen tool into the contrasting polish and gently press it onto the nail surface. We suggest practicing the pressure needed on a piece of paper first to achieve consistent dot sizes. Space the dots evenly for a professional look, or create random patterns for a more playful vibe.
Rainbow Polka Dots
Rainbow polka dots transform ordinary nails into vibrant works of art using multiple bright colors. We love alternating between different hues to create that cheerful rainbow effect across each nail. Each dot becomes a small burst of color, adding playful energy to your manicure.
Choose 4-6 bright colors that complement each other well. Apply your base coat, then use your dotting tool to alternate colors as you create each dot. We recommend following a exact color sequence like red, orange, yellow, green, blue, and purple to maintain that true rainbow appearance. This technique works exceptionally well on neutral base colors like white, cream, or light gray.
Gradient Polka Dot Effect
Gradient polka dot effects add sophisticated depth to our cute nail designs through strategic color transitions. We achieve this look by gradually changing dot colors from light to dark or following a exact color progression across the nail. This technique creates visual movement and prevents the design from appearing flat.
Begin with your lightest shade and work toward darker tones, or choose colors within the same family for a subtle ombré effect. We suggest starting with pale pink dots near the cuticle area and gradually transitioning to deeper rose or burgundy toward the nail tips. Another approach involves using different shades of the same color, creating a monochromatic gradient that looks both elegant and playful.
Minimalist Accent Nail Ideas
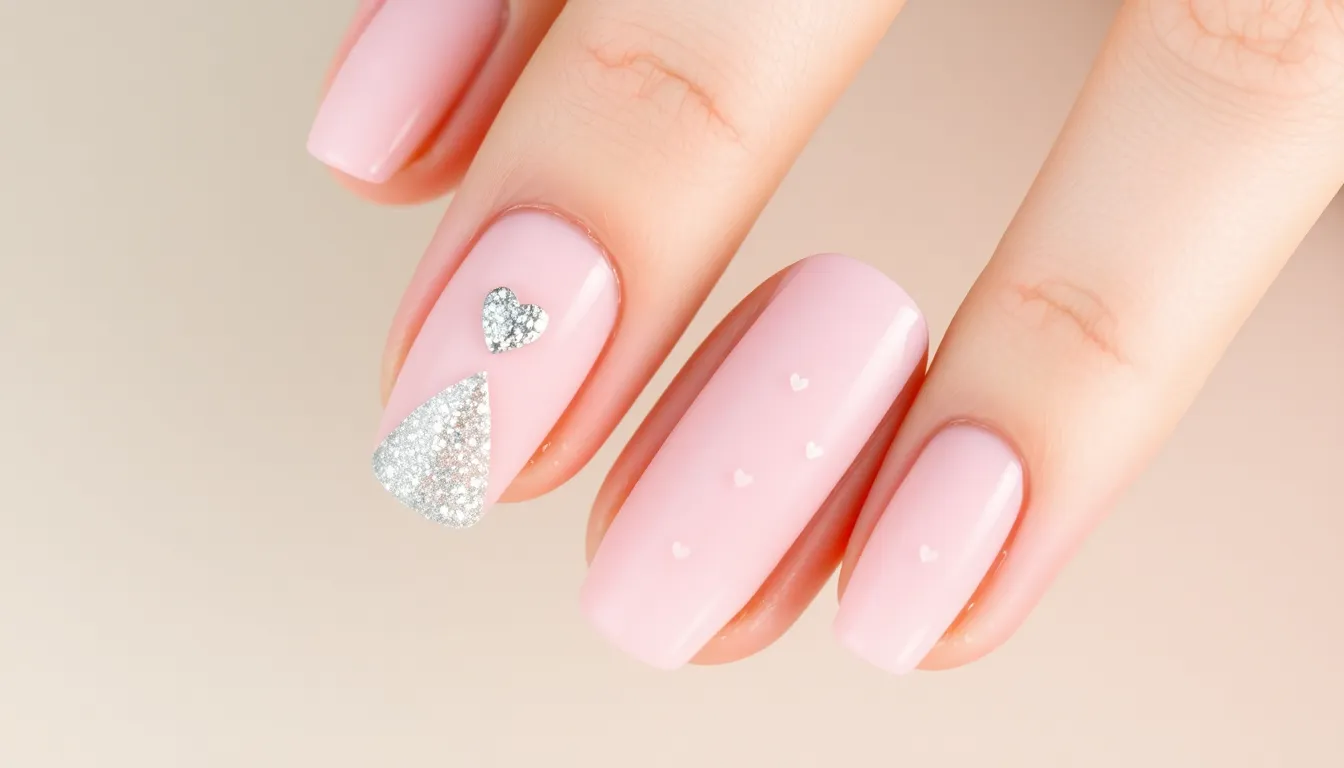
We love how minimalist accents can transform an ordinary manicure into something special without overwhelming your look. These subtle touches create sophisticated nail art that’s perfect for any occasion.
Single Glitter Accent
Glitter on one nail creates a stunning focal point that catches light beautifully throughout the day. We recommend applying glitter polish to just your ring finger or thumb for maximum impact without looking overdone. Micro glitter offers a more subtle sparkle that works perfectly for professional settings or when you want understated elegance. Choose gold glitter for warm skin tones or silver for cooler undertones to complement your natural coloring.
Thin Line Designs
Razor thin lines deliver modern sophistication that’s surprisingly easy to achieve at home. We suggest using a striping brush or nail art tape to create precise lines along your cuticle or nail edge for clean geometric patterns. Multi colored lines add visual interest when you alternate between complementary shades like navy and gold or black and white. Position thin lines vertically down the center of accent nails or horizontally across the tips for different artistic effects.
Small Heart Details
Heart shaped dots bring playful romance to your manicure using just a simple dotting tool. We create these cute accents by making two small dots close together then dragging the polish downward to form the heart’s point. Sticker hearts provide a quick alternative when you’re short on time or want perfectly symmetrical shapes every time. Place small hearts near your cuticles on accent nails or scatter them randomly across a neutral base for a whimsical touch that’s both charming and chic.
Floral Nail Art Techniques
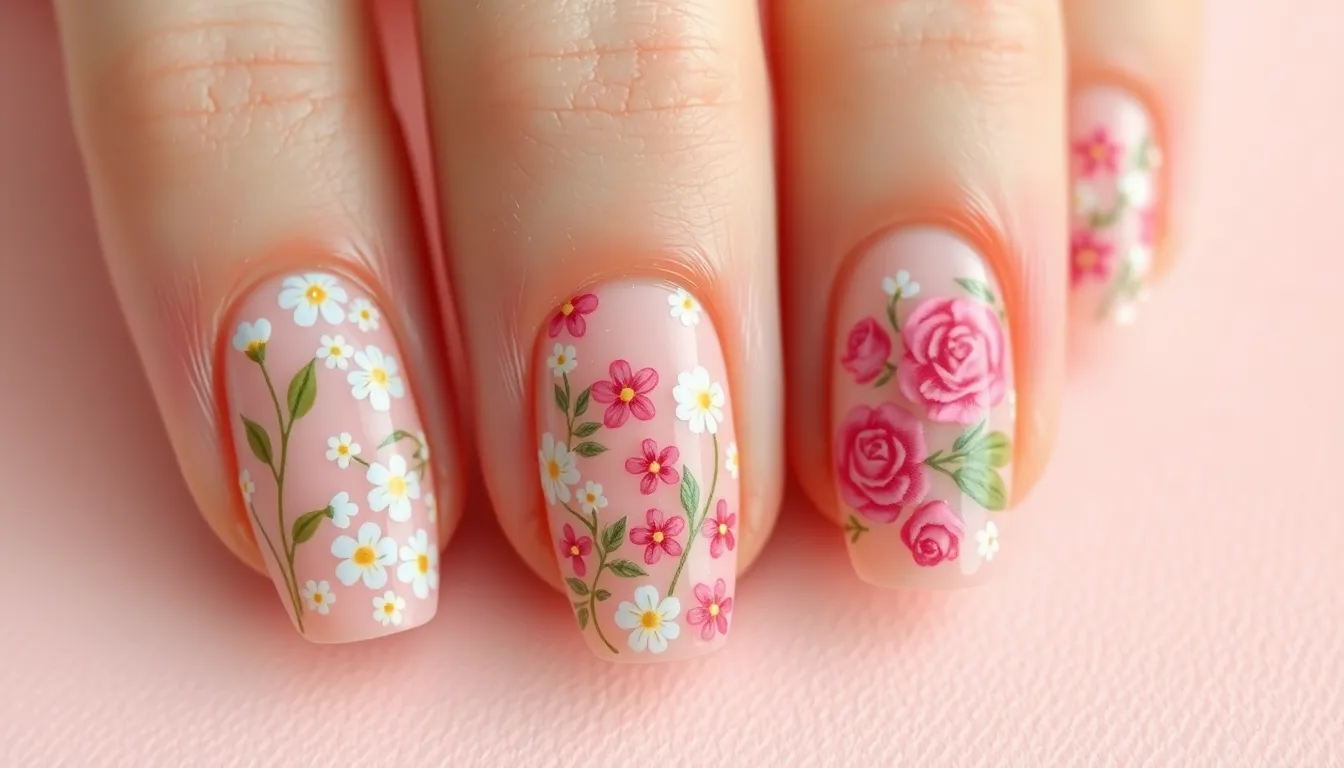
Floral designs bring natural beauty to our nails while maintaining the simplicity we’ve been exploring. These botanical patterns offer endless creative possibilities without requiring advanced artistic skills.
Simple Daisy Designs
Creating daisy nail art starts with positioning a small dot in your chosen center location using a dotting tool or nail polish brush tip. White or light colored petals surround this central point through gentle dabbing motions with your brush. We recommend using contrasting colors like yellow centers with white petals or pink centers with cream petals for maximum visual impact. Painting these flowers on a nude or pastel base coat makes the daisies pop beautifully. Multiple small daisies scattered across one accent nail create a charming garden effect that complements our previous minimalist approaches.
Cherry Blossom Patterns
Cherry blossoms require delicate pink or white paint applied in small clustered formations along thin branch lines. We suggest starting with light brown or dark gray branches painted using a nail art brush for fine detail work. Blossoms appear most realistic when painted in groups of three to five flowers per cluster. Adding tiny dots in the center of each blossom using a darker pink or yellow creates authentic looking stamens. These designs work exceptionally well on longer nails where the branch patterns have space to develop naturally across the nail surface.
Tiny Rose Accents
Rose creation begins with applying a small central dot that serves as the flower’s heart. Thin brush strokes create petals by painting curved lines that spiral outward from this center point. We find that using two shades of the same color family adds depth to these miniature roses. Combining tiny roses with simple stripe patterns or scattered dots creates balanced compositions that aren’t overwhelming. Placing one or two roses on each accent nail while keeping other nails in solid coordinating colors maintains the elegant simplicity we’ve established throughout our nail art collection.
Geometric Nail Patterns
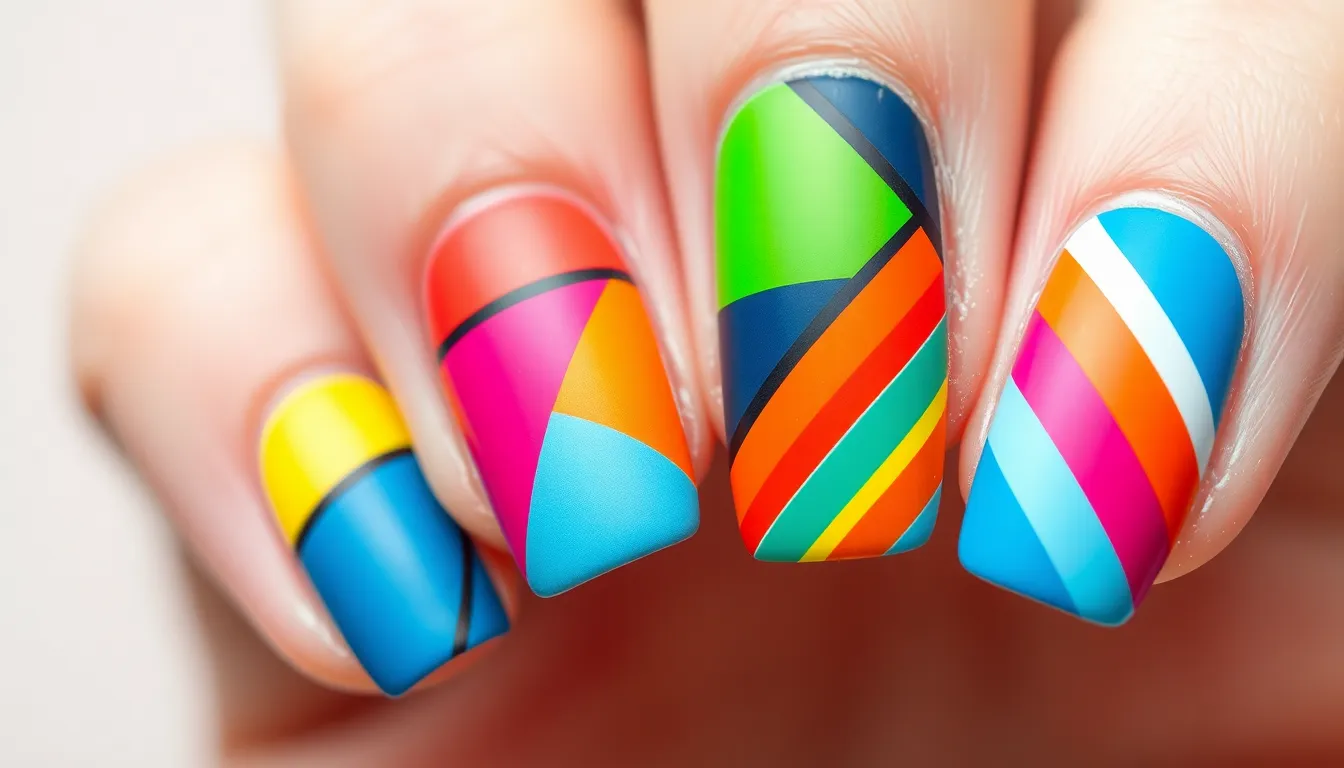
We’re diving into geometric designs that transform basic polish into stunning nail art using simple techniques and minimal tools.
Triangle Designs
Triangle designs offer one of the most straightforward geometric motifs for beginners. We can create these angular shapes using just the brush included in our nail polish bottle without needing additional tools. Placing small triangles at the base creates a modern twist on traditional cuticle art. Positioning them at the nail tip gives us a fresh alternative to classic French manicures. Side placement along the nail edge adds asymmetrical interest that feels contemporary and chic.
Freehand triangles work perfectly for achieving that minimalist aesthetic we’re after. We simply paint small angled lines using steady brush strokes and let our natural hand movement guide the shape. Contrasting colors make these geometric elements pop against neutral base shades. Multiple triangles arranged in patterns create more complex looking designs while still using basic techniques.
Stripe Combinations
Stripe combinations provide an easy way to create vibrant nail art using tape or business card edges as guides. We can achieve perfectly straight lines by pressing tape firmly against our nails and painting over the exposed areas. Removing the tape while the polish is still slightly wet prevents peeling and ensures clean edges. Layered stripes in different widths add visual depth without requiring advanced skills.
Classic French style tips get a modern update when we incorporate colorful stripe variations. We’re able to create horizontal bands across the nail tip using bright hues instead of traditional white. Vertical stripes running from cuticle to tip elongate shorter nails and create elegant linear patterns. Diagonal stripes offer ever-changing movement and can be easily achieved by angling our tape placement.
Color Block Techniques
Color block techniques involve dividing our nails into distinct sections using bold contrasting colors. We achieve clean lines by applying tape or using stencils to mask off areas before painting. The brush from our polish bottle works well for freehand color blocking when we want softer more organic divisions. Sharp color transitions create striking visual impact that photographs beautifully.
Bright hues combined with matte and glossy finishes add textural interest to our color blocked designs. We can paint half the nail in glossy coral and the other half in matte navy for sophisticated contrast. Three section blocks using complementary colors create rainbow effects without being overwhelming. Simple two tone blocks work especially well when we choose colors from opposite sides of the color wheel for maximum visual pop.
Glitter and Sparkle Applications
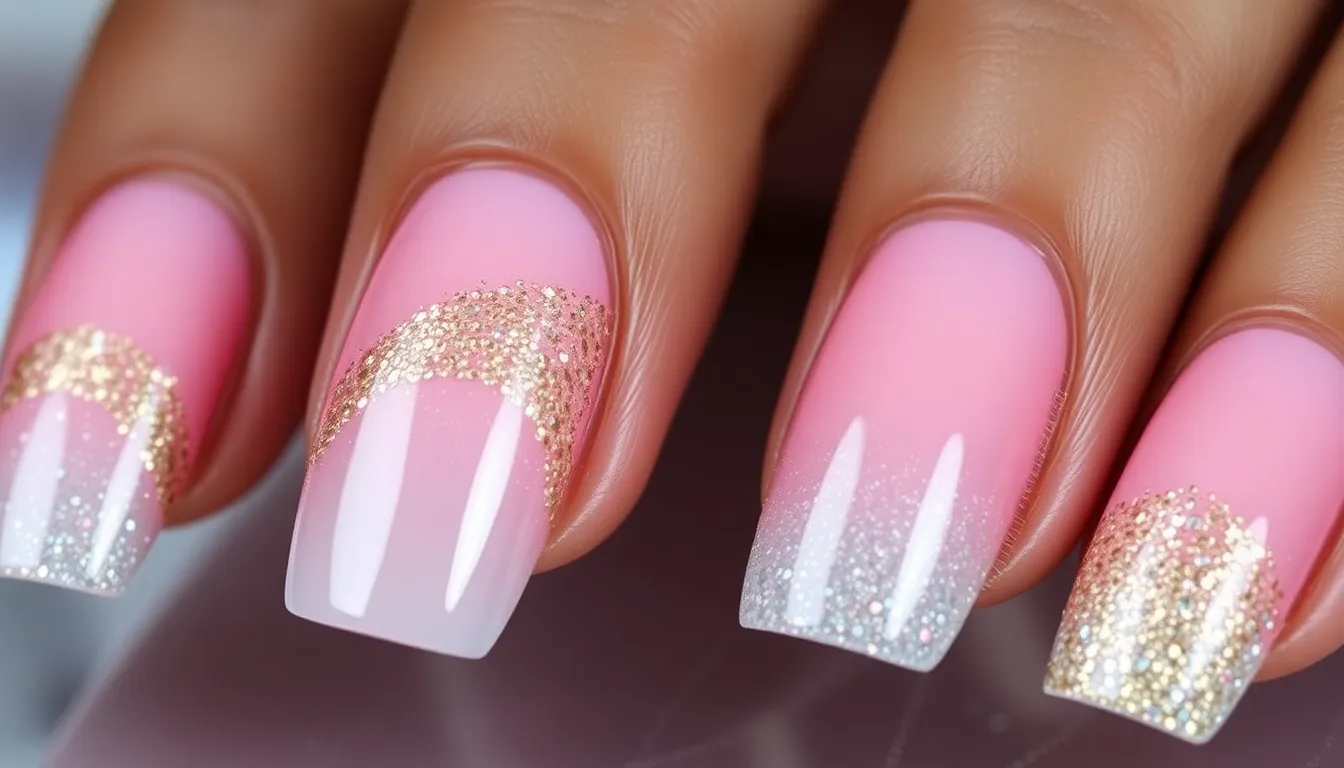
Building on our previous nail art techniques, we’re adding some serious shine to your manicure game. These sparkly applications work perfectly with the geometric patterns and floral designs we’ve already covered.
Glitter Gradient Nails
Glitter Gradient Nails create a stunning ombré effect by layering glitter polish over a base color. We start with a light base shade like soft pink or nude and apply chunky gold glitter polish from the cuticle toward the tip. This technique adds visual interest while remaining simple enough for beginners to master.
Customization makes this design incredibly versatile for any occasion. We can match colors to your outfit by choosing complementary glitter shades or seasonal palettes. Silver glitter over navy blue creates an elegant evening look, while rose gold over blush pink works perfectly for daytime wear.
Application technique involves three thin layers of glitter polish rather than one thick coat. We build up the sparkle gradually, allowing each layer to dry completely before adding the next. This prevents clumping and ensures smooth, even coverage that lasts.
Sparkle Tips
Sparkle Tips offer a modern twist on the classic French manicure we discussed earlier. We apply clear polish with tiny shimmery glitter just to the nail tips, creating a subtle yet eye catching accent. This approach works especially well over nude or light pink base colors.
Precision application requires a steady hand and thin brush for clean lines. We recommend using a small detail brush to paint the glitter polish along the tip edge. Alternatively, nail art tape can help create perfectly straight lines before applying the sparkly topcoat.
Variation options include different glitter sizes and colors for unique effects. Micro glitter creates sophisticated sparkle for professional settings, while chunky glitter makes bold statements for special occasions. We can also alternate between different colored glitter on each nail for a playful rainbow effect.
Holographic Accent Pieces
Holographic Accent Pieces add futuristic flair to any nail design with their color changing properties. These pieces come in various shapes like stars, moons, and geometric forms that shift colors as they catch light. We apply them using nail glue or adhesive nail stickers for secure placement.
Strategic placement works best when we use these accents sparingly as focal points. One holographic piece per hand creates elegant balance, while multiple pieces on accent nails make dramatic statements. The pieces complement our previously covered minimalist designs beautifully.
Size variety ranges from tiny dots to larger statement pieces depending on your preference. Small holographic circles work well with polka dot designs, while larger geometric shapes enhance color block patterns. We recommend starting with smaller pieces to master the application technique before moving to larger accents.
Seasonal Easy Cute Nail Ideas
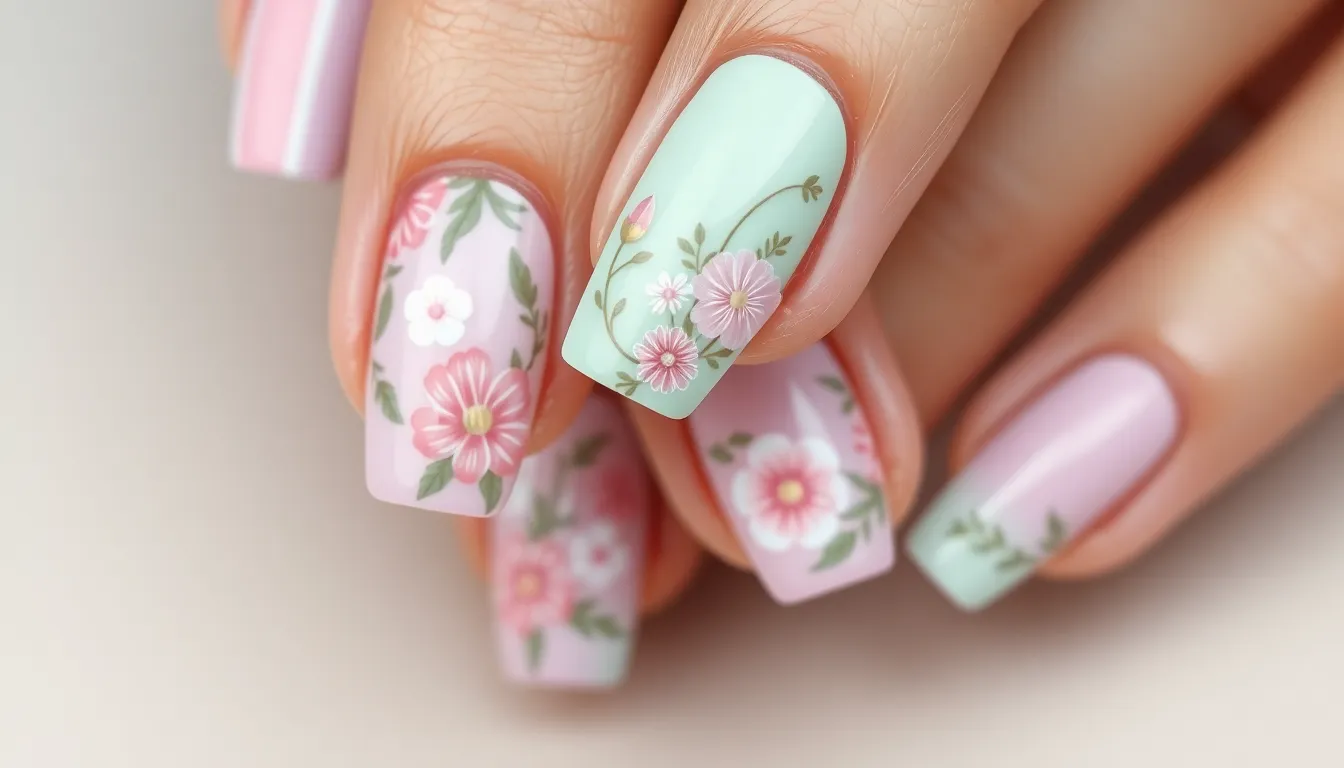
We’ll explore stunning seasonal nail designs that perfectly capture the essence of each time of year. These easy cute nail ideas adapt to changing seasons while maintaining our signature simplicity.
Spring Pastel Combinations
Pastel pinks create timeless elegance with baby pink, milky pink, and rosy pastels that complement any spring outfit. We recommend starting with these gentle shades for beginners since they’re forgiving and versatile.
Mint green and aqua combinations deliver fresh vibrancy when paired with white accents or delicate nail art. Apply these cool tones as your base color and add tiny white dots using a bobby pin for instant charm.
Lavender and lilac shades transform into ethereal masterpieces when combined with silver foil accents or thin metallic lines. Layer these purple pastels over a sheer base for a translucent effect that catches light beautifully.
Peach and coral tones bring warm, sun-kissed appeal that bridges winter’s end with summer’s approach. Mix these shades in gradient techniques or use them alternately across your fingernails for a playful look.
Butter yellow and lemon pastels radiate cheerful spring energy while remaining soft enough for professional settings. We suggest using these creamy yellows as accent nails against neutral bases for subtle seasonal flair.
Summer Bright Colors
Bold coral stands out as summer’s signature shade, delivering vibrant energy that photographs beautifully in bright sunlight. Apply two thin coats for even coverage and finish with a glossy topcoat to enhance the color’s intensity.
Bright yellow brings immediate cheerfulness to any summer look, especially when paired with white geometric patterns or tropical nail art. This sunny shade works exceptionally well as an accent nail against coral or turquoise bases.
Electric blue creates refreshing contrast against sun-kissed skin while maintaining that bold summer aesthetic. We recommend using this striking shade for simple stripe designs or as a base for white polka dots.
Neon pink adds playful energy that captures summer’s carefree spirit perfectly. Layer this vibrant shade over a white base to maximize its fluorescent properties and ensure it pops against any background.
Fall Warm Tones
Golden brown embodies autumn’s earthy sophistication, creating rich depth that complements seasonal fashion trends. Apply this warm tone as your primary color and add copper glitter accents for extra dimension.
Burnt orange delivers cozy warmth that perfectly captures fall’s changing leaves and harvest themes. We suggest pairing this vibrant shade with deep burgundy accents or gold striping tape for elegant contrast.
Cranberry red provides rich vibrancy that transitions seamlessly from fall into winter holiday seasons. Use this deep shade as your base and add small gold dots or thin bronze lines for sophisticated autumn nail art.
Winter Holiday Themes
Snowflake designs create delicate, intricate patterns using white polish over dark bases like navy or deep purple. We recommend using a thin nail art brush to paint simple snowflake shapes or applying snowflake nail stickers for precision.
Candy cane stripes deliver festive appeal through classic red and white alternating patterns across your nails. Create these holiday stripes using nail tape for clean lines, removing the tape while polish is still slightly wet.
Glitter accents add sparkle that captures winter’s magical atmosphere and holiday celebration spirit. Apply fine silver or gold glitter over your base color, concentrating it near the tips for a gradient effect that mimics falling snow.
Quick Nail Stamping Designs
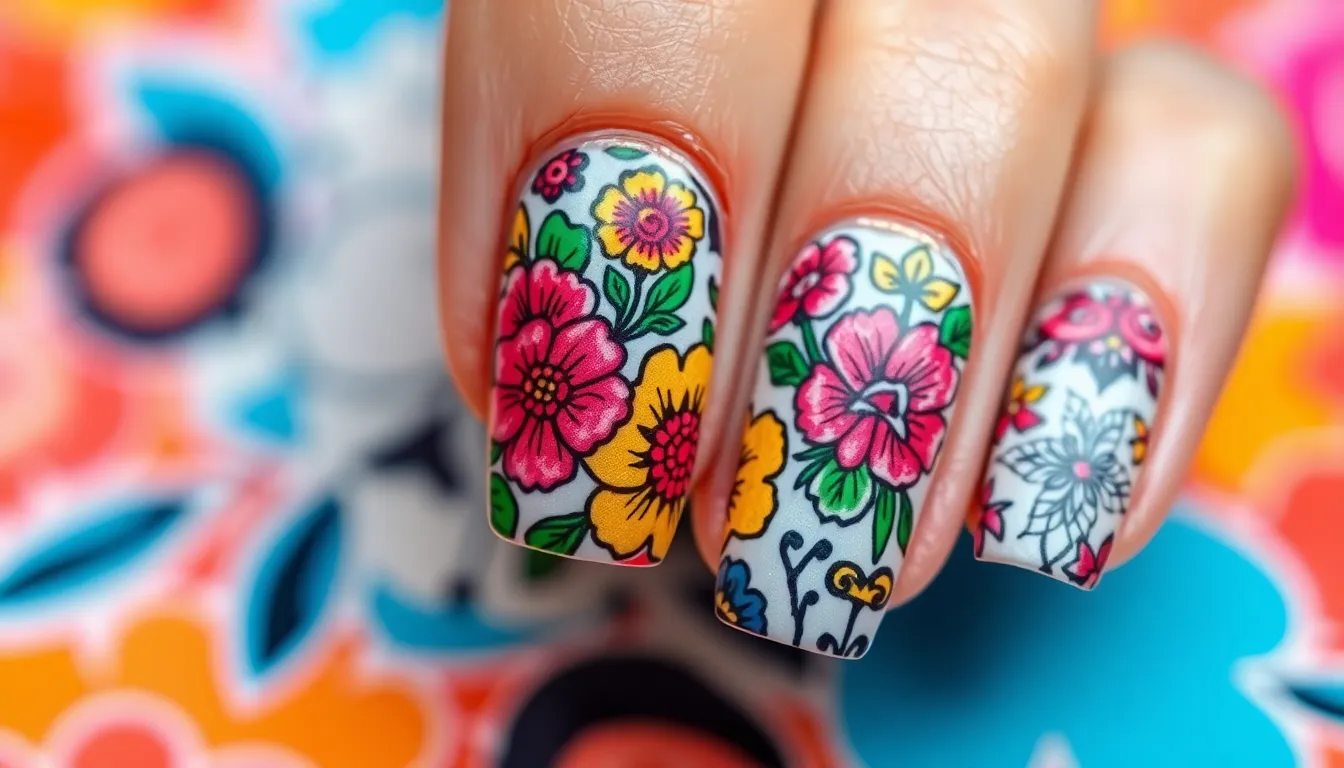
Nail stamping transforms simple manicures into professional-looking nail art in minutes. This technique uses pre-made patterns to create consistent designs without requiring advanced artistic skills.
Floral Stamp Patterns
Floral stamp patterns bring natural beauty to your nails with timeless appeal. We love how these designs range from simple daisies to intricate bouquets, offering endless style possibilities for any occasion. Stamping allows you to achieve complex floral details that would take hours to paint by hand.
Popular floral stamp options include:
- Rose bouquets for romantic occasions
- Daisy chains for spring vibes
- Cherry blossoms for delicate elegance
- Sunflowers for bold summer looks
Different color combinations can completely transform the same floral stamp. We recommend trying pastels for soft feminine looks or bold contrasts for dramatic effects.
Geometric Stamp Designs
Geometric stamp designs deliver modern sophistication with clean lines and precise patterns. These contemporary designs include chevrons, triangles, and hexagons that create striking visual impact. Mixing different geometric patterns on alternating nails creates unique combinations that look professionally crafted.
Key geometric stamp styles:
- Chevron patterns for ever-changing movement
- Triangle arrangements for edgy appeal
- Hexagon designs for honeycomb effects
- Diamond shapes for classic elegance
We find that geometric stamps work exceptionally well with metallic polishes or contrasting color schemes. Layering different geometric patterns creates depth and visual interest.
Text and Symbol Stamps
Text and symbol stamps add personal touches that make your manicure uniquely yours. Hearts, stars, and initials create meaningful designs that reflect your personality. These stamps work perfectly as accent pieces on one or two nails while keeping the rest simple.
Popular text and symbol options:
- Heart shapes for romantic themes
- Star patterns for celestial vibes
- Initial letters for personalization
- Infinity symbols for meaningful messages
We suggest using these stamps sparingly to avoid overwhelming the overall design. Placing symbols strategically on accent nails creates balanced compositions that draw attention without appearing cluttered.
Ombre and Gradient Effects
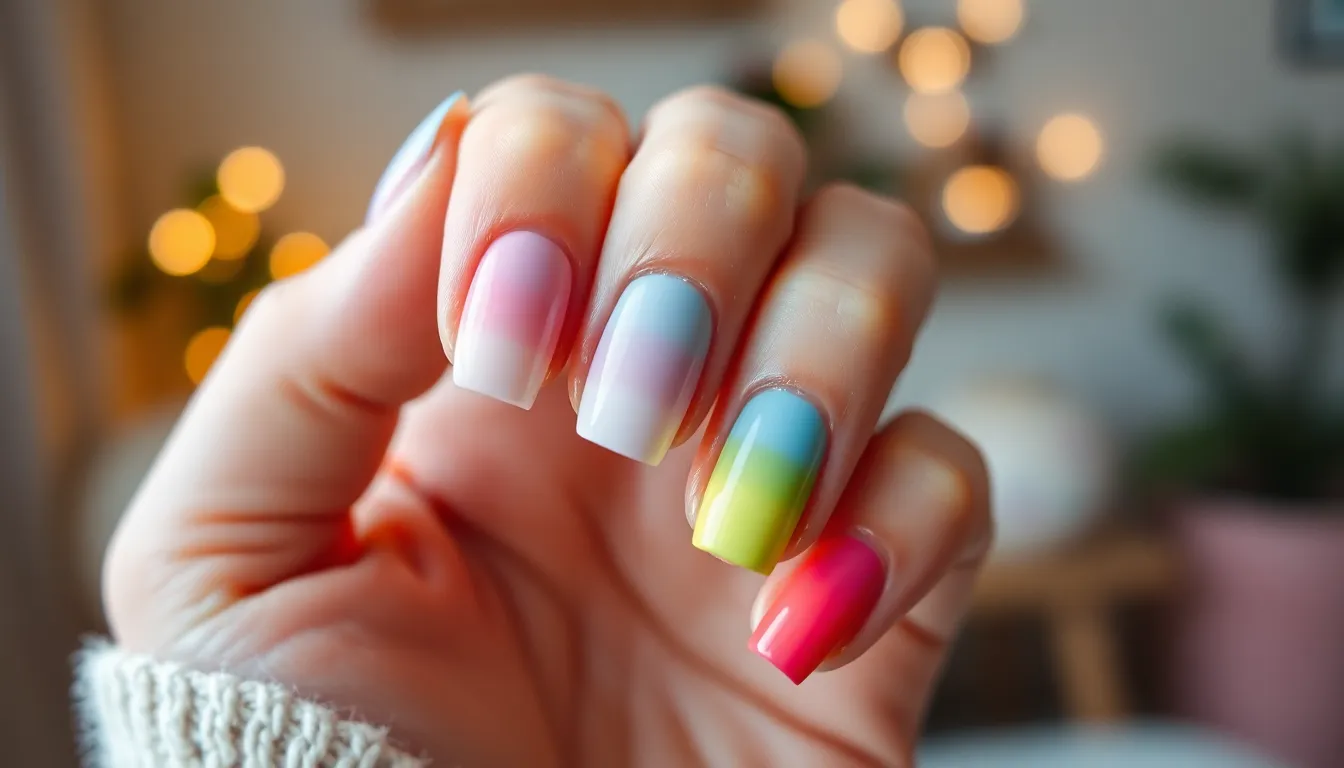
Creating stunning ombre and gradient effects transforms ordinary nails into captivating works of art with minimal effort. These techniques blend colors seamlessly to achieve professional-looking results using basic nail polish application methods.
Two-Color Ombre
Pastel combinations create the most enchanting two-color ombre effects for beginners. Start with pale pink as your base color and gradually blend baby blue towards the nail tips using gentle dabbing motions. This whimsical approach works perfectly for spring occasions and everyday wear.
Bold contrast ombre delivers striking visual impact when you’re ready to make a statement. Apply black polish at the nail tips and blend it into white at the base for dramatic effect. The key lies in working quickly while the polish remains workable, using light strokes to achieve smooth color transitions.
Application technique requires layering darker shades towards the tip of each nail over a light base color. We recommend using the brush directly from your nail polish bottle to create these gradual color shifts. The seamless transition develops naturally as you build up multiple thin layers rather than attempting to blend thick coats.
Rainbow Gradient
Horizontal rainbow stripes bring vibrant energy to your manicure through carefully placed color bands across each nail. Paint thin stripes of different rainbow colors horizontally, starting with red at the base and progressing through orange, yellow, green, blue, and purple toward the tips. Each stripe should be approximately 2mm wide for optimal visual balance.
Vertical rainbow gradients create a more subtle rainbow effect by layering colors from cuticle to tip. Begin with red near the cuticle area and gradually transition through the color spectrum toward purple at the nail tips. This vertical approach offers more sophisticated color blending compared to horizontal striping methods.
Color placement strategy involves selecting 4-6 rainbow shades that complement your skin tone. We suggest using bright, saturated colors for maximum impact, though pastel rainbow variations work beautifully for softer looks. The gradient effect emerges as you blend adjacent colors while they’re still wet.
Glitter Fade Techniques
Glitter gradient application starts with a light layer of glitter polish at the cuticle and gradually increases density toward the nail tips. This creates a stunning fade effect that catches light beautifully throughout the day. Apply your base color first, then use a makeup sponge to dab glitter polish in increasing concentrations from mid-nail to tip.
Glitter fade effects work exceptionally well over nude or clear base coats for subtle sophistication. Begin with minimal glitter coverage near the cuticle area and build up layers toward the tips until you achieve your desired intensity. The fade technique requires patience but produces professional-quality results.
Finishing touches include applying a glossy top coat to seal the glitter particles and create smooth nail surfaces. We recommend using two thin coats of top coat rather than one thick application to prevent smudging the carefully crafted gradient effect. Matte top coats offer an alternative finish that creates unique textural contrast with the glitter elements.
Easy Nail Sticker Applications
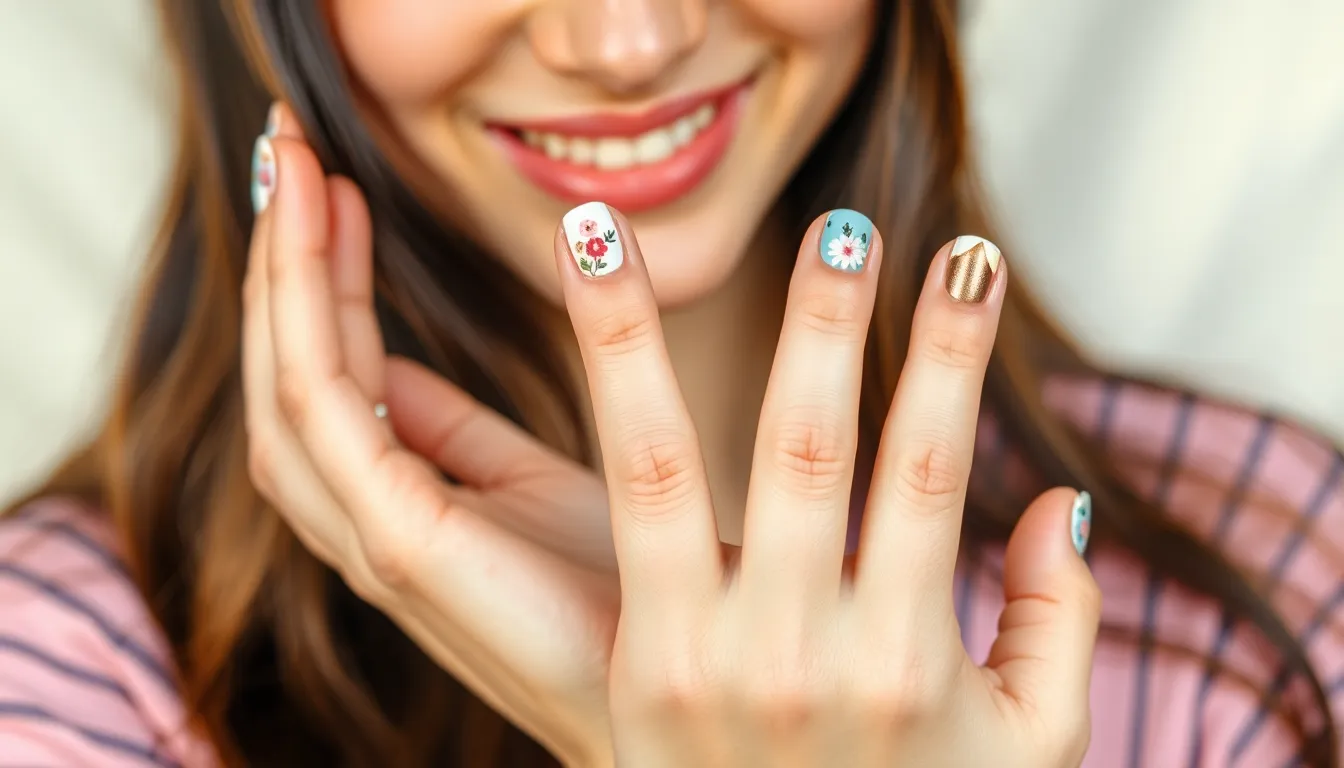
Nail stickers offer the perfect solution when we want salon-quality nail art without the complexity of hand-painting designs. These versatile tools transform our manicures in minutes, requiring minimal preparation and delivering professional-looking results every time.
Decorative Nail Decals
Decorative nail decals bring intricate patterns to our fingertips without requiring advanced painting skills. Floral designs like roses and daisies create romantic looks, while geometric patterns add modern sophistication to any manicure. Abstract designs offer artistic flair that complements both casual and formal occasions.
We should start with clean, dry nails and apply a clear base coat for optimal adhesion. Position each decal carefully on the nail surface, then smooth from the center outward to eliminate air bubbles. Trimming excess material with scissors and filing the edges ensures a seamless finish that looks professionally applied.
Alphabet and Number Stickers
Alphabet and number stickers let us create personalized messages and themed nail art that tells our unique story. Initial combinations spell out names or meaningful words, while date numbers commemorate special occasions like anniversaries or birthdays. Word-based designs express our personality through favorite quotes or inspirational phrases.
These stickers work beautifully as accent pieces on one or two nails, creating focal points without overwhelming the overall design. We can combine letters with other decorative elements like hearts or stars for enhanced visual appeal. Application follows the same process as standard stickers: select, position, smooth, and trim for clean results.
Metallic Accent Stickers
Metallic accent stickers provide instant glamour with their eye-catching shine and luxurious finish. Gold options create warm, elegant looks that complement both neutral and bold color schemes. Silver stickers offer cool sophistication, while rose gold adds trendy warmth to our nail art.
We can use these accents to highlight exact nail areas or add contrast to plain colored bases. Foil finishes reflect light beautifully, making our nails appear more dimensional and catching attention throughout the day. Strategic placement on ring fingers or thumbs creates balanced designs without appearing overwhelming, while full coverage transforms ordinary manicures into statement looks.
Conclusion
We’ve covered an incredible range of nail art techniques that prove beautiful manicures don’t require professional training or expensive tools. From simple geometric patterns and classic French variations to seasonal designs and nail stamping these methods work perfectly for busy schedules and beginner skill levels.
The beauty of these techniques lies in their versatility and accessibility. Whether you’re drawn to minimalist accent nails sparkly glitter effects or vibrant ombre gradients there’s something here for every style preference and occasion.
With these easy cute nail ideas at your fingertips you’ll never run out of inspiration for your next manicure. Start with the techniques that appeal to you most and gradually expand your repertoire as your confidence grows. Your nails will thank you for the creative attention!
Frequently Asked Questions
What nail designs are best for beginners?
Geometric patterns, ombré effects, and polka dots are perfect for beginners. These designs require minimal tools like bobby pins or toothpicks and can be completed quickly. Simple French manicure variations with glitter accents or colorful tips are also beginner-friendly options that look professional without requiring advanced skills.
How long do these simple nail designs take to complete?
Most of these nail art designs can be completed in just minutes. Basic geometric patterns and polka dots take 5-10 minutes, while ombré effects and French manicure variations typically require 10-15 minutes including drying time. These quick techniques are perfect for busy schedules.
What basic tools do I need for at-home nail art?
You’ll need nail polish, bobby pins or toothpicks for dots, nail art tape for clean lines, and a dotting tool for detailed work. A striping brush helps with geometric patterns, and nail stickers offer an even easier alternative for intricate designs without hand-painting.
How can I make my nail art last longer?
Apply a quality base coat before your design and finish with a top coat for protection. Allow each layer to dry completely between applications. For sticker applications, press firmly and seal edges well. Avoid hot water and wear gloves when cleaning to preserve your manicure.
What are the easiest floral nail art techniques?
Simple daisy designs using dotting tools are the easiest floral option. Create five white dots in a circle with a yellow center dot. Cherry blossoms and tiny roses using two shades of the same color family are also beginner-friendly and add elegant natural beauty to your nails.
How do I create clean geometric patterns without professional tools?
Use nail art tape for straight lines and crisp edges. The polish brush itself can create triangle designs when used strategically. Color blocking techniques divide nails into bold sections, while stripe combinations offer modern twists on classic designs using just tape and contrasting colors.
What seasonal nail colors work best for each time of year?
Spring favors pastel combinations like baby pink and mint green. Summer embraces bold coral and bright yellow shades. Fall focuses on warm golden brown and burnt orange tones. Winter holidays feature snowflake designs, candy cane stripes, and festive glitter accents for seasonal charm.
Are nail stamping designs difficult to master?
Nail stamping is actually one of the easiest techniques for achieving professional-looking results. Pre-made patterns eliminate the need for hand-painting skills. Floral stamps, geometric designs, and text symbols can transform simple manicures into complex-looking nail art in just minutes with minimal practice required.
How do I achieve smooth ombré and gradient effects?
Use a makeup sponge to blend two colors while they’re still wet. Work quickly and dab gently for seamless transitions. Pastel combinations are more forgiving for beginners, while bold contrasts create dramatic impact. Multiple thin layers work better than one thick application for smooth gradients.
What’s the easiest way to add sparkle to my nails?
Glitter gradient nails offer the simplest sparkle technique by layering glitter polish over a base color. Sparkle tips provide a modern French manicure twist, while holographic accent pieces on one or two nails create futuristic flair without overwhelming the overall design.
