We’ve all been there – staring at our bare nails wishing we had the time or skills for an elaborate manicure. But here’s the thing: stunning nails don’t require hours at the salon or years of practice. With the right techniques and a few simple tools you probably already own, we can transform plain nails into eye-catching masterpieces in minutes.
From elegant minimalist designs to playful patterns that’ll make your friends ask “where’d you get those done?” we’re about to share game-changing nail ideas that anyone can master. These aren’t your typical complicated tutorials that leave you frustrated – we’re talking foolproof methods that deliver professional-looking results every single time.
Whether you’re prepping for a special occasion or simply want to elevate your everyday look, these easy nail ideas will become your go-to arsenal for instant confidence and style.
Classic French Manicure With a Twist
We’re elevating the timeless French manicure beyond its traditional white-tipped boundaries. These modern variations transform the classic design into something fresh and contemporary while maintaining that polished elegance you love.
Modern Color Variations
Swap the classic white tips for bold, unexpected colors that reflect your personality. Coral pink tips create a soft summer vibe that complements warm skin tones beautifully. Navy blue offers a sophisticated alternative that works perfectly for professional settings or evening events. Metallic gold tips add instant glamour and pair wonderfully with both casual outfits and formal wear.
Pastel variations like lavender, mint green, or baby blue give your French manicure a dreamy, romantic feel. These colors work especially well during spring and summer months when lighter shades dominate fashion trends. For autumn, we recommend rich burgundy or forest green tips that mirror the season’s cozy aesthetic.
Glitter Accent Tips
Transform your French manicure tips with strategically placed glitter that catches light beautifully. Fine silver glitter creates an elegant shimmer that’s perfect for weddings or special celebrations. Rose gold glitter offers warmth and sophistication that complements most skin tones naturally.
Apply glitter over your chosen tip color while it’s still slightly tacky for maximum adhesion. Chunky holographic glitter creates a party-ready look that’s ideal for nights out or festive occasions. Clear base with rainbow glitter gives you versatility since it pairs with any outfit in your wardrobe.
Focus the glitter concentration at the very edge of your tips for a subtle effect, or cover the entire tip area for maximum impact and drama.
Geometric French Lines
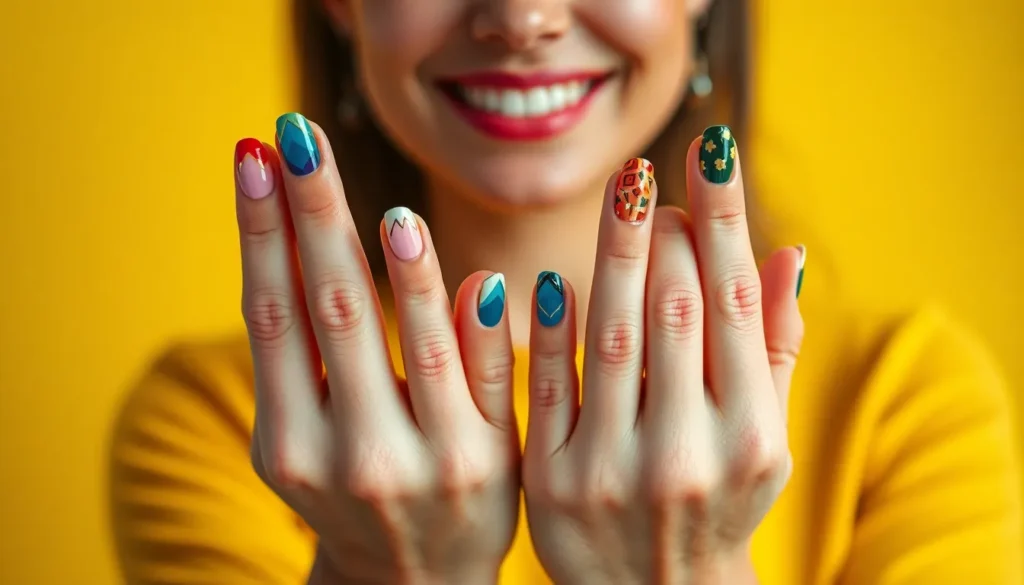
Replace the traditional curved smile line with sharp, angular designs that feel distinctly modern. Triangle tips create an edgy geometric look that’s surprisingly easy to achieve with striping tape. Diagonal lines angled toward your cuticles elongate your fingers and create visual interest.
Chevron patterns add texture and movement to your manicure while maintaining that classic French elegance. Double lines in contrasting colors create depth and dimension that photographs beautifully on social media. V-shaped tips point downward for a unique twist that still honors the French manicure tradition.
Use nail art brushes or striping tape to achieve clean, precise lines that look professionally done. These geometric variations work especially well with neutral base colors like nude, beige, or soft pink.
Simple Solid Color Combinations
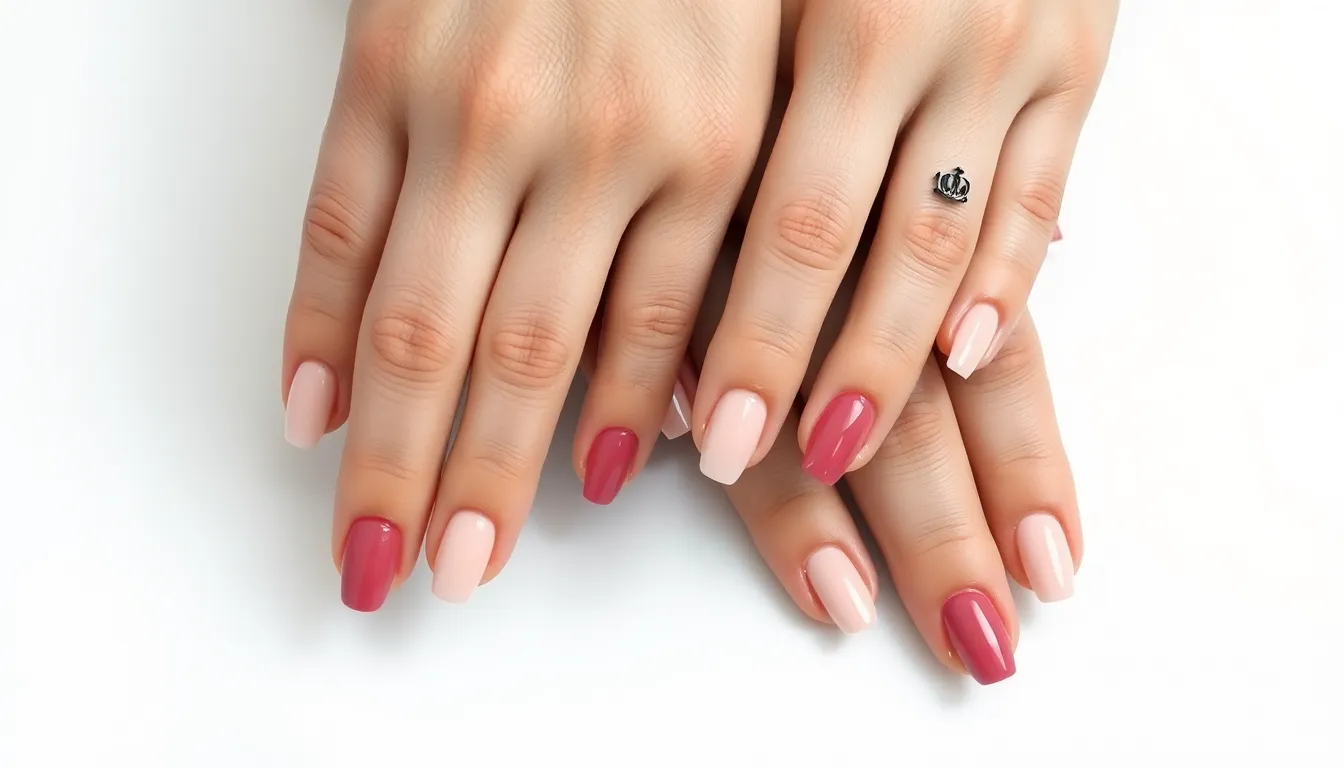
Solid color manicures offer the perfect foundation for effortless nail elegance. We’re moving beyond the classic French variations to explore pure color sophistication that requires minimal skill but delivers maximum impact.
Monochromatic Gradient Effects
Monochromatic gradients create subtle sophistication through seamless color transitions. We recommend blending similar shades within the same color family, such as transitioning from light pink to deep rose or pale blue to navy across your nails. This technique works beautifully when applied from light to dark tones or reversed for a different visual effect.
Achieving this look requires only a makeup sponge and two to three polish shades in the same color range. Apply the gradient across individual nails or create the effect across your entire hand for a cohesive ombré appearance. The subtle blending enhances elegance without requiring complex artistic skills or specialized tools.
Two-Tone Color Blocking
Two-tone color blocking delivers modern graphic appeal with clean, bold lines. We’re seeing trending combinations like orange paired with pink or blue matched with white dominate 2025 nail art. This technique involves painting each nail with two distinct colors separated by a crisp, straight line.
Creating perfect color blocks requires steady hands and quality striping tape for clean edges. Position the tape diagonally across your nail or create horizontal divisions for different looks. Remove the tape while the polish remains slightly wet to achieve those sharp, professional lines that define this contemporary style.
Seasonal Color Palettes
Seasonal palettes provide endless inspiration for simple yet striking nail designs. Spring and summer 2025 trends highlight pastel hues including lilac, peach, yellow, and light blue shades that reflect the season’s fresh energy. These colors work beautifully as solid applications or combined in gradient and color blocking techniques.
Popular combinations include “ice cream nails” featuring peach and yellow tones, seaside inspired blues, and lilac haze shades that capture current minimalist trends. We can apply these seasonal colors individually for classic solid manicures or mix them using the gradient and blocking methods for added visual interest while maintaining the easy application approach.
Quick Accent Nail Designs
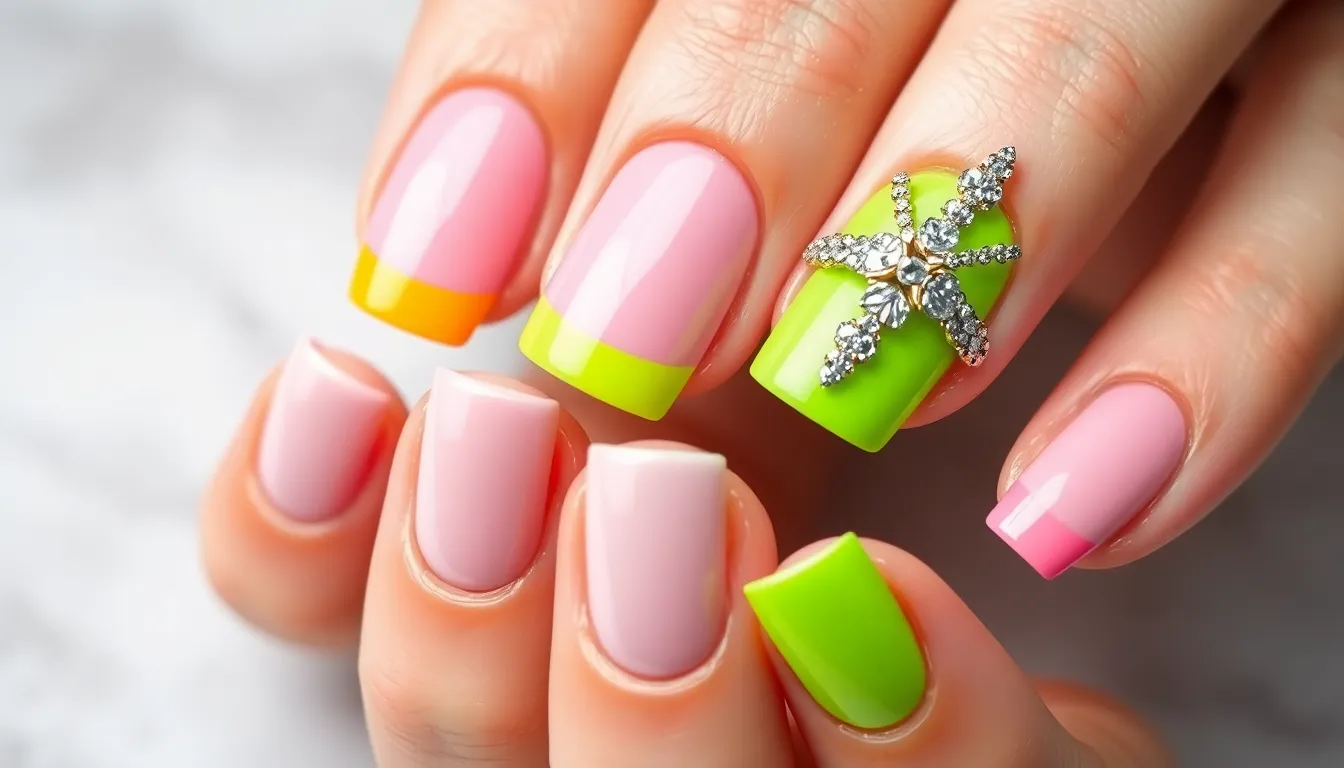
Sometimes we need just one strategic detail to elevate our entire manicure from ordinary to extraordinary. These targeted accent techniques deliver maximum impact with minimal effort.
Single Statement Nail
Upside down French tips transform traditional manicures with a fresh perspective that catches everyone’s attention. We paint our nails with pastel pink polish as the base, then use a band aid to create perfectly clean lines for bright pink tips at the cuticle instead of the nail edge. This reversed approach creates visual interest while maintaining the classic elegance we love about French manicures.
Bold color blocking on a single nail creates an instant focal point that draws the eye without overwhelming the entire hand. We choose one nail per hand (typically the ring finger) and paint it with a completely contrasting color to our base shade. Neon green against soft pink or electric blue against nude creates striking combinations that feel intentional and modern.
Textured statement nails add dimension through materials rather than colors, giving us tactile interest alongside visual appeal. We apply velvet powder, sand texture polish, or even small studs to one accent nail while keeping others smooth and glossy. These contrasts create sophisticated depth that photographs beautifully for social media.
Glitter Ring Finger
Classic glitter accents on ring fingers remain the most foolproof way to add sparkle without commitment to full glitter nails. We apply clear coat on all nails except the ring fingers, then paint those with glitter polish for an instant pop of glamour. This technique works with any base color and saves time since we’re only dealing with glitter application on two nails.
Glitter fade techniques create subtle ombre effects that look professionally done with just basic tools. We apply two coats of our base color, then add glitter gel polish in French tip style starting at the nail edge. Wiping off excess glitter and fading it toward the cuticle creates seamless gradients that catch light beautifully.
Chunky holographic glitter delivers maximum impact for special occasions when we want our nails to truly sparkle. We choose large hexagonal or star shaped glitter pieces and apply them strategically over our ring finger base color. These statement pieces reflect rainbow colors and create movement that’s perfect for evening events or celebrations.
Metallic Accent Touches
Metallic dots provide elegant detail work that looks complex but takes just minutes to achieve using dotting tools or bobby pins. We dip our tool in metallic polish and create perfect circles on one or more nails, varying sizes for visual interest. Gold dots on navy blue or silver dots on burgundy create luxurious combinations.
Metallic tips offer sophisticated alternatives to traditional French manicures with modern edge appeal. We paint metallic polish on just the tips of our nails, choosing rose gold for warmth, silver for classic elegance, or copper for autumn vibes. These tips work beautifully over nude, white, or even bold colored bases.
Metallic striping tape creates precise geometric patterns without requiring steady hand techniques or artistic skills. We apply our base color, let it dry completely, then place thin metallic tape in stripes, chevrons, or crosshatch patterns. Sealing with top coat ensures these metallic accents stay put while adding professional looking detail to our manicure.
Easy Dotting Tool Patterns
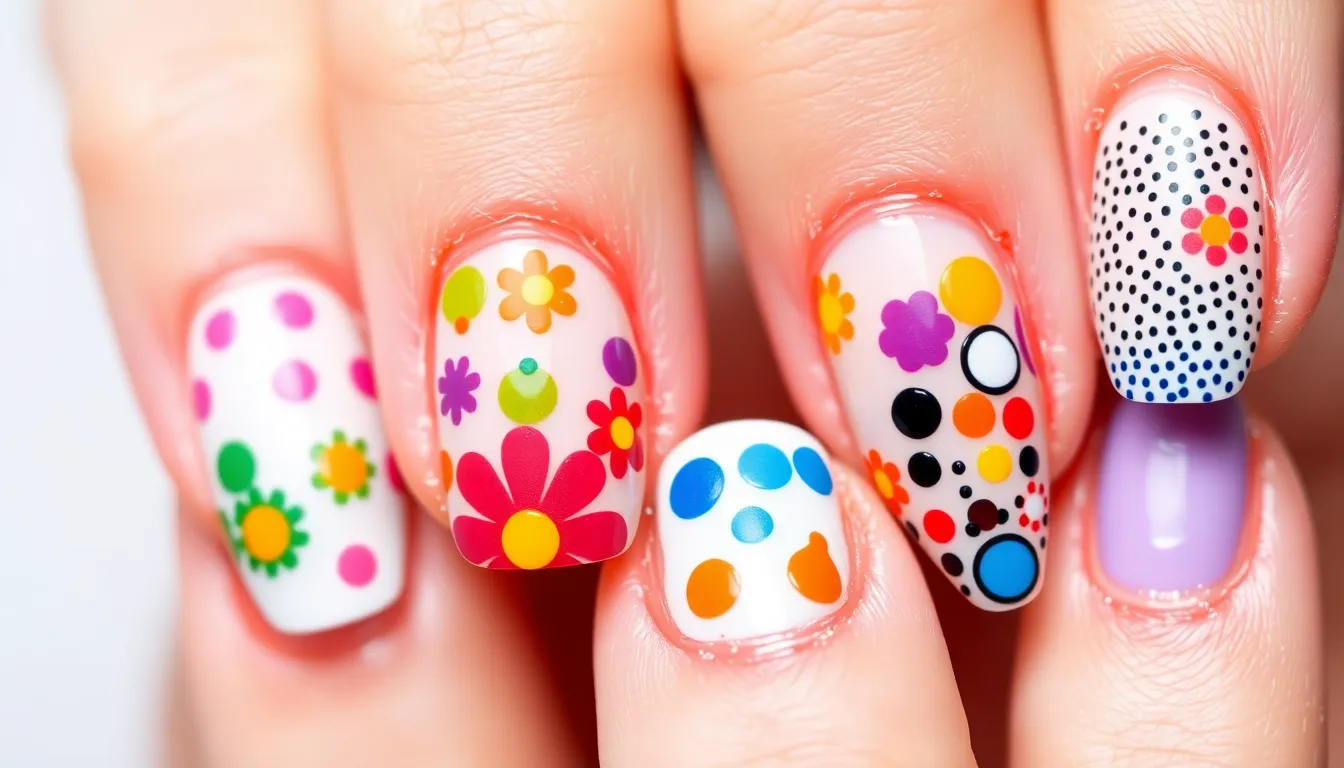
Dotting tools transform ordinary manicures into professional-looking designs with minimal effort and skill required. We’ll explore three versatile approaches that deliver maximum impact using simple dot techniques.
Polka Dot Variations
Classic polka dots create timeless elegance by placing small, evenly spaced dots across each nail using either a dotting tool or the nail polish brush itself. Start with a base color and add contrasting dots in regular intervals for the most balanced appearance.
Colorful polka designs elevate the traditional approach by incorporating multiple colors for both the background and the dots themselves. Try pairing bright coral dots on a navy base or soft pink dots over a mint green foundation for playful yet sophisticated results.
Enlarged polka patterns make a dramatic statement by increasing dot size significantly compared to classic versions. Use the larger end of your dotting tool or create oversized dots with a small brush for bold, eye-catching designs that work particularly well on longer nails.
Flower Petal Designs
Simple petal shapes emerge when you use the nail polish brush to paint small, rounded forms radiating from a central point. Dip the brush lightly and create 4-5 curved strokes around an imaginary center for instant floral charm.
Layered petal effects add dimensional depth by overlapping petals in different shades of the same color family. Paint the base petals first, then add lighter or darker variations on top to create natural-looking flower gradients.
Accent flower placements provide subtle elegance by positioning a single small flower at the corner or center of select nails. Choose contrasting colors like white flowers on burgundy bases or yellow blooms on deep purple backgrounds for maximum visual impact.
Abstract Dot Arrangements
Random dot scattering creates modern, artistic designs by placing dots irregularly across the nail surface without following exact patterns. Vary the sizes slightly and leave some areas empty for contemporary negative space effects.
Geometric dot formations arrange dots into recognizable shapes like triangles, hexagons, or diamond patterns for structured yet accessible nail art. Use a steady hand and consistent spacing to maintain clean geometric lines.
Clustered dot textures group multiple dots together in concentrated areas while leaving other sections sparse for interesting textural contrast. Combine different sized dots within each cluster using various shades of the same color for added depth and dimension.
Basic Striping Tape Techniques
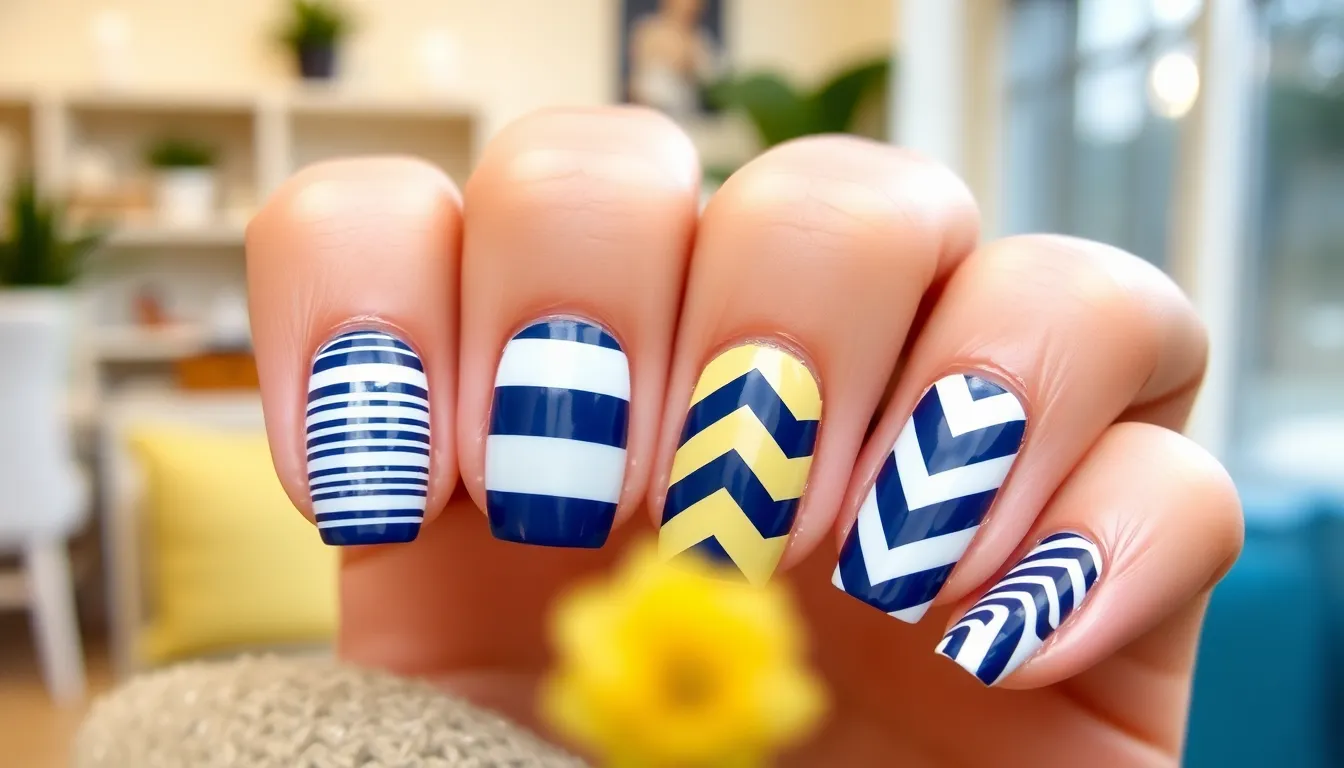
Striping tape transforms plain nails into precise geometric designs with professional-looking results. We’ll show you how this versatile tool creates clean lines and intricate patterns that would be impossible to achieve freehand.
Horizontal Line Patterns
Single Line designs create the most elegant minimalist look by placing one piece of tape horizontally across each nail. We apply a base coat first, then position the tape using tweezers to avoid fingerprint residue that can affect adhesion. Paint over the tape with your chosen polish and remove it immediately while the polish is still wet for the crispest possible line.
Multi Line patterns deliver bold striped effects by spacing multiple pieces of tape evenly across the nail surface. We recommend measuring the spacing with a ruler for the most professional appearance. Alternate between two complementary colors like navy blue and white for a nautical theme, or use three shades of the same color family for an ombre stripe effect.
Diagonal Stripe Designs
Diagonal Stripes add ever-changing movement to your manicure by placing tape at 45-degree angles across each nail. We find this technique works best when you maintain consistent angles across all ten nails for a cohesive look. Start from the bottom left corner and angle toward the top right, or reverse the direction for variety.
Variation techniques create visual interest by alternating stripe directions between hands or even between individual fingers. We suggest painting your base color first, then applying diagonal tape in opposite directions on alternating nails. This creates a chevron-like effect without the precision requirements of true chevron patterns.
Chevron and Zigzag Effects
Chevron patterns require placing tape in precise V-shapes that meet at sharp points along the nail center. We recommend starting with the center point and working outward to ensure symmetrical angles. Use a small nail art brush to touch up any gaps where the tape pieces meet for perfectly aligned chevron points.
Zigzag effects combine short tape segments placed at alternating angles to create lightning bolt patterns across your nails. We apply these in sections, painting and removing each piece before moving to the next segment to prevent tape overlap. This technique works exceptionally well with metallic polishes that catch light at different angles, creating ever-changing visual texture.
Simple Stamping Nail Art
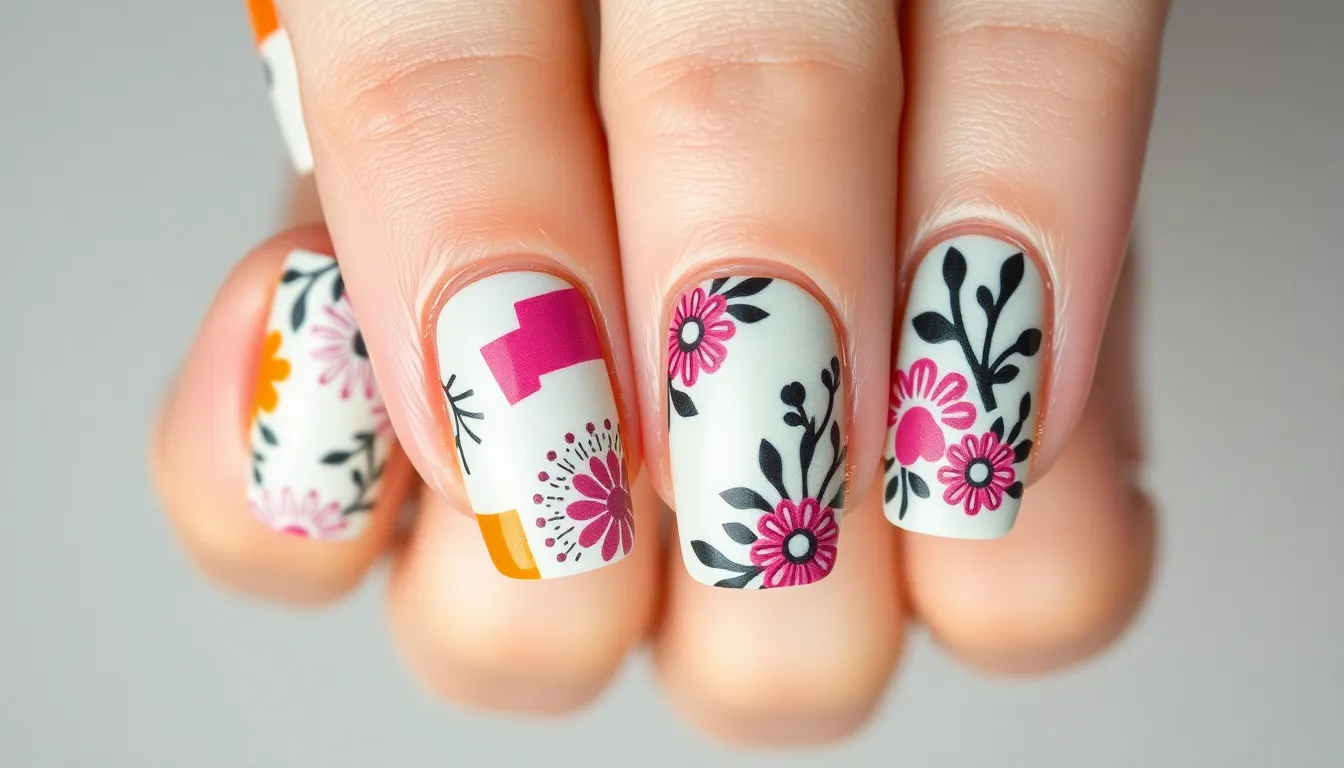
We’ve moved beyond basic techniques to explore stamping, which transforms our nails into intricate masterpieces with minimal effort. This method uses specialized plates and tools to transfer detailed designs onto our nails in seconds.
Beginner-Friendly Stamp Patterns
Simple geometric shapes make the perfect starting point for our stamping journey. Straight lines, basic circles, and squares require minimal precision while delivering maximum impact on our manicures.
Minimal floral patterns offer elegant sophistication without overwhelming complexity. Single blooms and simple flower motifs create delicate feminine touches that work beautifully for everyday wear or special occasions.
Stripes and dots represent the most accessible entry point into stamping nail art. These classic designs never go out of style and provide instant gratification for newcomers to this technique.
Layered Stamping Techniques
Overlapping designs create dimensional depth that elevates our nail art from simple to spectacular. Multiple stamps can be combined to build intricate patterns that appear professionally crafted.
Different colors for each layer add visual interest and complexity to our designs. This technique allows us to experiment with contrasting hues or complementary shades for unique artistic effects.
Clear jelly polish serves as an excellent base for layered stamping projects. This transparent foundation enhances visibility of our designs while providing a smooth surface for multiple stamp applications.
Color Combination Ideas
Monochromatic schemes using different shades of the same color create sophisticated cohesion across our manicure. This approach ensures our nail art remains elegant while showcasing our stamping skills.
Neutral bases paired with bold accent colors deliver striking contrast without overwhelming our overall look. These combinations work perfectly for both professional settings and creative expression.
Seasonal themes allow us to match our nail art with current fashion trends and natural color cycles. Pastels work beautifully for spring celebrations while darker tones complement autumn and winter aesthetics.
Minimalist Geometric Shapes
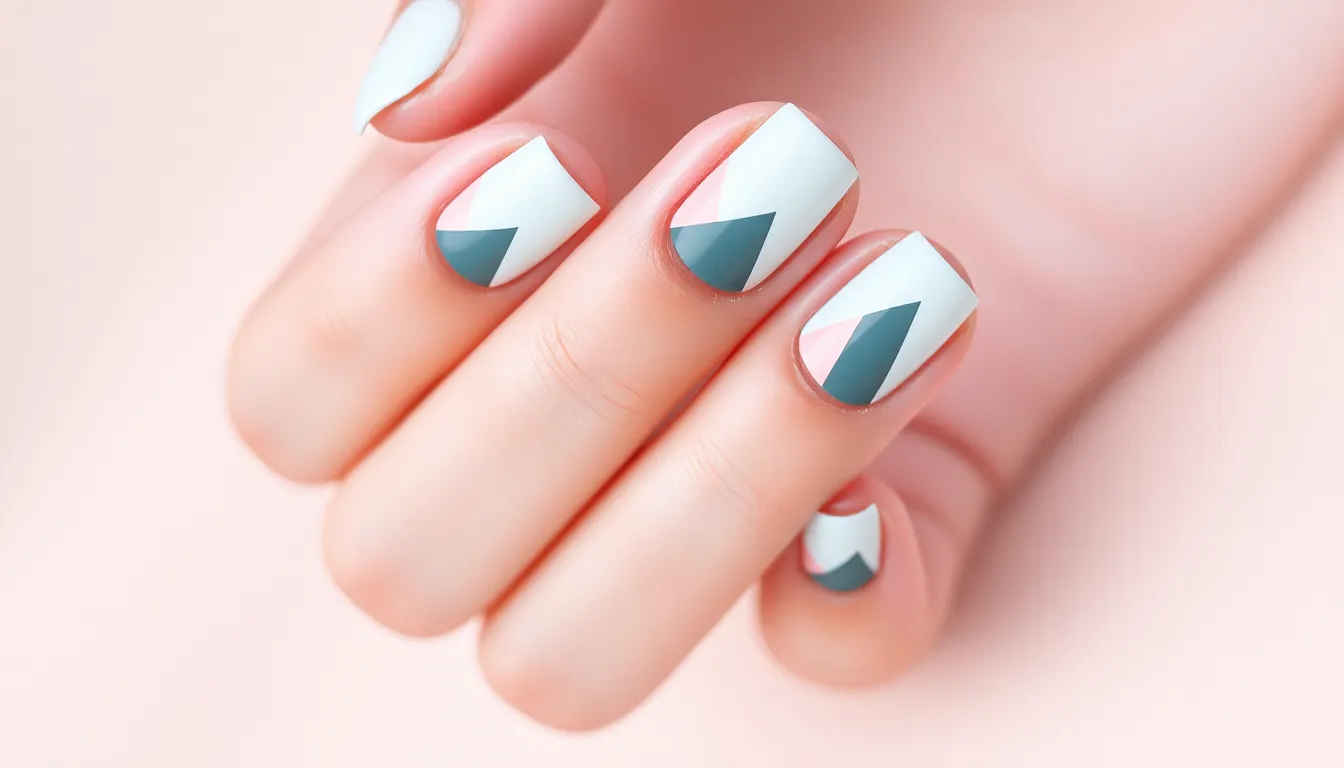
Geometric nail art brings sophisticated elegance through clean lines and simple shapes that create maximum visual impact. We’ll explore three stunning geometric approaches that transform basic manicures into modern masterpieces.
Triangle and Square Designs
Triangle patterns offer endless creative possibilities while maintaining that coveted minimalist aesthetic. Creating these designs requires nail polish in contrasting colors and striping tape for sharp, professional edges. Position triangular shapes at the nail tip for a modern French twist, or place them at the base for an unexpected geometric accent.
Square elements work beautifully when combined with triangular patterns to create ever-changing visual interest. Alternate between solid triangles and outlined squares across different nails for a cohesive yet varied look. Choose complementary colors like navy blue with gold accents or soft pink with white details to enhance the geometric impact.
Combine both shapes on a single nail by creating a triangle within a square outline for advanced geometric layering. This technique adds depth while maintaining the clean, structured appearance that makes geometric nail art so appealing.
Half-Moon Manicures
Half-moon designs celebrate the natural curve of your nail bed while incorporating geometric precision. Paint the lower portion of each nail in a contrasting shade to create this classic yet contemporary look. Traditional combinations like nude base with white half-moons never go out of style.
Bold color pairings elevate the half-moon technique into statement nail territory. Try coral pink bases with navy blue half-moons for summer vibes, or opt for black bases with metallic gold crescents for evening elegance. These contrasting combinations create striking visual drama.
Reverse half-moon manicures flip the traditional approach by painting the upper portion instead of the lower curve. This variation offers a fresh take on the classic design while maintaining the same geometric appeal and easy application process.
Negative Space Patterns
Negative space techniques use unpainted areas as design elements themselves, creating sophisticated minimalist art. Leave strategic sections of your natural nail exposed while painting geometric shapes around them for an effortlessly chic appearance. This approach works especially well with bold polish colors that contrast beautifully against natural nail tones.
Geometric cutouts transform ordinary manicures into architectural masterpieces using simple tape placement. Create diamond shapes, triangular windows, or linear gaps that showcase your natural nail while maintaining clean geometric boundaries. These designs require steady application of base coat to prevent staining of exposed nail areas.
Floating geometric shapes appear to hover over the nail surface when created with negative space techniques. Paint thin outlines of triangles, squares, or diamonds while leaving the centers unpainted for a modern artistic effect that’s surprisingly easy to achieve with nail art brushes.
Quick Ombre and Gradient Effects
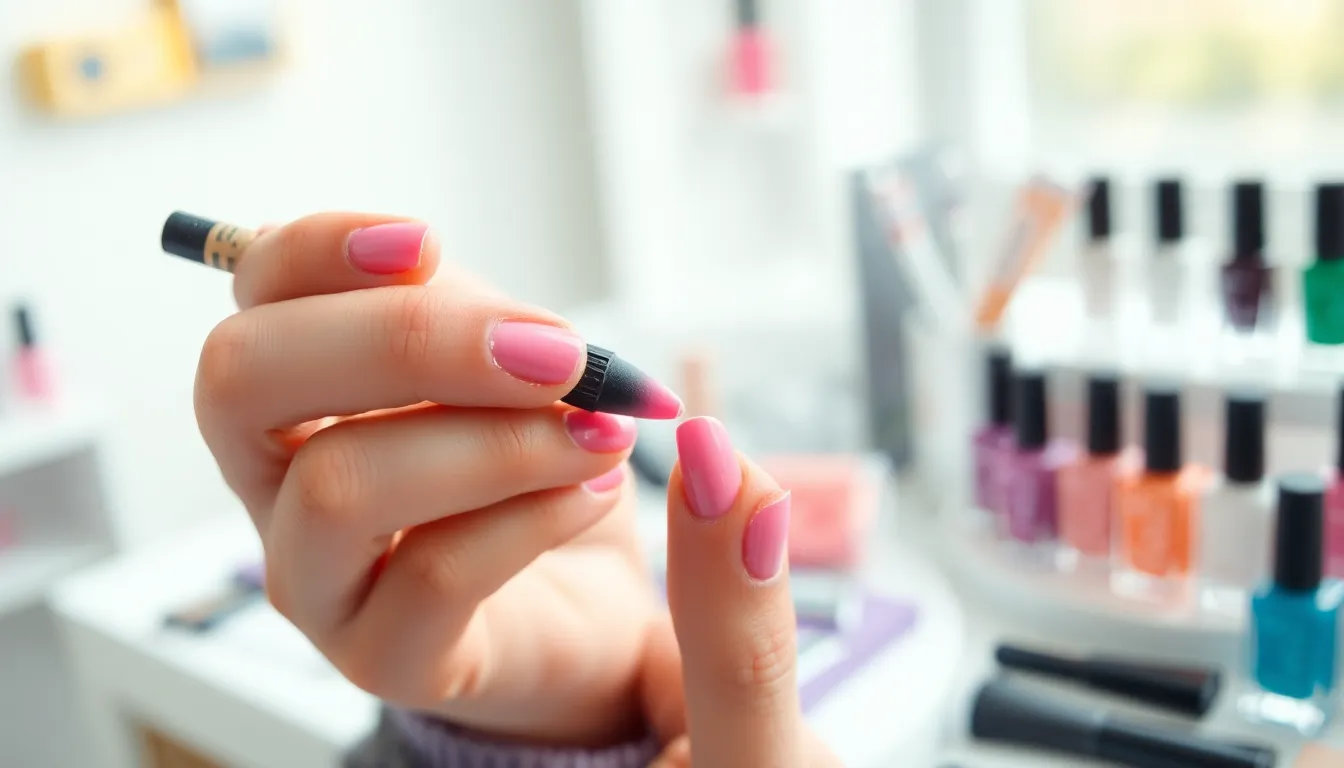
Building on our geometric and stamping designs, we’ll explore gradient techniques that create stunning color transitions with just a few household tools. These ombre effects add depth and dimension to any manicure while remaining completely achievable for beginners.
Sponge Technique Method
Grab a makeup sponge to achieve the smoothest gradient transitions without expensive tools. Apply your lightest polish color as a base coat across the entire nail. While it’s still slightly tacky, dab small amounts of your chosen colors onto the sponge in the order you want them to appear on your nail. Press the sponge gently onto your nail, rolling it slightly to blend the colors naturally.
Repeat the dabbing process 2-3 times for deeper color saturation. The key lies in working quickly before the polish on the sponge begins to dry. Clean your sponge between different color combinations to prevent muddy results. This method works exceptionally well for sunset gradients using orange, pink, and yellow combinations.
Brush Blending Approach
Master direct brush blending for more controlled gradient placement and intensity. Start by applying your base color to the entire nail, then immediately add drops of your second color to the wet polish. Use a clean brush to gently stroke from the darker area toward the lighter area, creating seamless transitions.
Work in thin layers to build up the gradient effect gradually. This technique requires practice but offers precise control over where each color begins and ends. Professional nail artists often prefer this method for creating exact gradient placements, such as concentrating darker colors near the cuticle area.
Color Transition Tips
Begin with the lightest shade at your nail tip and progress to darker tones toward the cuticle for natural looking results. This approach mimics how light naturally falls on nails, creating an organic appearance that flatters all nail shapes and lengths.
Overlap your colors by about 1-2 millimeters as you apply them to eliminate harsh lines. The overlapping creates that smooth transition zone that makes professional looking gradients. Practice this technique with similar color families first, such as different shades of blue or pink, before attempting contrasting color combinations.
Seal your gradient work immediately with a quality top coat to prevent smudging. The top coat also helps blend any remaining visible transitions while adding that glossy finish that makes gradient nails look salon perfect.
Easy Seasonal Nail Themes
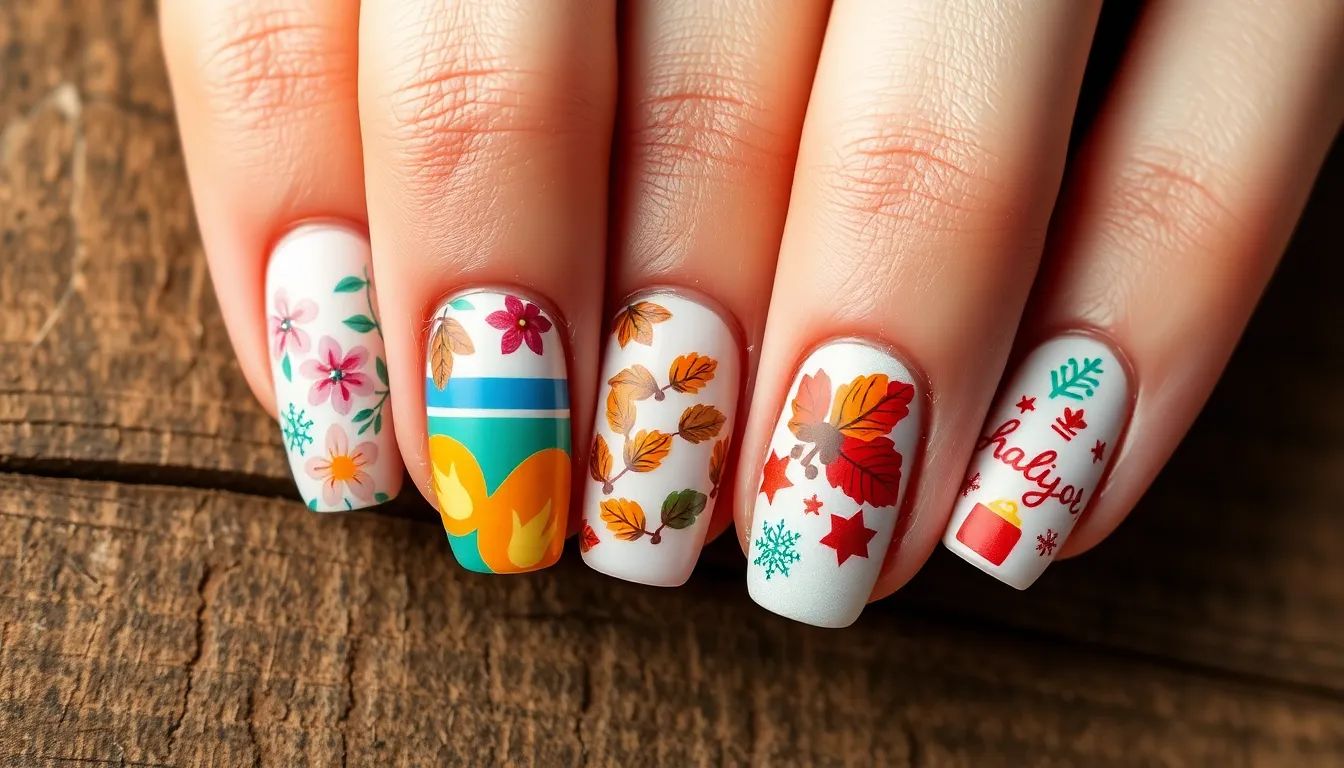
We’ll explore how seasonal nail themes can transform your manicure throughout the year with simple techniques that capture each season’s unique beauty.
Spring Floral Motifs
Floral nail art brings delicate spring energy to your fingertips with soft pastel backgrounds and minimalist flower patterns. We recommend starting with a pale pink or mint green base and adding simple five-petaled flowers using a dotting tool or thin brush. Peek-a-boo flower designs work beautifully when you paint small blooms peeking from the cuticle area, creating an organic garden effect.
Matcha-inspired motifs offer a trendy twist on spring florals, combining soft green bases with white or cream flower accents. Nail stickers and decals provide the quickest route to professional-looking floral designs, especially for intricate petal details that might be challenging to paint freehand.
Summer Beach Vibes
Beachy keen designs capture summer’s carefree spirit through bright colors and coastal elements like seashells, palm trees, and tropical flowers. Bold stripes in ocean blues and sunset oranges create instant beach vibes when painted vertically or horizontally across your nails. We suggest alternating between coral and turquoise for a tropical paradise effect.
Wave patterns using a fan brush create realistic ocean textures, while simple palm tree silhouettes on accent nails add a vacation feel. Seashell nail art becomes effortless with small dots arranged in curved patterns, mimicking real shell textures.
Fall Autumn Colors
Autumnal hues embrace warm, earthy tones like burnt orange, deep red, and golden yellow that mirror changing leaves. Simple leaf patterns created with thin brushes or nail art pens add seasonal charm without requiring advanced skills. We recommend painting small maple or oak leaf shapes on accent nails using contrasting autumn shades.
Acorn designs bring cozy fall vibes through oval shapes topped with brown caps, perfect for creating woodland-inspired manicures. Gradient techniques work beautifully with fall colors, blending orange into red or yellow into brown for sunset-inspired effects.
Winter Holiday Designs
Festive themes transform winter nails through snowflakes, reindeer patterns, and Christmas tree motifs that celebrate the holiday season. Snowflake designs become simple when you start with white dots and add radiating lines using a thin brush or nail art pen. Glitter polish adds instant sparkle that mimics fresh snow.
Christmas tree patterns work well as accent nail designs, created through simple triangle shapes filled with green polish and topped with gold stars. Reindeer silhouettes on deep red or forest green backgrounds capture holiday magic, while nail stickers offer quick answers for detailed holiday characters and symbols.
Time-Saving Nail Art Hacks
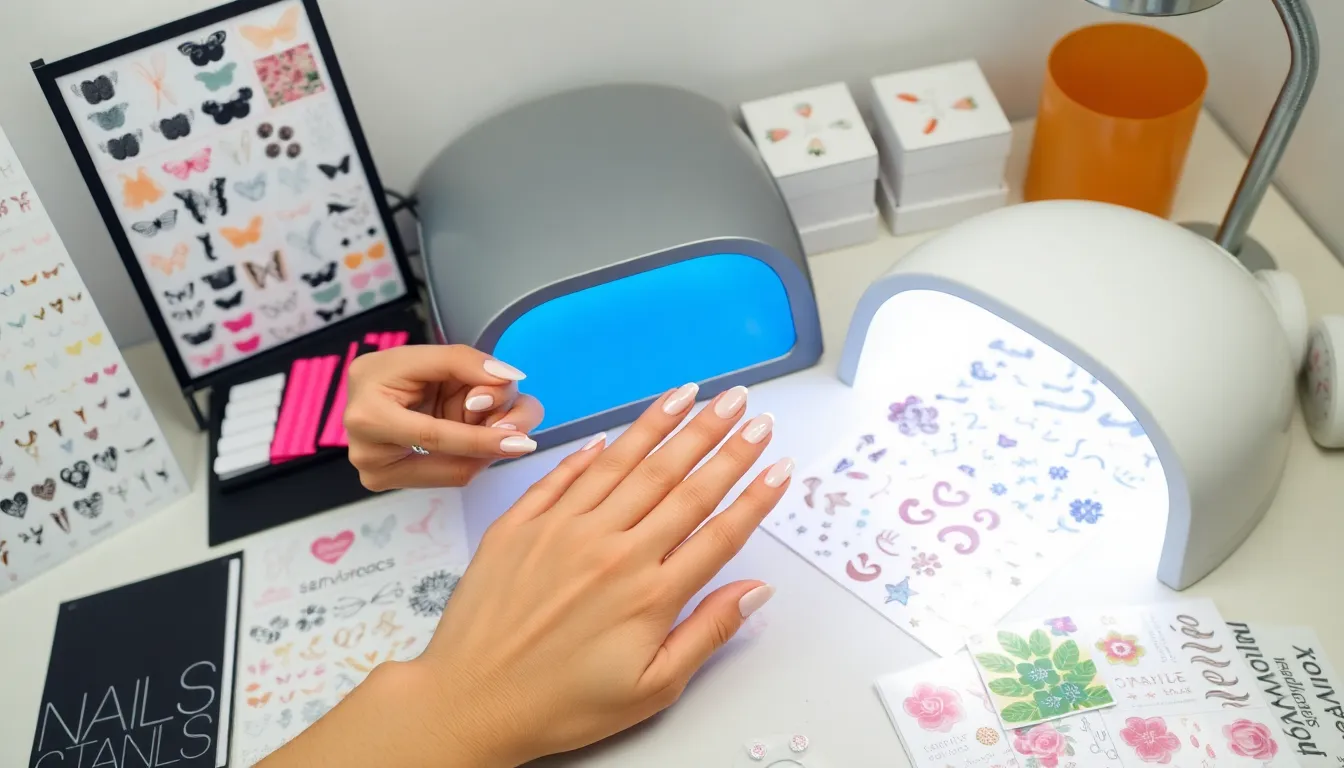
Sometimes we need gorgeous nails without spending hours on intricate designs. These practical shortcuts deliver professional results in minutes, not hours.
Press-On Nail Decorations
Press-on nails offer an instant transformation with pre-made designs that save important time compared to traditional painting methods. We love how these come in various artistic patterns, from elegant florals to bold geometric shapes, eliminating the need for freehand painting skills.
Application becomes effortless when you use nail glue for a secure, long-lasting fit. Alternatively, adhesive tabs work perfectly for temporary wear or when you want to switch designs frequently. Clean your natural nails thoroughly before application to ensure maximum adhesion and longevity.
Size matching proves crucial for a natural appearance. Most press-on sets include multiple sizes, allowing you to find the perfect fit for each finger. File the edges gently after application to blend seamlessly with your natural nail shape.
Nail Sticker Applications
Nail stickers create intricate designs quickly without requiring artistic skills or steady hands. These versatile decorations range from delicate florals to bold patterns, making complex nail art accessible to everyone.
Application starts with clean, dry nails for optimal adhesion. Place stickers carefully on your base color, smoothing out any air bubbles with gentle pressure. Position them while the base coat is still slightly tacky for better grip.
Sealing becomes essential for long-lasting results. Apply a clear top coat over the entire nail, paying special attention to the sticker edges to prevent peeling. This protective layer extends wear time and maintains the design’s crisp appearance.
Quick-Dry Techniques
UV or LED nail dryers speed up the polish drying process dramatically, reducing wait time from minutes to seconds. These professional tools cure each layer completely, preventing smudges and extending your manicure’s lifespan.
Quick-dry nail polishes formulated with special ingredients deliver faster results without compromising color quality. These formulations contain solvents that evaporate more rapidly, allowing you to apply multiple coats efficiently.
Fans or cold air provide an immediate drying boost when professional equipment isn’t available. Blow cold air gently over freshly painted nails to accelerate the evaporation process. Keep the airflow light to avoid creating bubbles or streaks in your polish.
Temperature control affects drying speed significantly. Cool environments help polish set faster, while warm conditions slow the process. Consider chilling your nail polish in the refrigerator for 10 minutes before application for quicker results.
Conclusion
We’ve shown you that gorgeous nails don’t require professional skills or hours of your time. With these simple techniques and creative shortcuts you can transform your everyday manicure into something truly special.
From classic French variations to modern geometric patterns and seasonal themes there’s a design for every style and occasion. The key is starting with basic techniques and building your confidence as you explore more creative options.
Remember that practice makes perfect but even your first attempts will look polished and professional. These easy nail ideas prove that beautiful manicures are within everyone’s reach – all it takes is a little creativity and the right approach.
Frequently Asked Questions
Can I create professional-looking nails without artistic skills?
Absolutely! With simple tools like striping tape, dotting tools, and makeup sponges, anyone can achieve stunning nail designs. The key is using foolproof techniques like color blocking, accent nails, and geometric patterns that deliver professional results without requiring advanced artistic abilities.
What are some modern alternatives to classic French manicures?
Try bold colored tips in coral pink, navy blue, or metallic gold instead of traditional white. You can also experiment with geometric French lines using striping tape to create triangular or chevron patterns, or add glitter accents for extra glamour.
How can I create gradient nails at home?
Use a makeup sponge and blend similar polish shades while they’re still wet. Apply your base color, then dab the sponge with your gradient colors and gently press onto the nail. Seal with a top coat for smooth, professional-looking results.
What’s the easiest way to add sparkle to my nails?
Apply glitter polish to just your ring finger as a classic accent nail, or create a glitter fade by concentrating sparkle at the nail tips and blending downward. Fine silver or rose gold glitter provides elegant sparkle without being overwhelming.
How do I achieve clean geometric designs?
Use striping tape as your best friend! Apply it to create straight lines, triangles, or chevron patterns. Paint over the tape, remove it while the polish is still slightly wet, and you’ll have perfectly crisp geometric shapes every time.
Can I create nail art quickly for special occasions?
Yes! Try press-on decorations or nail stickers for instant intricate designs. Focus on simple accent techniques like metallic dots, two-tone color blocking on one nail, or upside-down French tips that make a big impact with minimal time investment.
What tools do I need for basic nail art?
Start with striping tape, a dotting tool (or bobby pin), makeup sponges, and nail stickers. These inexpensive tools can create countless designs from polka dots and gradients to geometric patterns and textured effects without requiring professional equipment.
How can I make my nail polish dry faster?
Invest in a UV or LED nail dryer for instant results, or use quick-dry polishes and top coats. Apply thin layers rather than thick coats, and consider using a quick-dry spray or drops to speed up the process significantly.
